
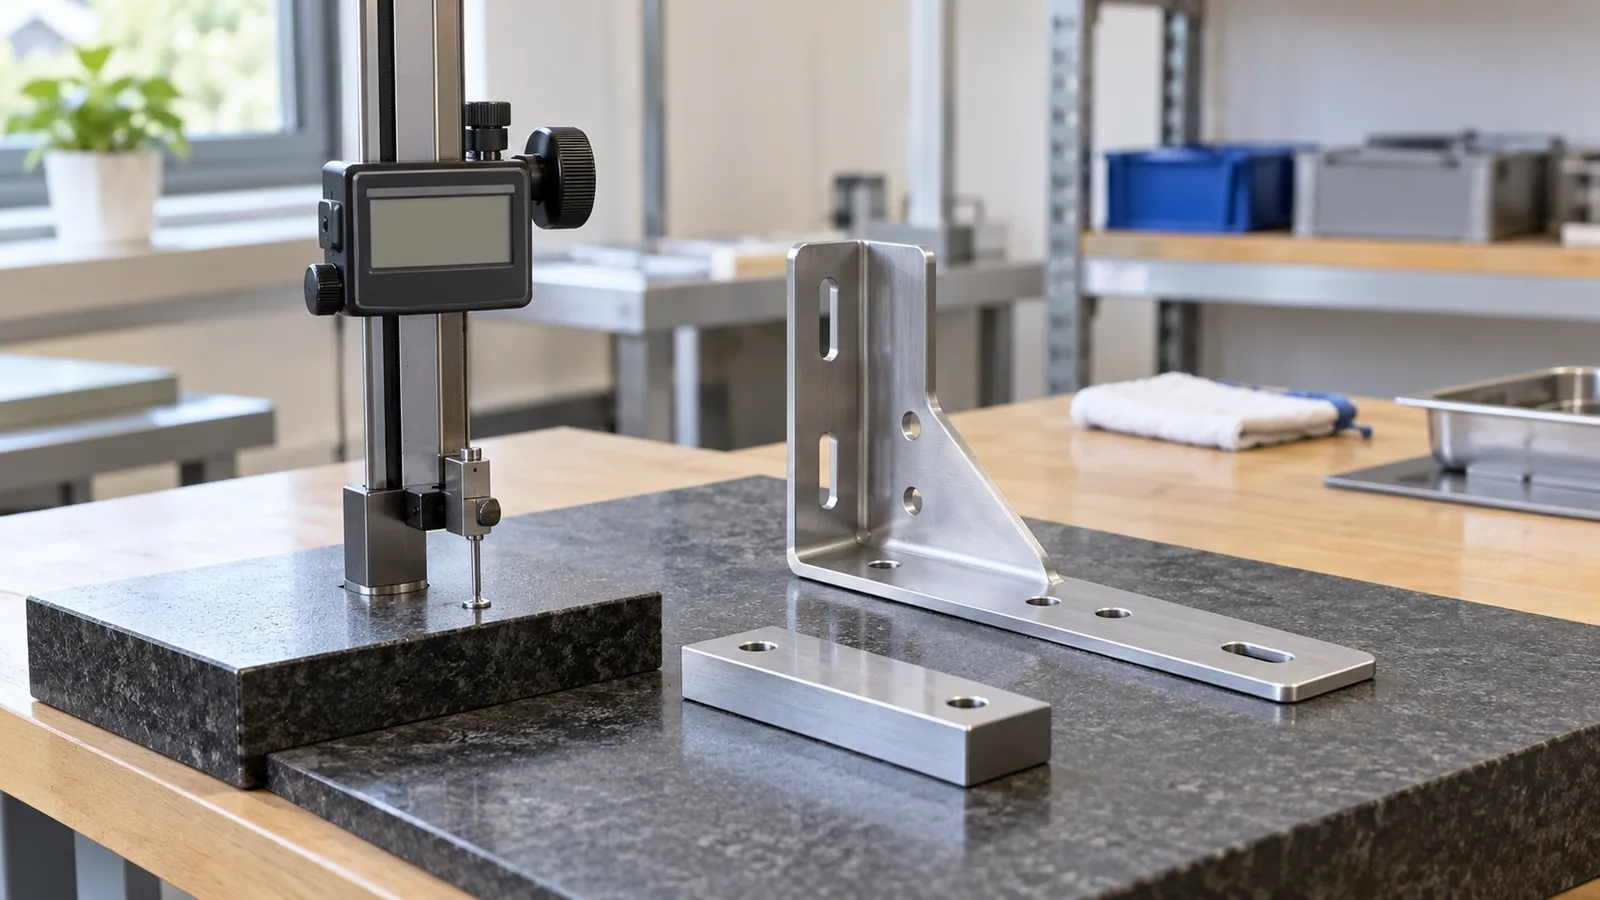
Why the measurement base matters
Buyers reviewing height gauge scribing measurement datum burr base checks are asking a practical question: does the chosen reference surface support a repeatable measurement of the formed shelf bracket feature? A height gauge or scribing setup compares a point or line to a reference plane. If the part rocks, sits on a burr, or is referenced from a surface that is not functionally related to the drawing, the resulting mark or reading may not represent the intended product dimension.
This article focuses on the support and zero datum used for a height-gauge check, rather than a broad comparison of coordinate measuring systems. The buyer should identify which part surface is the datum, how it contacts the base, where the probe or scriber touches, and whether burrs or local distortion can change the result. The suitable approach depends on the geometry and the acceptance characteristic.
A scribed line can help transfer a height or locate a feature during a process, but it should not be treated automatically as a finished-part inspection result. The buyer and supplier need to state whether the setup is for layout, process adjustment, sample inspection or formal acceptance. Different purposes may require different evidence and measurement tools.
Define the functional datum first
Start with the drawing and the way the bracket works in its assembly. A flat mounting face may be a suitable reference if it seats against the wall or frame. A formed flange or edge could be more appropriate when it locates the bracket. Do not choose a convenient surface merely because it rests easily on a measurement table; the datum should connect to the product requirement.
Mark the datum symbol, orientation and contact region on the drawing or inspection instruction. If multiple faces establish alignment, clarify the sequence and how the part is constrained. A part that is rotated, tilted or supported at an unintended contact can produce a different height reading even when the instrument itself is functioning correctly.
For a formed part, state whether the dimension is measured in the free state or held in a fixture. A thin bracket may spring or flex under its own weight or under clamping. The inspection method should avoid forcing the part into an artificial shape unless the product requirement explicitly defines that condition. Record any fixture and contact points used for sample approval.
Understand how a burr affects support and zero
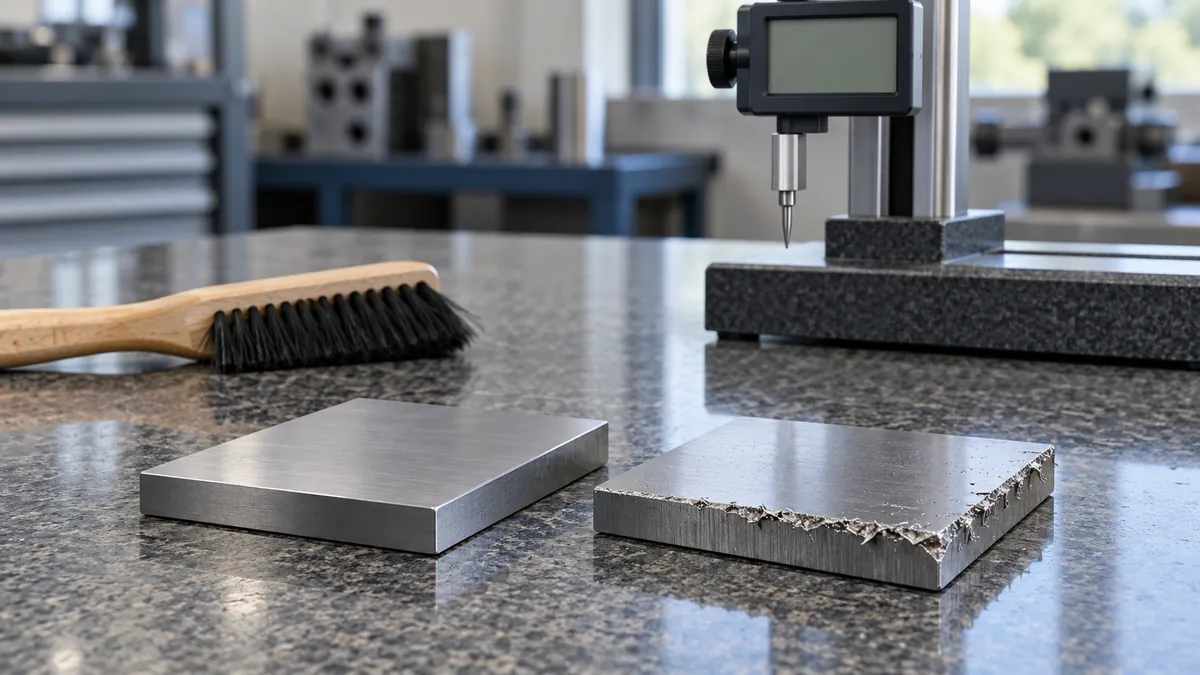
A burr or raised edge can become the actual contact point between the part and the reference surface. If that happens, the bracket may sit at an angle or height different from its intended datum. A probe may also touch the burr instead of the surface or feature boundary intended by the drawing. The direction and magnitude of any apparent effect depend on where the burr is, how the part is supported, and what is being measured.
Do not assume every visible burr changes every dimension. The inspection plan should identify the contact region and the product’s edge-condition requirement. A burr on a noncontact edge may not influence the datum setup, while a raised point on a seating face could undermine repeatability. The buyer should define acceptable edge condition and require the supplier to assess the relevant location.
Surface preparation for measurement should be controlled. Remove loose debris if the procedure allows it, but do not grind or alter the part before documenting a condition that may be under review. If a burr must be removed for a measurement, record that preparation and preserve the original observation. This prevents the measurement result from obscuring the condition that triggered the inspection. For a buyer comparing supplier records, height gauge scribing measurement datum burr base criteria should distinguish the incoming surface condition from the subsequent prepared measurement condition.
Make the measurement setup repeatable
| Setup item | Buyer/supplier agreement | Why it matters |
|---|---|---|
| Datum surface | Name the face, edge or feature and its drawing reference | Keeps the measurement connected to function |
| Support points | Define how the bracket rests or is constrained | Prevents rocking or uncontrolled flex |
| Surface condition | State how burrs, debris and finish are handled | Avoids changing the contact condition between checks |
| Instrument contact | Identify the probe/scriber point and target feature | Prevents measurement of the wrong edge or surface |
| Orientation | Show the part’s direction and measurement axis | Makes repeated results comparable |
| Inspection purpose | Layout, process setup, sample review or acceptance | Clarifies what the result can be used to decide |
| Record | Part ID, revision, setup, result and inspector/date as required | Preserves traceability for later comparison |
Before accepting a tight tolerance, confirm that the setup can reliably touch the intended surfaces and that the supplier has an appropriate instrument and procedure. This does not imply that a height gauge alone is always sufficient. If the geometry is complex, flexible or inaccessible, the parties may agree another measurement method or fixture, based on the requirement and available capability.
Distinguish scribing from inspection
Scribing is commonly used to mark or transfer a line relative to a reference. It can support fabrication or layout, but a visible line does not independently prove a dimension is within tolerance. The line width, contact force, surface finish and operator technique can affect how the mark appears. If the mark is later used to guide a process, define whether it is a temporary aid or part of a controlled production instruction.
For formal inspection, the buyer should identify the measurement result, units, datum, tool and acceptance criterion. If the supplier uses a height gauge to locate a feature before drilling, forming or assembly, that process setting should not be confused with the inspection of the final part. A separate check may be necessary to confirm the finished feature against the drawing.
If a scribed reference is visible on a delivered component, clarify whether it is permissible and how it affects appearance or corrosion protection. A mark made during inspection may be unacceptable on a show surface even when it helped locate the feature. Specify where temporary marks may be placed and how the part is cleaned or protected afterward.
Review the formed bracket and its mating interface
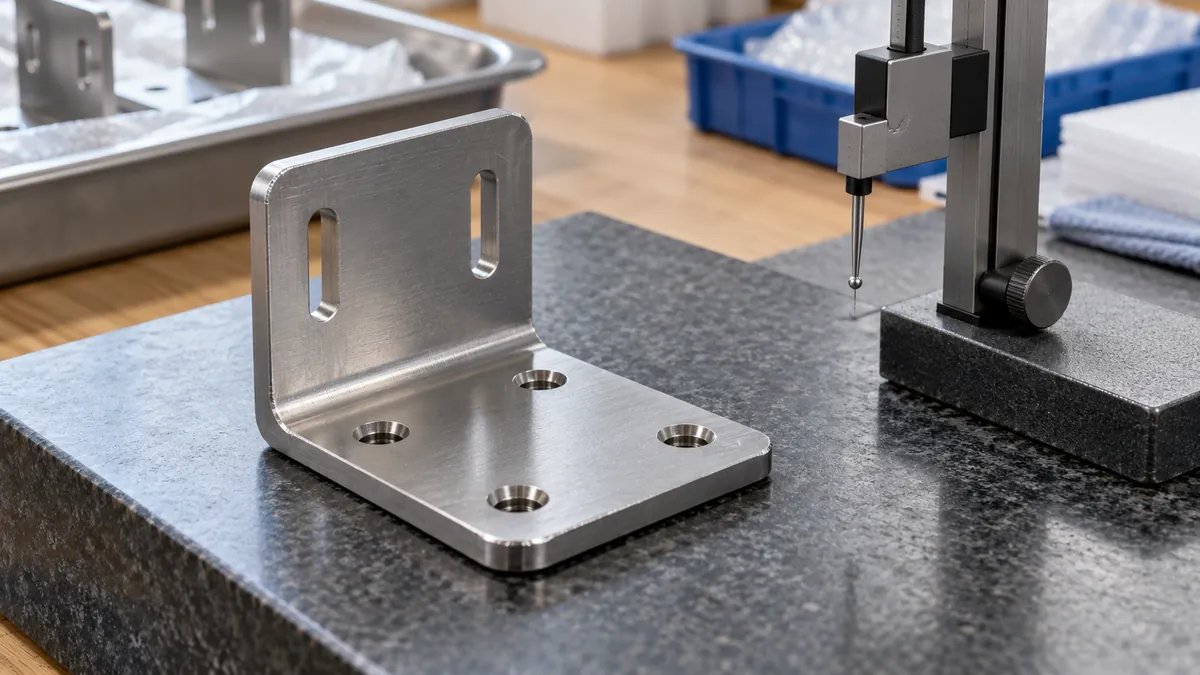
A mounting bracket’s height often matters because it positions another shelf, rail or accessory. Review the actual interface and identify which formed face controls the position. The sample should include the intended material and finish, relevant bends, holes and edges. Verify that the bracket seats on the same reference surface used in the inspection setup, then check any mating fit that depends on the height.
If the dimension is measured from a base coupon or reference block, document how that block is selected and maintained. A convenient separate coupon can help demonstrate the setup, but it is not necessarily equivalent to the actual bracket datum. Use the production part for acceptance where practical, or explain how the coupon represents the defined reference.
Compare repeat samples using the same orientation and support condition. If the result changes, first confirm that the same point, datum and contact method were used. Then review part variation, burr condition, surface finish and fixture setup. This sequence prevents an apparent measurement discrepancy from being attributed to the product before checking the measurement system. When the difference is close to an acceptance boundary, agree whether to repeat the reading, inspect another sample or use an alternate method before deciding disposition. Record that decision rule in the project plan.
Common datum and burr-related mistakes
The part is measured from a convenient but nonfunctional face. Revisit the product drawing and identify the surface that actually locates the assembly.
A burr becomes an unintended support point. Inspect the defined contact region and agree how edge condition is handled before measuring.
The part is clamped differently between checks. Record the fixture and contact points, and avoid unapproved force that changes the free-state shape.
A scriber mark is treated as the measured result. Record a direct reading or other agreed evidence for acceptance; use the mark only for the process purpose defined.
The base or coupon is assumed to represent the bracket. Explain the relationship between the reference artifact and production part, and verify the actual datum where possible.
The measurement condition changes after coating. Define whether the feature is checked before or after finishing and whether a coated contact surface changes the intended setup.
Questions to include in an inspection plan
Ask the supplier to identify the drawing datum and show how the part is supported. Which surfaces are touched by the base and gauge? How are burrs or debris treated? Is the instrument being used to mark a process line or record a finished dimension? What prevents the bracket from rocking or flexing? Which feature and acceptance limit does the result address? A written height gauge scribing measurement datum burr base protocol can answer these questions consistently across samples and lots.
Request a sample record that includes the part number, drawing revision, datum, setup description, result and any deviation. A photo can show orientation and contact points, but the measurement record should carry the values. If the acceptance decision relies on a fixture, identify it and confirm that the same configuration is used during approval and routine inspection.
Agree when a changed datum, fixture, instrument or finishing condition requires renewed review. If the supplier proposes deburring or another surface-preparation step to improve repeatability, determine whether it changes the part’s intended edge condition or appearance. The adjustment should be documented and approved when it affects the product definition.
Koitor is a family-owned custom metal hardware manufacturer and can discuss drawing-based inspection needs for formed brackets and storage products. The exact instrument, measurement route and capability must be confirmed for the part and acceptance requirement; no accredited laboratory service or universal measurement accuracy is implied.
Buyer sample-review checklist
- Identify the part number, revision and dimension being checked.
- Name the functional datum and mark its contact surface.
- Define support points, orientation and free-state/fixture condition.
- Inspect the datum region for burrs or debris before measurement.
- Distinguish scribing/layout use from formal acceptance inspection.
- State instrument contact point, units and acceptance criterion.
- Record the actual part ID, setup, result and sample condition.
- Confirm the measured feature’s relationship to the mating assembly.
- Review any change to datum, fixture, deburring or finish before reapproval.
Frequently asked questions
Can a burr make a height-gauge reading inaccurate?
It can affect a reading if it changes the support or probe contact relevant to the measurement. The effect depends on burr location and setup. Define the datum and inspect its contact region rather than assuming every burr has the same consequence.
Is a scribed line proof of a dimension?
Not by itself. A line may show a layout reference or process mark. For acceptance, record a measured value or other defined evidence tied to the drawing and datum.
Should a flexible bracket be clamped flat for measurement?
Only if the product requirement defines that constrained condition. Otherwise, clamping may change the part shape and produce a result that does not represent its intended state. Agree support and fixture conditions before sampling.
Does every formed bracket need a height-gauge inspection?
No universal method fits all geometries. Use a method appropriate to the feature, tolerance, accessibility and buyer requirement. The supplier should explain how the selected method connects to the product datum.
Conclusion: define the base before trusting the height
A height measurement is only as meaningful as its datum and support condition. Buyers can improve repeatability by naming the functional reference surface, controlling how the bracket rests, checking burrs in the contact region and separating layout marks from acceptance evidence. Review the actual mating interface and preserve sample records with revision, setup and result.
For a formed shelf bracket or mounting base, share the drawing, critical datum and sample-inspection needs before production approval. Learn about Koitor OEM home-storage hardware manufacturing or discuss your drawing through the contact page. Keep the approved setup description with the drawing revision so later inspection does not silently change the reference condition.
Clarify a Formed-Part Inspection Datum
Share your bracket drawing, datum scheme and sample measurement question for a project-specific review.
OEM / PRIVATE LABEL
Turn this sourcing guide into a product brief
Share your target product, size, finish, order quantity and packaging requirements. Your team receives a practical manufacturability review before quotation.
 English
  Español
  Português
  Français
  Deutsch
  العربية