
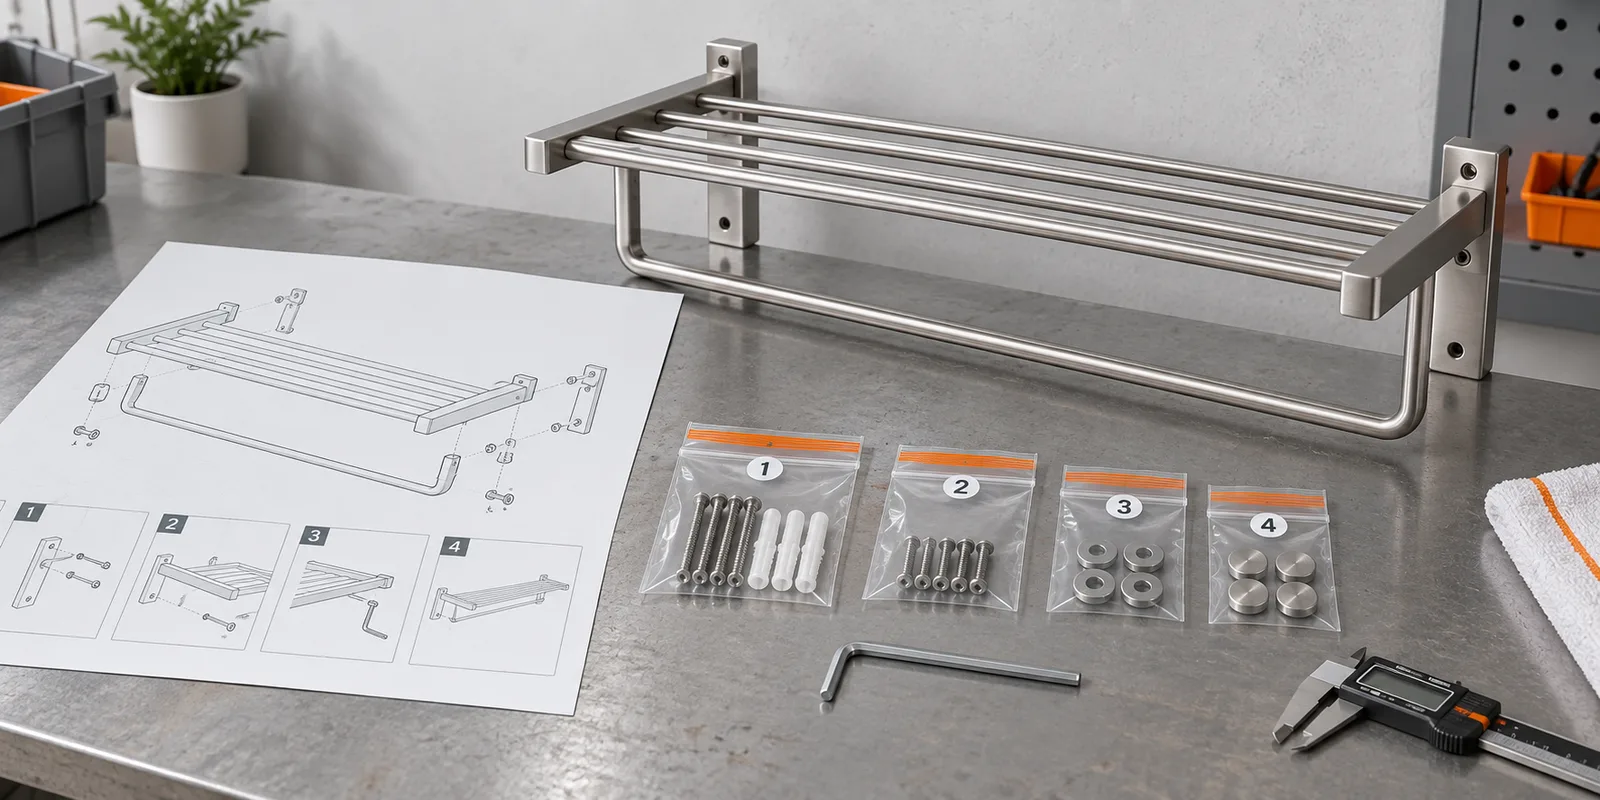
Bathroom rack assembly instructions should let a buyer, warehouse checker, installer, or retail customer identify every component and complete the intended assembly without guessing. For private-label products, the instruction sheet should match the approved product revision, show a complete parts list, separate product assembly from wall installation, use clear numbered drawings, state important limitations, and be tested with an actual packed sample before production.
What Information Should Bathroom Rack Assembly Instructions Include?
Effective bathroom rack assembly instructions include product identity, parts and hardware quantities, required tools, assembly sequence, mounting assumptions, care notes, and a way to identify the current document revision. Each item should correspond to the physical contents of the retail package.
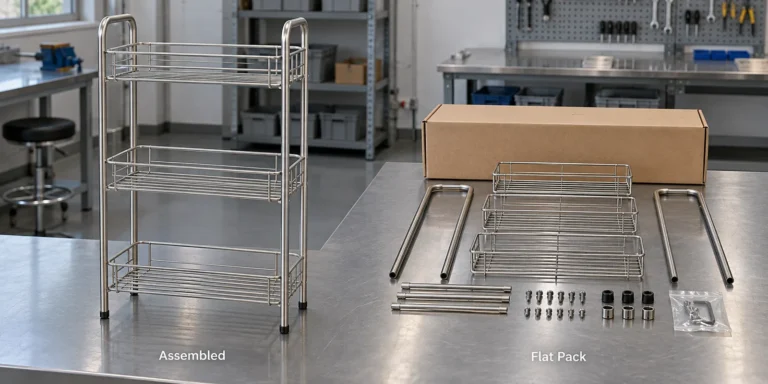
Begin with the product name and buyer SKU. Add a simple finished-product drawing so users can confirm that they have opened the correct carton. If several sizes or finishes share similar packaging, the instruction sheet should not rely on a generic family name alone.
A complete metal rack instruction sheet normally contains:
- Finished product illustration and SKU.
- Lettered or numbered components with quantities.
- Separate fastener and fitting list.
- Tools included in the package and tools supplied by the installer.
- Numbered assembly steps in the actual working order.
- Mounting-center dimensions where relevant.
- Wall-substrate and anchor responsibility statement.
- Orientation, leveling, and final-tightening reminders.
- Cleaning and surface-care guidance supported by the product specification.
- Document revision and approval reference.
Define “assembly” and “installation” separately. Assembly joins product components, such as shelves, side frames, feet, or hooks. Installation attaches the finished rack to a wall, cabinet, door, or other substrate. Combining both activities in one unexplained drawing can cause users to tighten the wrong connection first or select an unsuitable wall anchor.
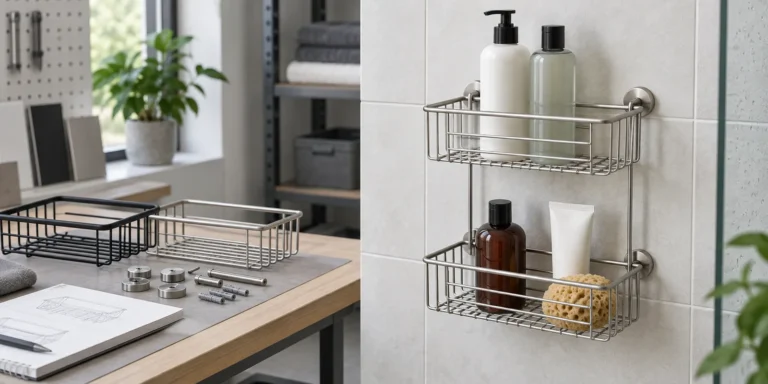
The instruction should reflect the product, not an idealized illustration. The number of rails, hole positions, bracket shape, screw head, and tool access shown on the page must match the approved sample. Buyers can coordinate product and document development with a custom metal storage rack manufacturer when dimensions, joints, packaging, or mounting details require OEM review.
Avoid unsupported statements such as universal wall compatibility, guaranteed load performance, or suitability for every wet environment. The instruction can explain the intended configuration and supplied hardware while directing installers to confirm the actual substrate and local requirements.
How Should the Parts List Match the Packed Hardware?
The parts list should use the same identifiers as the drawings, packing specification, inspection record, and physical component bags. Matching identifiers prevent a correct part from appearing “missing” simply because the instruction and package use different names.
Assign letters to larger components and numbers to hardware when that improves clarity. For example, side frame A, shelf B, rail C, screw 1, washer 2, and bracket 3. Print the identifier beside the component drawing and, where practical, on the component bag. Keep visually similar fasteners separate.
Record dimensions that help identification without turning the page into an engineering drawing. Screw length, diameter, head form, and quantity are more useful than a decorative perspective view. If two screws differ by only a few millimeters, show them at comparable scale and provide a measurement reference.
| Instruction element | What the buyer should control | Common failure |
|---|---|---|
| Product SKU | Exact model, size, finish, and pack version | One generic sheet placed in several different cartons |
| Main components | Shape, orientation, label, and quantity | Left and right frames are not distinguished |
| Screws and fittings | Specification, quantity, and use location | Similar screw lengths are mixed |
| Included tool | Correct size and working access | Hex key fits the screw but cannot turn near the wall |
| Wall hardware | Supplied items and substrate assumption | Anchor is presented as universal |
| Spare items | Clearly identified extra quantity | User thinks an intentional spare indicates missed assembly |
Do not show a component that is permanently welded or preassembled as if the customer must fit it. Conversely, do not hide a factory-fitted connection that the user must loosen during installation. The final instruction should describe the condition in which the product actually leaves the carton.
Hardware bags need a controlled bill of materials. The packing team should count each item, seal the bag, and keep sharp metal parts away from finished surfaces. A printed “hardware pack” line is not enough if the bag contents can change without updating the document.
Private-label buyers should also define how missing-part requests will be handled. Stable component codes make it easier to send the correct bracket or screw kit without replacing the complete rack.
How Should Assembly Steps and Drawings Be Sequenced?
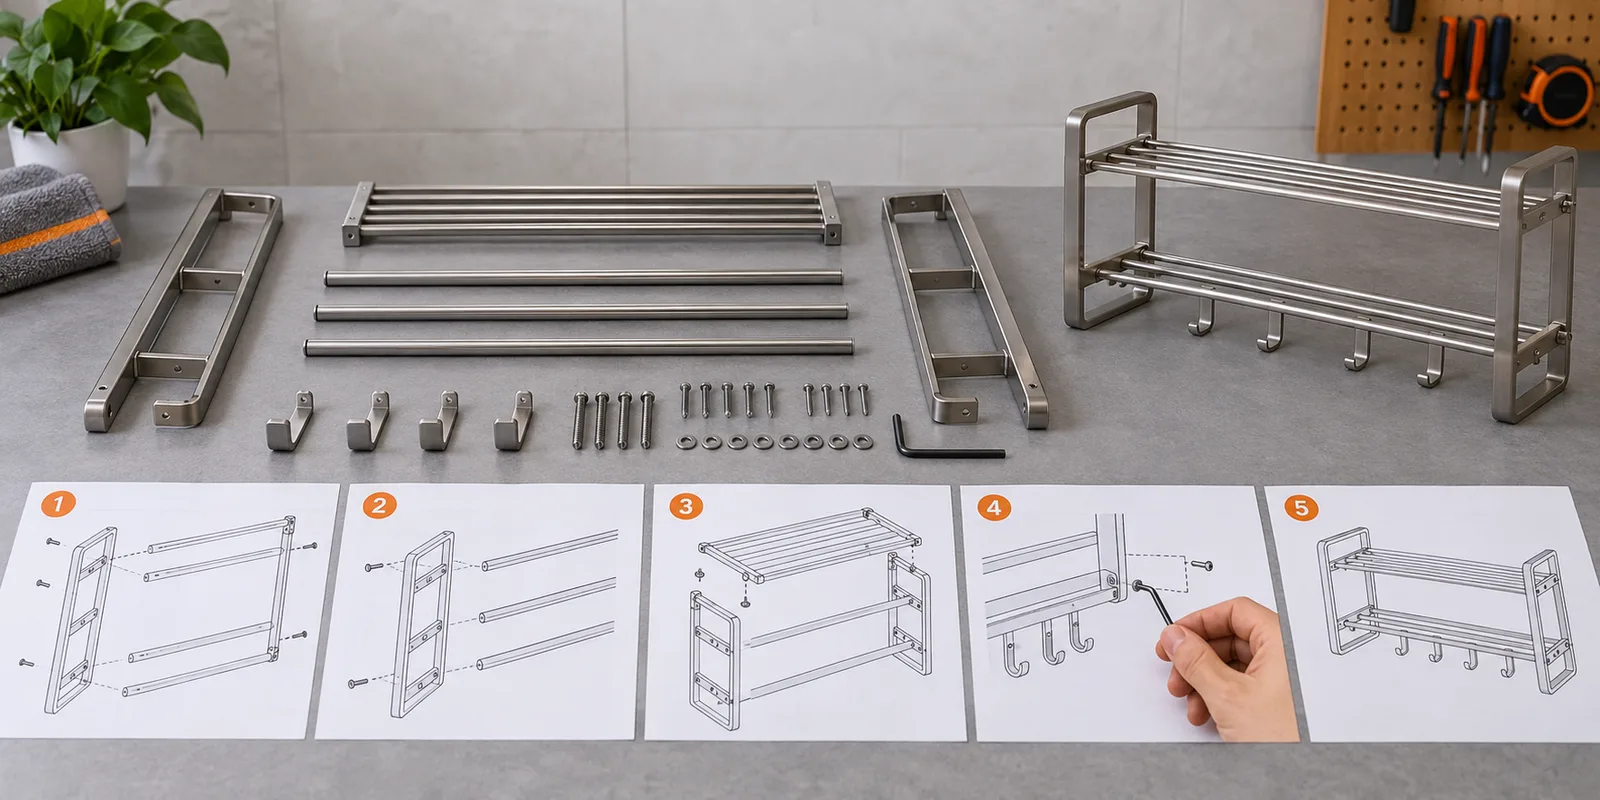
Assembly steps should follow the safest practical working order and show one main action per step. Each drawing should identify the parts being joined, the fastener used, the direction of movement, and whether the connection remains loose or receives final tightening.
Start with a verified trial assembly. Ask someone who did not design the rack to open a production-representative package and follow the draft instructions without coaching. Observe where the person rotates a component incorrectly, chooses the wrong screw, blocks tool access, or tightens a joint too early.
A useful sequence is:
- Check the product and all listed components before beginning.
- Place finished components on a clean, non-abrasive surface.
- Identify orientation features such as front, rear, top, and bottom.
- Join the main frame components using the specified fittings.
- Keep selected connections finger-tight when later alignment is required.
- Square and level the structure before final tightening.
- Fit covers, pads, trays, or decorative parts after structural assembly.
- Install the completed rack using the approved product-side interface.
- Perform a final stability, alignment, and completeness check.
Use arrows for movement, rotation, or insertion, but do not rely on arrows alone. Add short action labels such as “insert,” “align,” “hand-tighten,” and “tighten fully.” Highlight the exact hole or slot rather than showing the entire product from too far away.
Exploded views are useful for understanding relationships, while close-up views explain hidden joints. Use both when needed. Maintain consistent orientation between steps; an unexplained flip from left-facing to right-facing can make a correct drawing look like a different part.
The factory drawing and consumer instruction have different purposes. Production drawings control dimensions and manufacturing details. Assembly drawings communicate actions. Simplify visual noise, but keep interface geometry accurate.
What Mounting and Safety Information Should Be Stated?
Mounting information should clearly separate the hardware supplied with the rack from the anchor selected for the actual wall. It should show mounting-center dimensions, bracket orientation, screw access, leveling, and the point at which covers are fitted.
Bathrooms may use concrete, masonry, hollow partitions, backer boards, tiles, prefabricated pods, or furniture panels. One anchor cannot be assumed suitable for every construction. State the intended assumption for supplied anchors and direct the installer or responsible project professional to confirm the substrate, concealed services, and suitable fixing method.
Important notes may include:
- Check for pipes, cables, and other concealed services before drilling.
- Use suitable eye and hand protection for the installation task.
- Confirm that the wall and anchors are suitable for the product and intended use.
- Keep the rack level while marking mounting points.
- Do not overtighten fittings against brittle tile or deformable components.
- Recheck all product connections after installation.
- Keep small components away from children during assembly.
Safety text should be specific and proportionate. Filling the page with generic warnings can hide the product-specific instruction users need most. The buyer should review legal and market-language requirements with qualified local resources; the factory should not invent compliance statements.
If a towel rack or basket has a removable shelf, drainage direction, or load-distribution consideration, show the intended orientation. Do not state an exact load capacity unless a supported product-specific basis exists and the buyer has approved the claim.
Koitor Hardware is a family-owned custom metal hardware factory specializing in bathroom and home storage hardware. Its direct factory communication can help suitable buyers review mounting interfaces, assembly sequence, component packs, and small-batch sample options. Final installation requirements remain project- and market-specific.
How Should Translation, Layout, and Revision Control Work?
Translation and layout should preserve technical meaning, step numbering, and component identifiers across every language version. The approved source text should be finalized before translation, and every translated file should carry the same document revision.
Write the source in short, concrete sentences. Use one term consistently for each part. Do not alternate between “mount,” “plate,” “bracket,” and “base” if all four words refer to the same component. A controlled terminology list reduces translation ambiguity.
Use readable type and sufficient contrast. Keep labels near the relevant drawing without covering holes or fasteners. The finished folded sheet must remain readable at actual print size; reviewing a zoomed PDF on a large screen does not confirm this.
Document control should include:
- Buyer SKU and instruction document number.
- Revision letter or number.
- Date and description of the change.
- Source-language approval.
- Translation review status.
- Final print proof approval.
- Effective production order or packing date.
When a product revision changes a bracket, screw, hole position, assembly order, or pack quantity, review the instruction even if the retail carton artwork does not change. Obsolete instruction sheets should be segregated from current production stock.
QR codes or online videos can supplement the printed page, but they should not hide information required to identify parts and complete basic assembly. Links may expire, connectivity may be unavailable, and online content can drift away from the packed product revision.
Common mistakes include using attractive renderings that do not match production, shrinking the parts list until dimensions are unreadable, mixing left and right orientations, translating before source approval, omitting wall assumptions, and changing hardware without revising the instruction.
How Can Buyers Validate Instructions Before Mass Production?
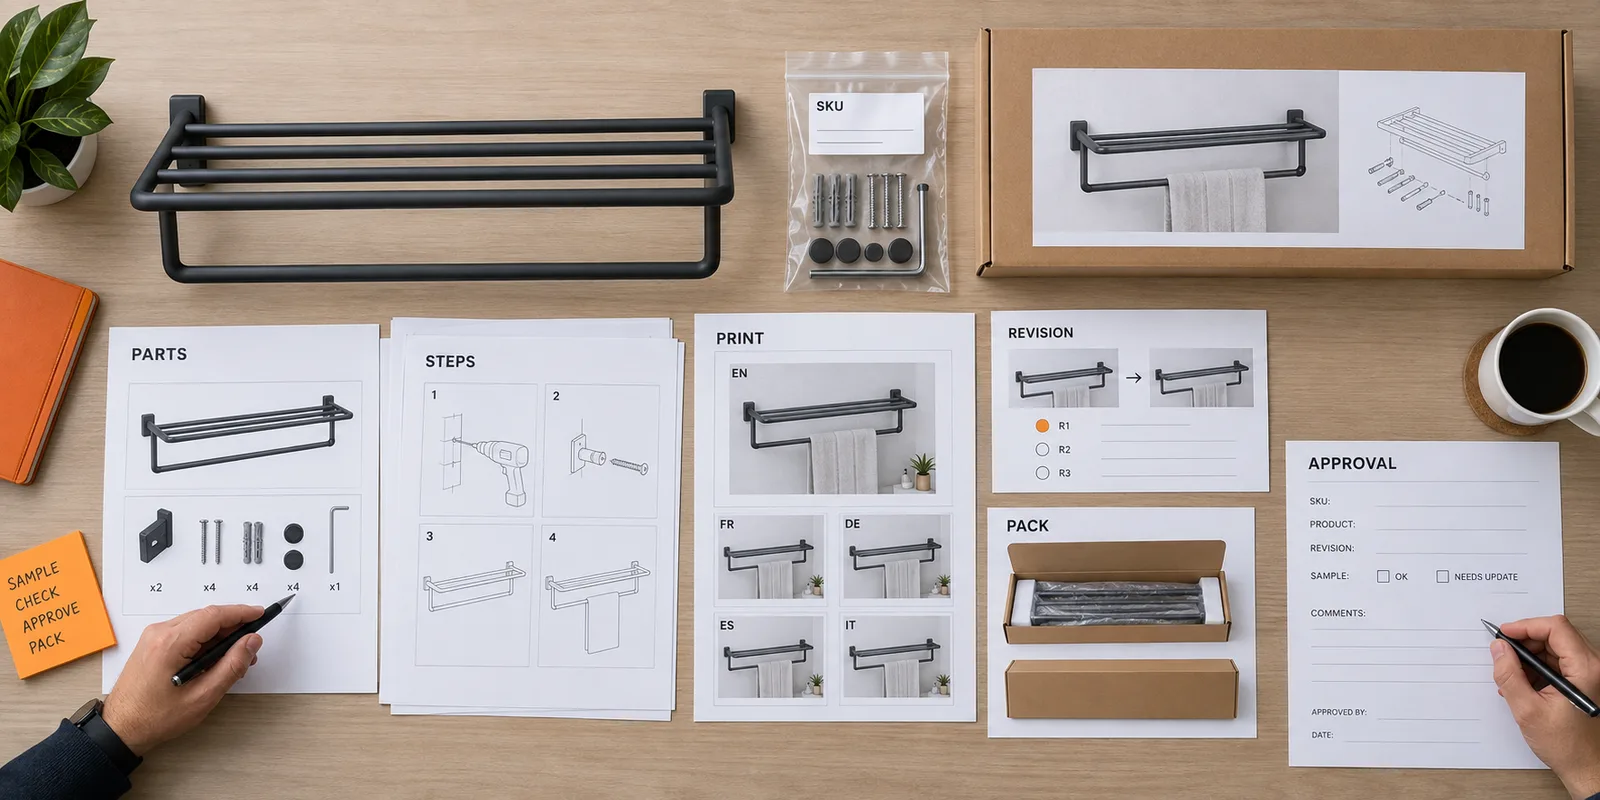
Buyers should validate instructions through content review, physical print review, blind trial assembly, pack reconciliation, and first-production inspection. Approval is complete only when the document works with the actual product and actual packaging.
Run the following validation:
- ☐ Product title, SKU, size, and finish match the carton.
- ☐ Finished-product illustration matches the approved sample.
- ☐ Every loose component appears in the parts list.
- ☐ Component quantities match the sealed hardware pack.
- ☐ Drawings show the correct holes, brackets, screws, and orientation.
- ☐ Steps follow the practical assembly sequence.
- ☐ “Loose first” and “tighten fully” moments are clear.
- ☐ Tool access has been tested on the actual product.
- ☐ Product assembly and wall installation are clearly separated.
- ☐ Wall-substrate responsibility is explained.
- ☐ Text remains readable at final printed size.
- ☐ All language versions use matching step and part identifiers.
- ☐ Document revision matches the released product revision.
- ☐ A new user has completed a blind trial assembly.
- ☐ The first packed production unit contains the approved sheet.
Record confusion during the trial rather than coaching the user. If three people pause at the same drawing, revise the drawing. If users repeatedly select the wrong screw, improve physical separation and labeling as well as the page.
Inspect instructions during packing. Confirm the correct revision at line setup, after a SKU changeover, and in sampled finished cartons. Count issued and returned documents where mixed versions could create risk.
More product-development guidance is available through Koitor Hardware’s bathroom hardware sourcing resources. The goal of bathroom rack assembly instructions is not simply to satisfy a packaging checklist; it is to make the intended product configuration reproducible outside the factory.
Frequently Asked Questions About Bathroom Rack Assembly Instructions
Should the instruction sheet show every screw dimension?
Show enough information to distinguish similar fasteners reliably. Length, diameter, head style, quantity, and the step where each screw is used are especially helpful. Detailed manufacturing tolerances belong in controlled technical drawings.
Can one instruction sheet cover several rack sizes?
Only when components, hardware, mounting, and assembly sequence are genuinely the same and differences are unmistakably identified. Separate sheets are safer when variants could be confused during packing or installation.
Should wall anchors be included?
The buyer and supplier may agree to include anchors for a stated installation assumption. The instruction should still explain that the responsible installer must confirm suitability for the actual substrate and project conditions.
Is an assembly video enough without a printed guide?
A video is useful support but may not be available during installation and can become separated from the product revision. Keep essential parts identification and assembly information in the package unless the buyer’s validated program requires otherwise.
Who should approve translated instructions?
The buyer should arrange competent language and market review. The factory can manage controlled files and print proofs, but it should not be expected to certify legal meaning in an unfamiliar destination market.
When should instructions be updated?
Review them whenever product geometry, hardware, mounting, pack quantity, assembly order, warnings, language, or artwork changes. Link the new document revision to the effective production order.
Work With Koitor Hardware
Need Clear Assembly Instructions for a Private-Label Rack?
Send Koitor your drawing, sample, hardware list, packaging plan, target languages and expected quantity. Our team can review the product-side assembly sequence, component pack and small-batch sample options before quotation.
OEM / PRIVATE LABEL
Turn this sourcing guide into a product brief
Share your target product, size, finish, order quantity and packaging requirements. Your team receives a practical manufacturability review before quotation.
 English
  Español
  Português
  Français
  Deutsch
  العربية