
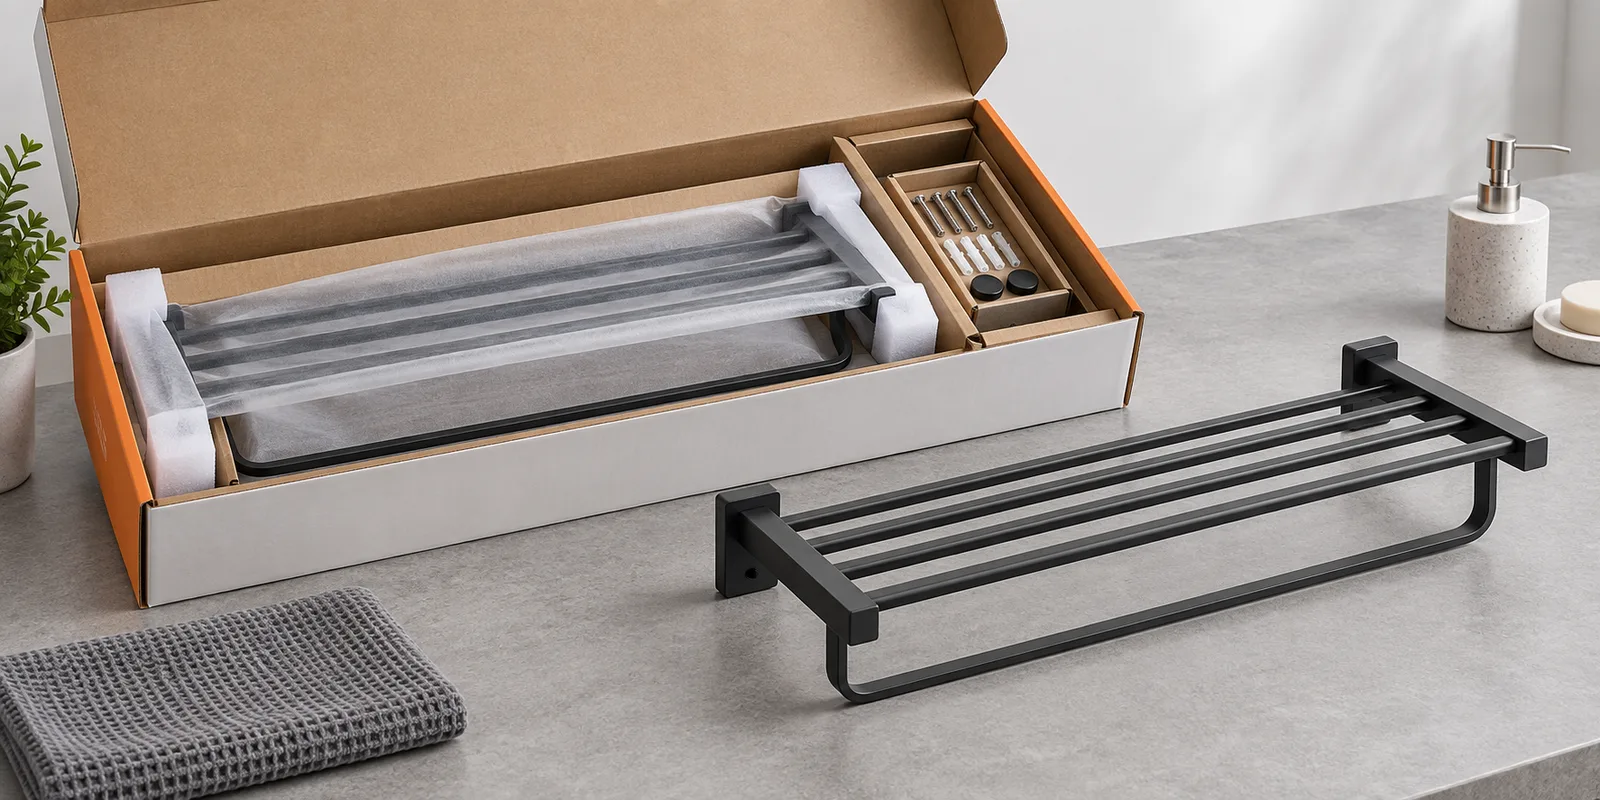
Bathroom hardware shipping damage prevention starts by identifying where finished metal parts, screws, brackets and carton surfaces can move or contact each other. Importers should approve the complete packed sample, not only the product, and define protection for visible finishes, projecting hooks, mounting plates, loose hardware and retail packaging. The appropriate packing method depends on product weight, geometry, finish, sales channel and transport route, so it should be confirmed before bulk production.
Why does bathroom hardware become damaged inside a carton?
Bathroom hardware becomes damaged when movement, concentrated pressure, vibration, impact, moisture exposure or loose components exceed what the product and packaging can tolerate. The outer carton may look acceptable while metal parts rub, bend or strike each other inside.
Metal storage products create special contact risks. A towel rack may have long rails that act as levers. A shower caddy may have projecting hooks and welded corners. A wire basket can nest tightly against another coated surface. A tissue holder may include a moving spindle or decorative cover. Packaging must respond to the actual geometry.
Surface finish changes the visible risk. Polished stainless steel can show abrasion or fingerprints; powder coating can chip at edges or rub through at repeated contact points; plated appearances can reveal scratches under retail lighting. Protection should target the approved visible surfaces and not leave adhesive residue.
Small hardware can cause disproportionate damage. An unsecured screw bag can travel through the carton and strike the product. A metal tool placed directly against a finished rail can create repeated marks. The bag position and restraint method should be shown in the packing specification.
Carton space is another factor. Too much empty space allows acceleration before contact. Too little space can place constant pressure on hooks, covers or shelves. The goal is controlled support, not simply adding more packaging material.
Buyers developing retail packs can connect product protection with Badezimmer-Accessoires unter Eigenmarke requirements so graphics, labels and structural packaging are approved together.
Which damage risks should importers map before packaging design?
Importers should map finish contact, structural pressure, loose-part movement, carton puncture, assembly-component loss and retail-box appearance before choosing packaging materials. A simple risk map makes the packing discussion product-specific.
Begin by marking visible surfaces on the drawing or sample. These may include the top of a towel bar, front rail of a basket, decorative cover or shelf edge. A protected hidden bracket and an exposed polished face may need different materials.
Next, identify projecting features. Hooks, screw tabs, wire ends, corners and mounting studs can puncture bags or cartons and can also receive concentrated force. Consider orientation so projections do not carry stack pressure.
Review moving and removable parts. Sliding spindles, covers, trays, caps and tool bags should be restrained without making unpacking confusing. Counted components need a method that supports both factory inspection and customer verification.
Map product-to-product contact for sets and nested items. Two racks may appear separated when packed carefully on a table but shift together after repeated handling. Protective sleeves, dividers, pads or fixed orientation may be needed at specific points.
Finally, consider the sales channel. An e-commerce parcel may encounter individual handling, while a retail master carton contains multiple units and must preserve shelf-ready packaging. Buyers should define the distribution path and any project-specific validation instead of applying one generic standard.
How should buyers compare bathroom rack carton protection methods?
Buyers should compare protection methods according to abrasion control, impact distribution, part restraint, packing consistency, unpacking and material volume. The cheapest individual material may not produce the lowest total cost if it causes rework or customer complaints.
| Protection Method | Main Purpose | Suitable Review Points | Common Limitation |
|---|---|---|---|
| Soft sleeve or bag | Separates finished surfaces and reduces dust | Seams, residue, abrasion and complete coverage | Provides limited structural support |
| Paper or foam interlayer | Prevents product-to-product rubbing | Placement, compression and movement | Can shift if not retained |
| Corrugated divider | Creates zones for products and components | Board strength, slot fit and assembly consistency | Adds packing steps and carton volume |
| Formed insert | Locates complex geometry and projections | Contact pressure, removal and material choice | May require tooling or higher order commitment |
| Corner or edge protector | Spreads pressure at vulnerable features | Retention, finish contact and carton fit | Protects only selected zones |
| Fixed hardware compartment | Restrains screws, anchors and tools | Part count, labeling and separation from product | Needs clear packing and inspection instructions |
Soft materials should be evaluated for transfer, residue and abrasion. A rough seam can mark a polished surface, while a loose sleeve may bunch around a hook. The material must remain in the correct position through the intended route.
Corrugated structures can provide efficient support when grain direction, folds and slots are designed for the product. However, a divider assembled backward may expose a metal part to the carton wall. Packing photos and work instructions should show orientation.
Formed inserts can locate complex products but should not press continuously on a delicate decorative cover or coated wire. Buyers should review both immediate fit and the effect of compression under the planned carton arrangement.
For larger metal racks, a knock-down structure may reduce volume, but it introduces hardware, assembly instructions and more finished-part contact. Buyers can review Fertigung von maßgefertigten Metallregalen when comparing assembled and flat-pack approaches.
How can packaging protect a metal finish in shipping?
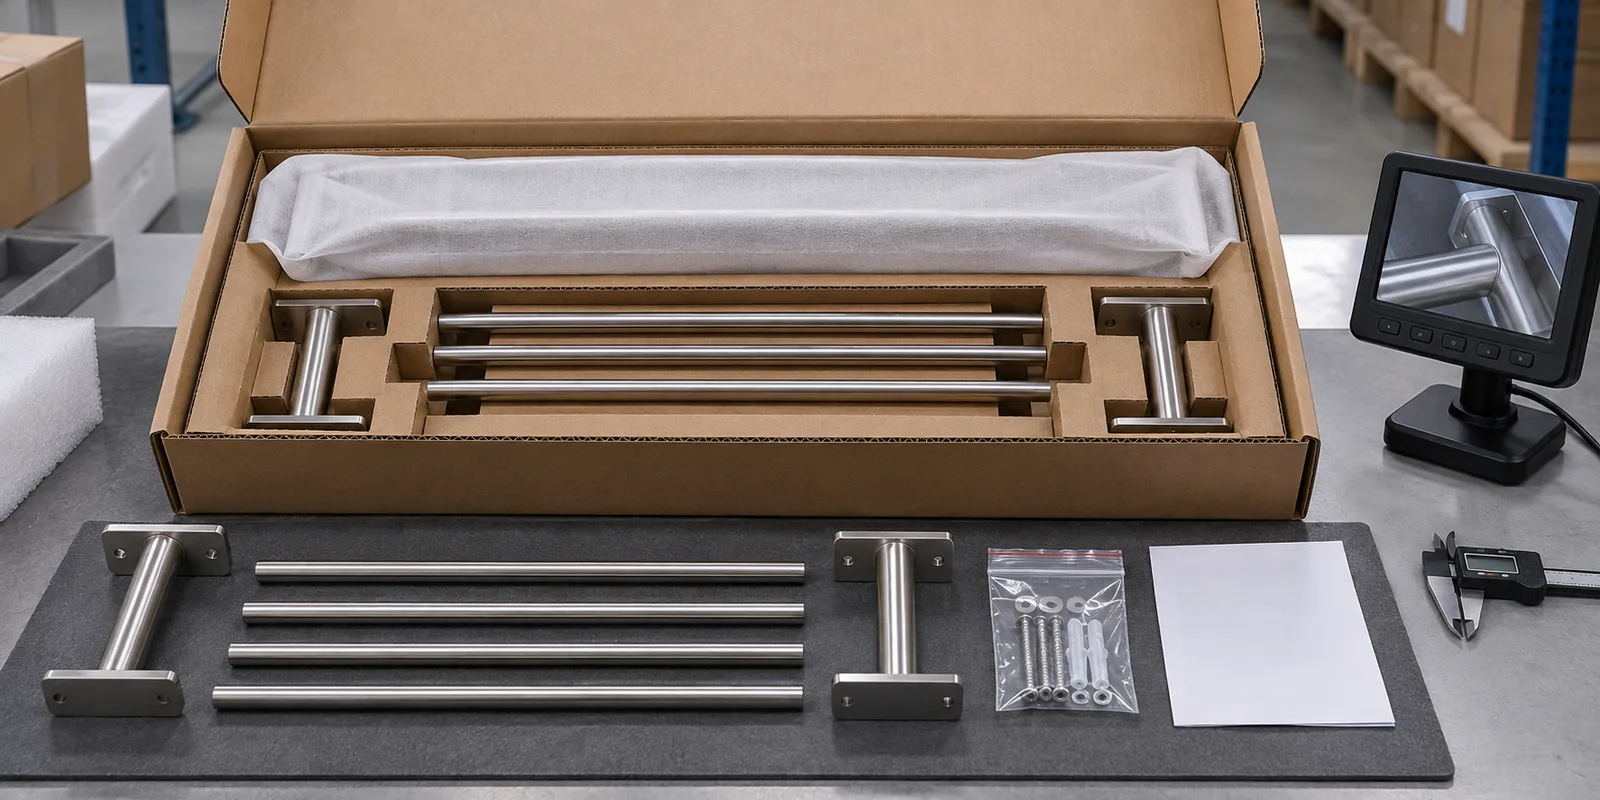
Packaging protects a metal finish by preventing relative movement, separating hard surfaces, avoiding concentrated pressure and keeping loose components away from visible areas. The protection material must also be compatible with the approved finish.
Start with a contact-point map. Place the product in its intended orientation and mark every location touching a sleeve, pad, insert, divider or second component. Inspect those points after handling because repeated micro-movement can create marks that are not visible during initial packing.
Use protective film cautiously. Film can protect certain smooth surfaces, but adhesive compatibility, removal effort, residue and time on the product need review. Film around complex wires can be difficult to apply consistently and may hide finish defects during final inspection.
Separate metal hardware from finished products. Screw bags should be sealed, counted, labeled and retained in a defined compartment. Sharp screw tips or tools should not face a visible surface through a thin bag.
Prevent finished parts from carrying carton compression in an unintended direction. A hook designed for hanging may bend if used as the main packing support. A basket rim may distort if a divider presses only at one corner.
Cleanliness is part of finish protection. Dust, metal particles or packing debris trapped in a sleeve can become abrasive. The packing area and materials should support the appearance level agreed for the product.
After opening the sample, inspect under consistent lighting and compare with the approved finish reference. Record the location and pattern of any mark. Repeated marks at the same point often reveal a packaging contact rather than a random production defect.
How should a complete packed sample be reviewed?
A complete packed sample should include the production-intent product, all accessories, protection materials, instructions, labels, retail box and master-carton arrangement. Buyers should document the exact configuration so bulk packing does not rely on memory.
- Confirm sample identity. Record product code, revision, finish, packaging revision and date.
- Photograph every packing layer. Show product orientation, sleeves, pads, dividers, hardware bag and closure method.
- Count components. Match screws, anchors, tools, caps and instructions to the bill of materials.
- Check movement. Identify whether the product or loose parts can shift in normal handling.
- Review pressure points. Look for hooks, rails, covers or corners carrying concentrated force.
- Evaluate unpacking. Confirm that customers can remove the product without scratching it or losing parts.
- Apply project-specific transport validation. Select methods and acceptance criteria appropriate to the channel and market.
- Reinspect the product and box. Record finish marks, deformation, puncture, crushed areas and label damage.
Do not substitute an empty carton for a packed-product review. Product weight and geometry create the internal forces. Likewise, a hand-packed sample should be translated into a repeatable factory instruction with photographs, material descriptions and component quantities.
If validation reveals damage, change one controlled variable at a time where practical. Adjusting carton size, insert, sleeve and product orientation together may solve the issue, but it makes the effective control hard to identify and repeat.
What common packaging mistakes cause hardware shipping damage?
Common packaging mistakes include leaving movement inside the box, allowing metal components to touch, protecting appearance but not structure, and approving packaging before the finished sample is available. These errors can be prevented through a product-specific packing review.
- The screw bag is loose and can strike the towel rack or shower caddy.
- Two powder-coated products touch directly inside a multipack.
- A projecting hook carries stack pressure and becomes bent.
- A soft bag covers the product but does not prevent movement.
- A divider has no orientation mark and is assembled inconsistently.
- A polished surface contacts a rough seam or contaminated pad.
- The retail box fits the bare metal sample but becomes tight after final protection is added.
- A hardware bag is sealed but not checked for correct component count.
- The carton is enlarged to solve pressure but creates excessive free movement.
- Packaging artwork is approved before dimensions are frozen.
Another mistake is using only outer-carton damage as the acceptance signal. Internal rubbing can occur without a crushed corner. Open-box inspection and product-level review are necessary.
Buyers should also avoid unsupported universal claims such as “drop-proof packaging.” Validation depends on product, pack, route, method and acceptance criteria. Record what was reviewed for the actual project.
What should a bathroom hardware shipping damage prevention checklist include?
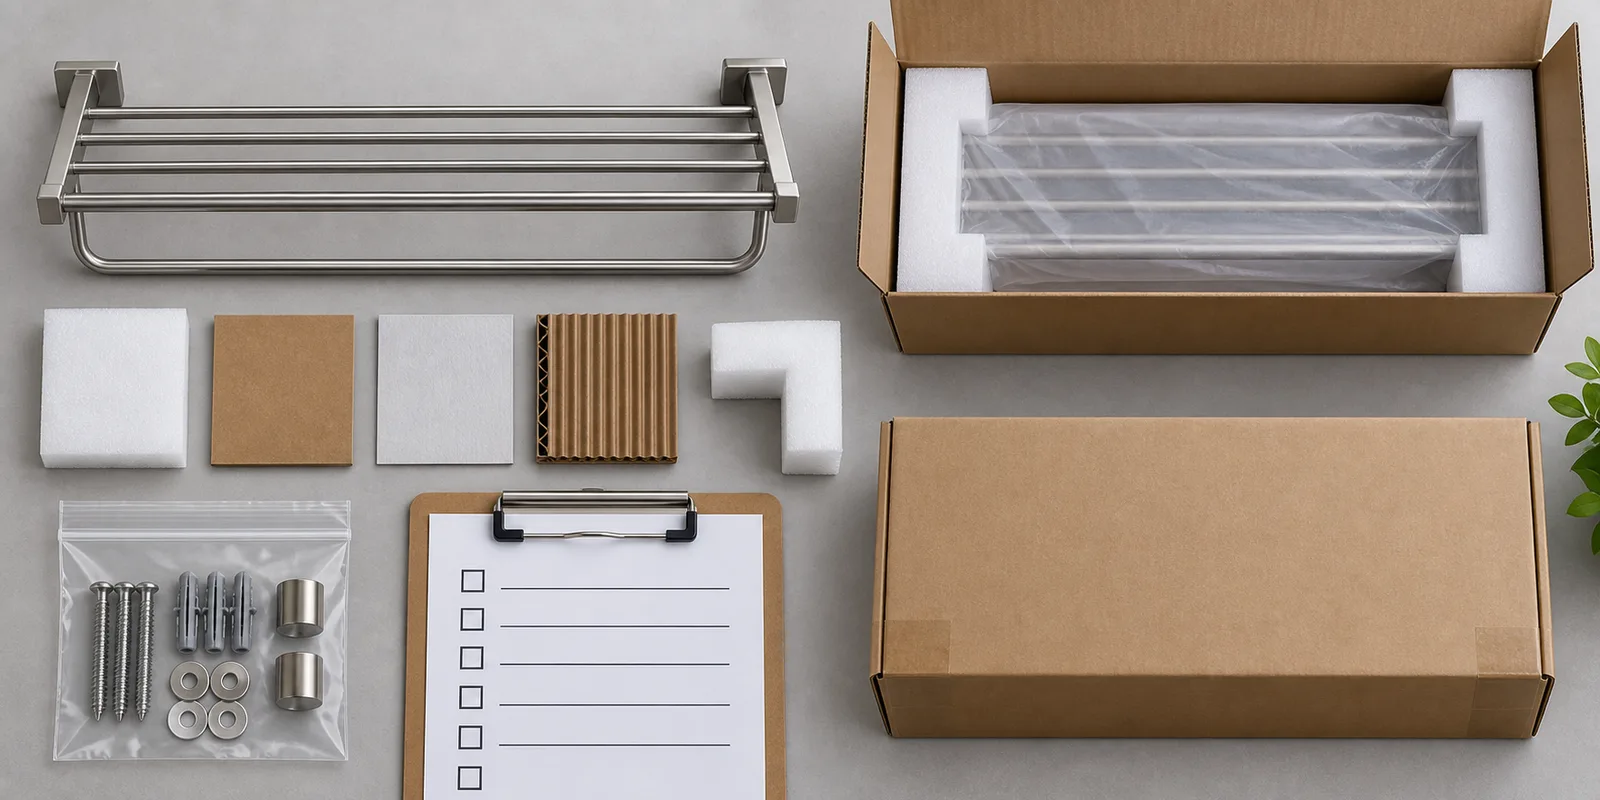
The checklist should define the product, visible surfaces, risk points, packing materials, component control and validation plan. It should be included in the RFQ when packaging affects cost or carton size.
- Product code, drawing revision and finished sample reference.
- Sales channel and expected distribution route.
- Visible and appearance-critical surfaces.
- Projecting hooks, brackets, corners and moving parts.
- Product-to-product and product-to-carton contact points.
- Protective sleeve, film, pad, divider or insert specification.
- Hardware bag contents, label, sealing and fixed position.
- Instruction sheet and retail label placement.
- Retail box dimensions and allowed internal movement.
- Master carton quantity, orientation and shipping marks.
- Packing sequence photographs and inspection checkpoints.
- Project-specific transport validation and acceptance criteria.
- Unpacking review and disposal or recycling expectations.
- Approved packaging revision and change-control owner.
Koitor Hardware can review product geometry, finish contact points, component placement, packaging samples and small-batch options before quotation. Packaging material and carton decisions depend on the actual design and sales channel. Additional planning articles are available through Koitor-Ressourcen.
Frequently asked questions about bathroom hardware packaging
Is a thicker carton enough to prevent product damage?
Not always. A stronger carton may improve outer protection, but internal movement, metal-to-metal contact and loose hardware can still damage the product. Internal structure and restraint must be reviewed.
Should every finished metal surface use protective film?
No. Film suitability depends on finish, geometry, adhesive, storage and removal. Sleeves, paper, pads or dividers may be more practical for some wire and powder-coated products.
Where should screws and installation tools be packed?
They should be counted, sealed, labeled and retained in a defined position away from visible finished surfaces. The exact location should appear in the packaging instruction.
Can nested wire baskets be packed without separators?
Direct nesting may create rubbing or pressure at rims and welds. Buyers should inspect a finished packed sample and add compatible separators or restraints where contact creates risk.
When should packaging be approved?
Approve packaging after the product structure, finish and accessory list are sufficiently stable. Final approval should use a complete production-intent packed sample and a controlled packaging revision.
How can Koitor support packaging development?
Koitor Hardware can review bathroom and home storage hardware packing methods, finish protection, component placement, retail packaging and carton arrangement based on the actual product. Buyers can send packaging requirements to Koitor for discussion before sampling.
Arbeiten Sie mit Koitor Hardware zusammen
Need Better Protection for a Bathroom Hardware Shipment?
Send Koitor your product drawing, finished sample requirements, packaging artwork, accessory list, carton target and sales channel. Our team can review contact points, packing sequence and small-batch sample options before quotation.
OEM / EIGENE MARKE
Verwandeln Sie diesen Beschaffungsleitfaden in ein Produktdossier
Teilen Sie uns Ihr Zielprodukt, die Größe, die Oberflächenausführung, die Bestellmenge und Ihre Verpackungsanforderungen mit. Ihr Team erhält vor der Angebotserstellung eine praxisorientierte Prüfung der Herstellbarkeit.



 English
  Español
  Português
  Français
  Deutsch
  العربية