
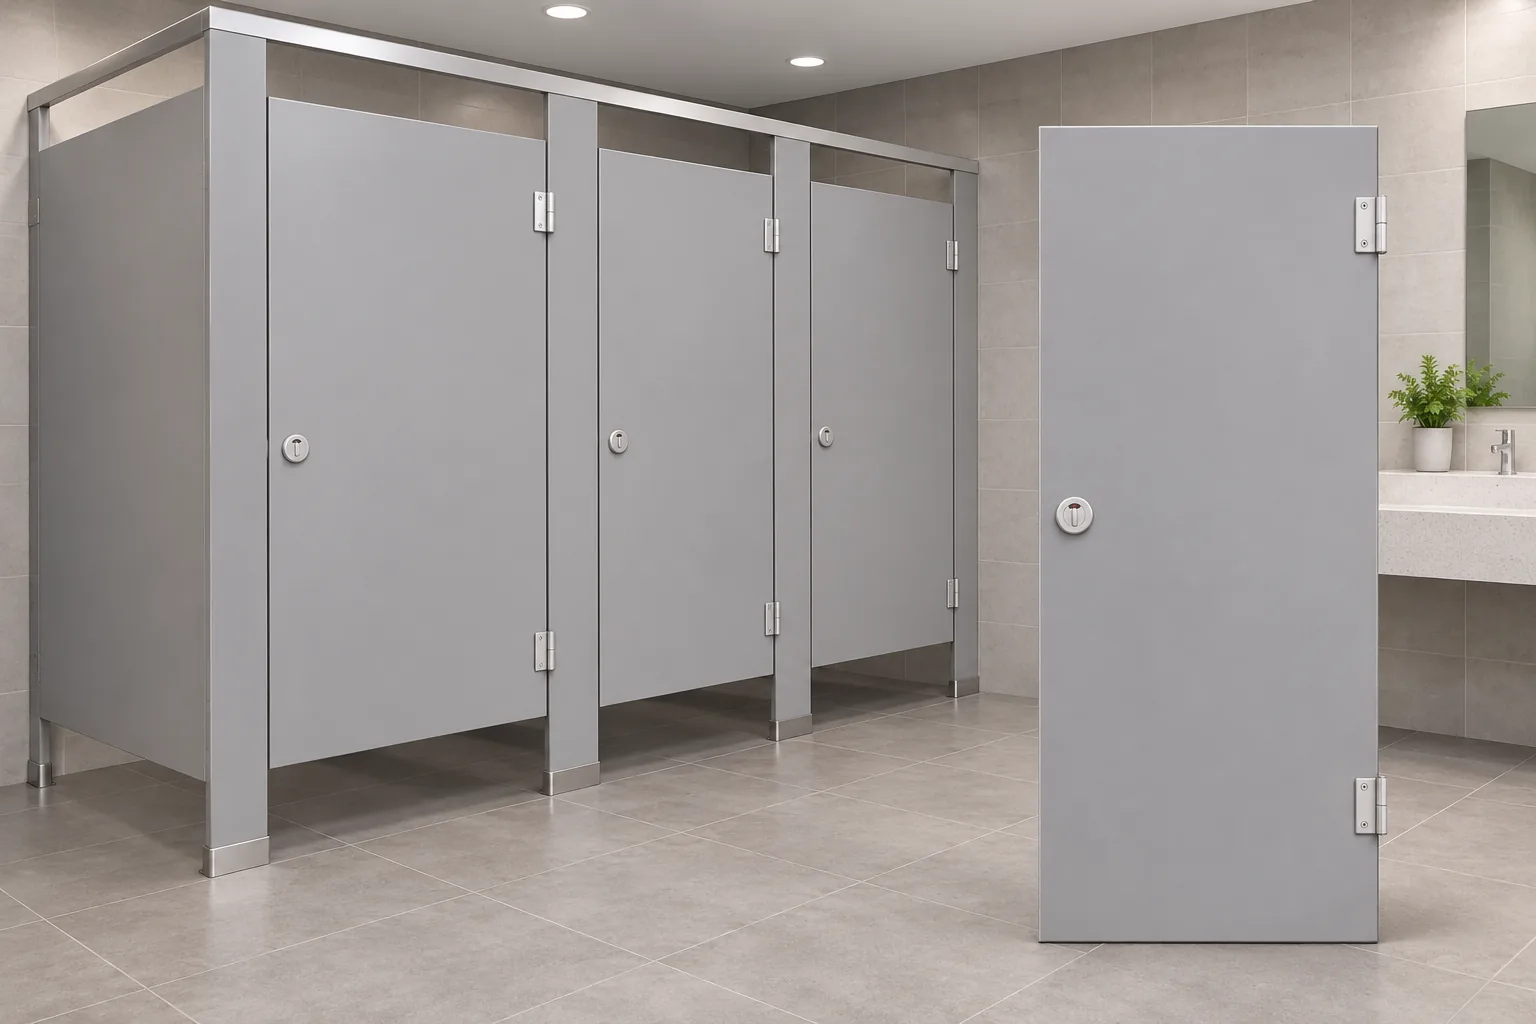
A toilet partition replacement door is rarely a simple “same size” purchase. The new slab has to fit the existing opening and work with the retained hinges, latch, pilaster, stops and privacy arrangement. A buyer may also need to match construction, edge profile, finish, color and hole pattern. If the order is based on a single width measurement or a photograph, an apparently close door can arrive with an incompatible swing, hardware interface or visible mismatch.
For a toilet partition replacement door RFQ, connect each measurement to the maker’s identified datum and each reused hardware part to the correct model. A supplier reviewing a toilet partition replacement door should cite the drawing or current parts source behind the proposed match.
This guide is for commercial-washroom distributors, project buyers, facility teams, partition contractors and replacement-parts importers. It provides a controlled measurement and RFQ checklist; it is not an installation instruction or a code interpretation. The partition maker should confirm the system, current replacement part and any required hardware. A qualified professional should resolve project-specific requirements.
Replacement toilet partition door: identify the system before measuring
Start with the system owner. Record the partition manufacturer, series or model, material family, known product revision, approximate installation date if documented, and any identification plate, label or purchase record. A building can contain additions or repairs from different periods. Two adjacent compartments may look alike but use a different hinge, panel thickness, finish or fastener arrangement. Do not assume that a room has one uniform system because the visible color is consistent.
Ask the facility or project owner whether the door is the original panel. A replacement door may have been installed earlier, sometimes with different hardware or a modified opening. Note repairs, added privacy strips, relocated latch parts, cutouts, damage and non-original fasteners. Photograph both faces, all edges, hinges, latch and the door-to-pilaster relationship. Include a wide contextual view and close views with a ruler placed beside—not across—a moving component.
If the maker or series cannot be identified, keep the status as “identification needed.” A supplier may be able to help with photographs and dimensions, but visual resemblance is not sufficient confirmation. Ask the partition manufacturer or an experienced service provider to confirm the likely family and the information needed to verify it. A buyer should preserve the basis for identification, including who confirmed it and which document or part number they used.
Distinguish a door slab from a complete compartment or hardware kit. The request may require only the panel, or it may involve hinges, latch, pulls, brackets, fasteners, edge caps, privacy components or pilaster changes. Ask whether the existing frame and mounting components are to remain. If any retained component is damaged, worn, obsolete or modified, include it in the review. A door-only quote should explicitly state the retained-system assumptions.
The buyer’s goal is not to measure everything indiscriminately. It is to identify the controlling interfaces and ensure each one has a source. Manufacturer drawings and measuring guides should govern any system-specific datum. For example, ASI Accurate and Bobrick publish partition measuring guidance, and replacement suppliers may request dimensions such as width, height, thickness, hinge centers and lock position. Those documents illustrate the kind of information needed; they do not provide universal dimensions for every partition.
Maintain a record that separates observed field measurements from nominal dimensions in the manufacturer’s catalog and from customer-provided estimates. Mark units, measurement location and tool used where relevant. If a value is uncertain, label it “verify” rather than turning it into a released specification. This simple discipline helps sales, engineering and procurement work from the same evidence.
Measure the opening and door using maker-defined datums
Capture the finished door width, height and thickness, but do not treat those three values as a full fit definition. The partition maker may define measurement from the door edges, hinge line, opening, pilaster face or another datum. Confirm the applicable guide and use its method. If the guide is missing, request it before releasing the order. A measurement that is precise but taken from the wrong datum is still wrong for selection.
Measure the existing panel itself when it is safe and authorized to do so. Record whether the door was fully closed, resting in its normal position, or removed by a qualified service provider. If the door is distorted, swollen, damaged or misaligned, its current dimensions may not represent the original intended part. Do not compensate for a problem by changing the replacement dimensions without the maker’s review.
Width and height can vary if an edge is damaged, tapered or previously trimmed. Note the top, middle and bottom widths or other locations required by the maker’s guide. Record the edge condition and any visible cuts. For each dimension, identify the starting and ending points on a sketch. Use the same orientation on photos and drawings, labeling “top,” “bottom,” “corridor side,” “interior side,” “hinge edge” and “latch edge.” This prevents a later change in viewing position from reversing left and right.
The opening and the panel are related but not interchangeable measurements. A nominal slab dimension does not automatically describe the clear opening, hinge offset or operating gap. Ask the partition manufacturer which measurement controls the replacement. If a door is being replaced because it binds, drops, or does not latch, the defect may involve alignment or hardware rather than the panel size alone. Include that symptom in the request and ask the system owner to diagnose it.
Check the finished edge profile and corner treatment. A rounded, square, beveled, capped or wrapped edge can affect appearance and interface. Record the edge construction only when visible or documented. Do not infer a hidden core from the face material. The maker’s drawing or written response should identify what construction and edge option applies to the requested model.
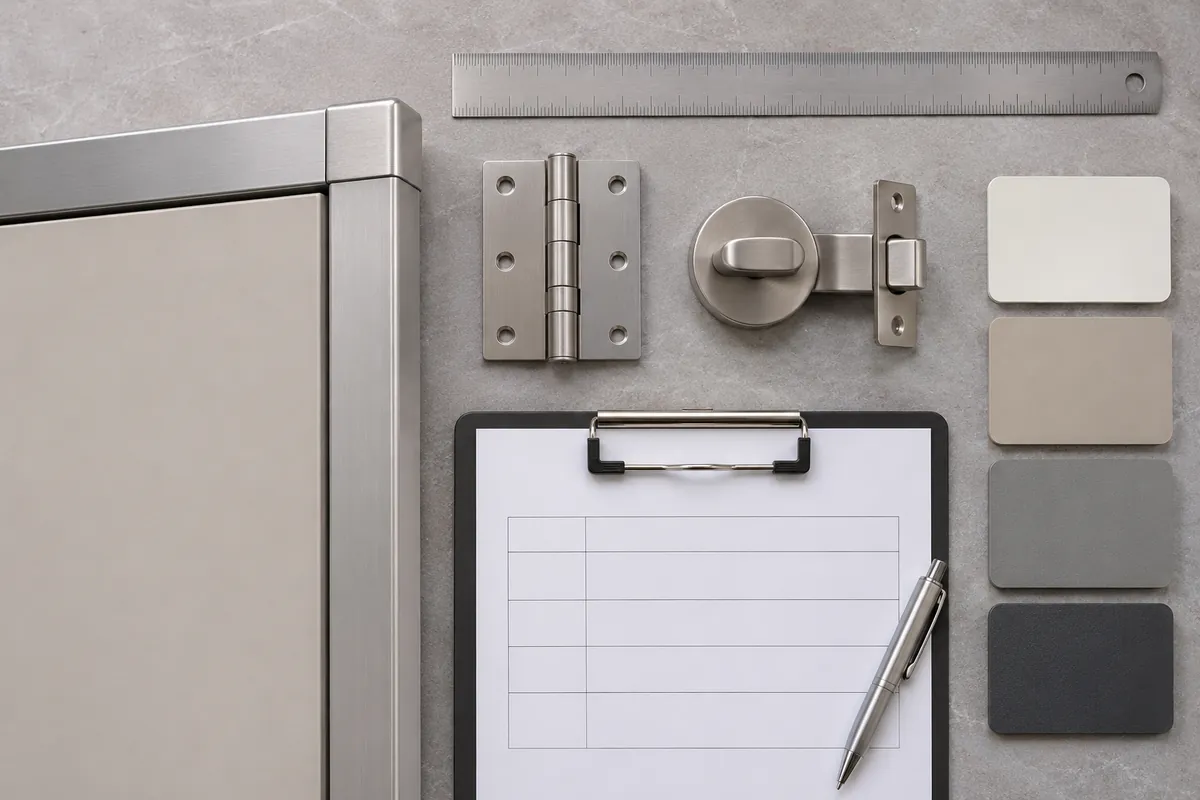
Use a written measurement sheet and annotate the corresponding photographs. A useful sheet includes a blank for source, datum, dimension, unit, location and confidence. If two people measure the same item independently and obtain different results, resolve the discrepancy before quoting. Do not average values or select the smaller or larger dimension without guidance.

Record swing, handing, edges and privacy geometry
Describe how the door opens and which side carries the hinges and latch. “Left-hand” and “right-hand” can be ambiguous unless the viewing position is defined, so state the view direction and include a simple plan sketch. Mark whether the door swings inward, outward or follows another arrangement. Do not change or infer the handing from a single photograph where the door is partly open.
Locate the hinge centers, hinge leaves, hinge pin, fastener pattern and any cutouts only according to the maker’s measurement guide. Replacement doors may be prepared for specific hinge types or mounting positions. A visually similar hinge can have a different leaf size, offset, hole pattern or interface. The buyer should request a current door drawing and compare the actual installation to it. If the manufacturer requires the old door or a template, follow that process.
Map the latch side and lock position. Record the edge distance and relevant center points shown in the manufacturer’s guide. Identify the latch model if known and whether it will be reused or supplied new. A door that matches the opening can still fail to align with the latch, strike or privacy cover. Do not enlarge a hole or move hardware in the field as a workaround unless the partition maker authorizes the change.
Include the door’s intended privacy geometry. A replacement panel may need to maintain overlap, return, reveal or alignment with an adjacent pilaster or privacy component. If a privacy strip is installed, document it separately and state whether it stays, moves or is replaced. A door slab and an add-on privacy strip have different part and approval requirements. Neither a catalog label nor a photograph establishes that the completed assembly eliminates all sightlines.
Consider neighboring parts that may contact the door during movement: stops, hinges, latch bodies, coat hooks, pilasters, wall returns and adjacent panels. Note any abnormal contact or visible clearance. The replacement manufacturer or qualified service provider should confirm the operating envelope. Buyers should not use an accessory dimension as a substitute for system-level compatibility.
When the original arrangement is not evident, ask for the maker’s current parts diagram or an identification procedure. Avoid relying on search images or reseller descriptions that may show different models. A photo should support, not replace, a part-number and configuration check. Keep the response with the quote so the buyer can explain why a particular slab was selected.
Confirm thickness, material, finish and color
Record the measured or documented panel thickness at a location specified by the maker. Do not measure over a trim, edge cap or surface layer and call the result the substrate thickness. A panel may be made from different materials or constructions with similar external dimensions. Use a current manufacturer specification to identify the actual material family and construction.
Document finish and color using the maker’s code, sample or project schedule wherever possible. “Gray,” “white,” “stainless look” or “black” is not enough to identify a consistent finish. Lighting and age can change the appearance of an installed panel. If visual matching matters, send clear photos in neutral light and ask for an approved physical sample. The buyer should establish whether the reference is a current manufacturer color or an aged field condition.
Consider whether the project expects an exact match, a nearest available color, or a replacement of a larger visual group. A replacement panel may be functional while visibly different from retained panels. Clarify acceptance before production. If the original series is discontinued, the buyer may need to compare a compatible successor or a full compartment replacement. The partition maker should confirm whether the proposed alternative interfaces with the retained frame.
Do not infer chemical resistance, cleanability, fire performance, moisture performance or durability from the finish name. If the project has such requirements, ask the supplier for relevant product documentation and let the project’s responsible professional determine whether it is adequate. A color code does not itself establish performance. Avoid claiming a material meets a standard without source documentation for the exact product and revision.
Surface damage should be documented separately from the requested replacement finish. Photograph scratches, chips, discoloration, swelling or delamination if present, and ask whether the cause is known. A new door may not resolve an underlying environment or maintenance issue. The buyer should avoid assigning a cause from appearance alone.
Record the source of each material and finish detail. Good source labels include “maker drawing rev. X,” “product schedule,” “physical sample approved on date,” or “field observation only.” This clarifies which data can be used for ordering and which must be confirmed. It also gives the supplier a chance to identify missing inputs before the part is cut or prepared.
Decide whether the order is door-only, hardware-inclusive or system-level
A door-only replacement keeps some existing hardware and surrounding components. That may be appropriate when the partition maker confirms the retained components are compatible and serviceable. The buyer should list each component to remain and identify its part number where possible. “Reuse existing hardware” is too broad if the hinges, latch, pull and fasteners have different conditions or revisions.
A hardware-inclusive door order may include hinges, latch, pull, fasteners or a manufacturer-specific packet. Request an itemized bill of materials and state whether pieces are per door, per compartment or per pair. Confirm the quantity and whether mounting templates or special instructions are included. Do not assume a catalog photo shows the entire kit.
A retrofit kit is different from a new door. Some partition systems offer specific kits for selected conversions or retained cabinets; others require a full component replacement. A kit that works for one named model is not automatically suitable for a visually similar door. Ask the partition maker for the exact cabinet/door model, approved kit number, included parts and current instructions. Keep those items as an explicit part of the quote review.
A full component or compartment replacement may be considered if the existing system cannot be identified, required parts are discontinued, mounting surfaces are damaged, several pieces are incompatible, or the project owner wants a broader change. That decision can affect adjacent doors, pilasters, headrails, finishes and installation scope. It should be coordinated by the partition provider or qualified project designer. The buyer should not assume that a replacement slab can correct a system-wide issue.
Separate product supply from site labor and approval. State who measures, who verifies system identity, who removes and installs the door, who confirms final operation and who approves color. This reduces disputes if a component is delivered but field conditions differ from the information supplied. For projects with multiple compartments, define whether one pilot opening is approved before the remaining quantity is ordered.
A decision matrix helps compare quotations:
| Decision | Door-only replacement | Door with hardware | System-level review |
|---|---|---|---|
| Existing hardware | Retained only after maker confirms compatibility | New listed parts included as specified | Reviewed as part of the proposed system |
| Fit evidence | Door, opening and interface dimensions | Dimensions plus itemized hardware references | Current system drawings and broader interface review |
| Finish scope | Match or approved alternative defined | Door and hardware finish responsibilities listed | Group appearance and retained components considered |
| Main open risk | Reused parts may be worn or from another revision | Kit contents may omit a required component | Scope, schedule and adjacent interfaces may expand |
| Buyer release condition | Retained hardware and alignment confirmed | Complete bill of materials approved | Project owner and partition maker approve route |
Do not choose a route solely because it has fewer line items. The quote should match the actual task. If the buyer intends to replace only the slab, the supplier must know what stays in place. If the supplier’s scope assumes a complete kit, the proposal should say so.
Review the sample, drawing and change record
Before approval, compare a dimensioned drawing with the measured installation and intended retained hardware. Check part number, revision, handing, edge profile, thickness, hole locations, finish and color. Confirm whether any dimensions are nominal or controlled. If the supplier marks a drawing “for reference,” ask which document governs production and approval.
A sample review should be tied to a named system and the door’s intended role. Record the sample identity, date, reviewer, surface/finish reference and outstanding questions. Compare the sample with the maker’s drawing at the relevant interface points. Review appearance under the project’s agreed lighting or setting if color matters. Do not approve an unmarked sample as if it represents a released production configuration.
Fit checks should be planned with the partition manufacturer or qualified provider. The buyer should not modify an installed door or hardware to force a fit. Where the project uses a pilot installation, document exactly which opening and components were evaluated. A successful pilot on one compartment does not automatically validate every opening if they differ in system age, handing, dimensions or prior repairs.
For an order with multiple sizes or configurations, maintain a part schedule. Each line should identify opening or compartment, system, hand, finish, hardware scope and quantity. Confirm that the production order matches the approved drawing and sample revision. If the supplier proposes an alternative material, finish, hole arrangement or hardware kit, treat it as a change requiring buyer disposition rather than an informal substitution.
After approval, preserve the decision record: source measurements, maker confirmation, drawing, sample note, quote assumptions, approved part number and any limitations. For repeat purchases, recheck current availability and revision. A previous invoice proves a past transaction but does not establish that the same part remains current or fits a newly repaired opening.
If the door arrives with a mismatch, document the discrepancy before any alteration. Compare the physical part to the approved drawing and order. Record the actual opening conditions and contact the supplier or system owner. Do not conceal a mismatch by redrilling or trimming without authorization; that can create an untraceable configuration and complicate any later service review.
Buyer measurement and RFQ checklist
Use this list to prepare a replacement request:
- Record maker, series, model and available product identification.
- Confirm whether the existing door is original, previously replaced or modified.
- Follow the manufacturer’s current measuring guide and label all datums.
- Record door width, height, thickness, edge profile and condition.
- Define swing, handing, view direction, hinge edge and latch edge.
- Record hinge centers, latch/lock location and relevant hole patterns from maker-defined references.
- Identify privacy strips, overlap geometry, stops and other adjacent parts.
- Specify material family, finish code and color reference from an approved source.
- State which hardware stays, which is replaced and what each kit includes.
- Request a current drawing, part number, revision, installation document and written compatibility confirmation.
- Assign responsibilities for measurement, maker confirmation, installation, field review and color approval.
- Hold release if system identity, critical dimensions or retained hardware compatibility remain unresolved.
A buyer can send this information as a controlled worksheet rather than a long email thread. Store the source and revision of each document and mark open questions visibly. If a value cannot be verified, place the item on hold with an owner and a next action. This prevents an estimate from quietly becoming a production input.
Häufig gestellte Fragen
Can a replacement toilet-partition door be ordered by width alone?
No. Width is only one dimension. Height, thickness, handing, hinge and latch interfaces, finish, edge construction and the retained system can all matter. Use the maker’s measurement method.
Should the buyer measure the opening or the old door?
Follow the partition manufacturer’s guide. Some replacement orders use defined component dimensions and interface measurements. The old door may be damaged, modified or misaligned, so its dimensions may not represent the intended replacement.
Can the existing hinges and latch be reused?
Only when the system owner or supplier confirms they match the proposed door and remain suitable. Record each retained component and its part number or configuration.
What if the partition series is discontinued?
Ask the manufacturer or qualified partition provider to identify a current compatible route. It may involve a successor part, a replacement kit or a broader system change. Do not substitute by appearance alone.
Does a matching color confirm that the replacement door fits?
No. Finish and color are separate from dimensions and hardware compatibility. Review both against their own documented requirements.
Technical references
- ASI Accurate measuring guide — maker guidance for its partition measurements.
- Bobrick toilet partition measuring guide — product-system measurement context.
- Robert Brooke partition catalog — example replacement-door selection data.
- Bridgewater Direct replacement-parts information — example of buyer-provided identification and measurement inputs.
- Koitor OEM manufacturing information — verified metal-hardware sourcing scope.
For other metal-hardware projects, see Koitor’s OEM manufacturing information. The partition maker or qualified project provider should confirm replacement toilet partition door fit, hardware and installation responsibilities.
Discuss a Metal Hardware Specification
Share a controlled drawing, finish reference and sample requirements for a project review. The partition manufacturer or responsible project professional should confirm replacement toilet partition door compatibility and installation scope.
OEM / EIGENE MARKE
Verwandeln Sie diesen Beschaffungsleitfaden in ein Produktdossier
Teilen Sie uns Ihr Zielprodukt, die Größe, die Oberflächenausführung, die Bestellmenge und Ihre Verpackungsanforderungen mit. Ihr Team erhält vor der Angebotserstellung eine praxisorientierte Prüfung der Herstellbarkeit.


 English
 Español
 Português
 Français
 Deutsch
 العربية