
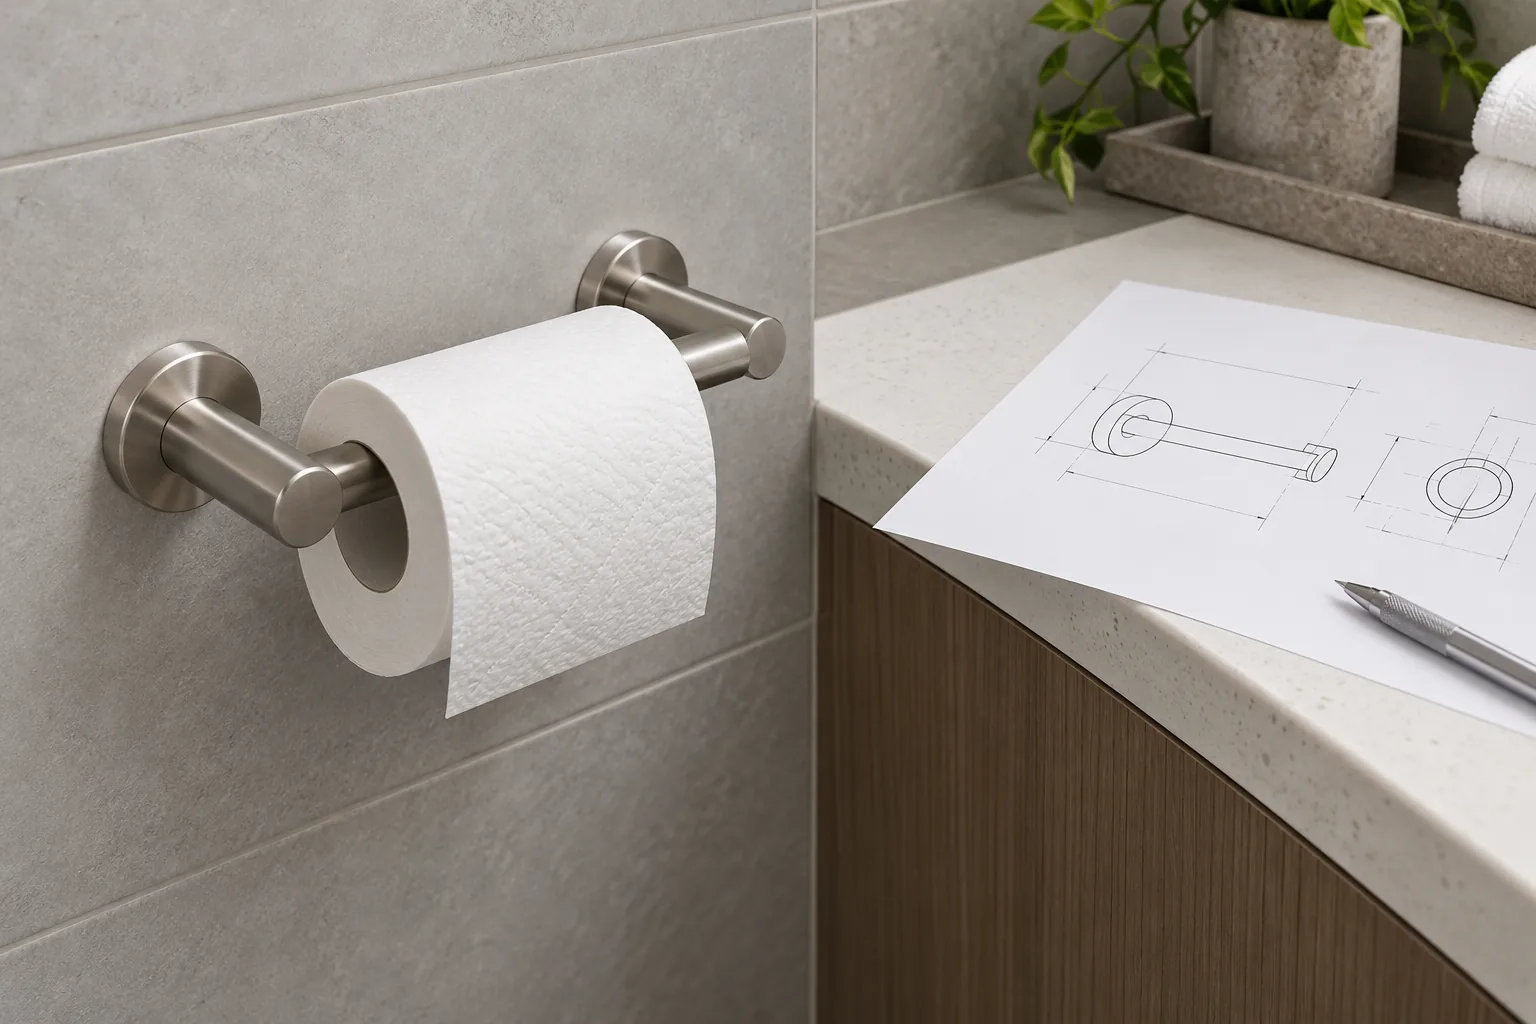
Commercial toilet paper holder height is not one number that an importer can copy across every SKU, washroom, and market. The practical task is to approve a model-specific drawing datum and installation sheet, then keep any general placement note separate from accessibility requirements that apply to a particular project. A product drawing, a package insert, and a building requirement may describe different reference points; the instruction must name each one.
For a buyer, that distinction affects more than wording. If the drawing measures to a bracket hole but the package diagram appears to measure to the roll outlet, a distributor, installer, and end user can interpret the same picture differently. Before artwork is released, connect the approved sample, mounting system, drawing revision, fastener set, and instruction file.
Why does a commercial holder need a named datum?
A holder’s body does not have a single obvious “height.” Depending on its construction, a buyer could mean the top edge of the housing, the axis of a support arm, the paper outlet, the centerline of the roll, the center of a mounting plate, or the centerline between fixing holes. Those references move differently when the product has a cover, shelf, spare-roll pin, enclosed mechanism, or offset bracket.
That ambiguity is manageable when a specification names the measured feature. It becomes a sourcing problem when a drawing says only “install at 700 mm” without stating what point must be at that height, what surface the dimension starts from, or whether the dimension is a placement suggestion or a project requirement. A buyer cannot compare two instruction sheets reliably if one measures to the dispenser outlet and another to the product’s top edge.
Start with the model’s function and geometry. For an open-arm holder, the roll’s accessible position may be easier to identify than the arm’s outer envelope. For a covered dispenser, the opening through which paper is drawn may be the functional outlet even though the housing extends above and below it. A holder with an integrated shelf can make the top surface a visually prominent feature, but that still does not make it the correct reference for every installation requirement.
The importer’s first question should therefore be: which exact point on this model is the instruction measuring? The second is: from which fixed feature is it measured? An answer such as “from the finished floor to the paper outlet” is more reproducible than “mount 700 mm high.” If the project needs a distance from the water closet, the drawing should identify the relevant fixture reference and the dispenser point being measured to it.
A generic household recommendation may help someone picture a convenient location, but it is not automatically the correct package instruction for a commercial model or an accessibility requirement. Product type, mounting layout, fixture position, grab bars, intended user group, market, and the adopted project rules all matter. Treat a published example as a starting point to investigate, not as a dimension to copy without checking its scope. For a new project, record commercial toilet paper holder height only after the buyer has selected the exact mounting system and reference point.
Which measurement points should appear on the drawing?
Write the drawing so a buyer can tell product geometry from installed location. A useful approval sheet labels the product’s own mounting dimensions separately from any proposed placement relative to the room or fixture.
| Drawing field | Name the reference point | Buyer’s review question |
|---|---|---|
| Product mounting pattern | Bracket centerline, plate edges, or fixing-hole centers | Does the pattern match the physical sample and included mounting parts? |
| Product location from floor | Finished-floor surface to the specified holder feature | Is the measured feature the outlet, centerline, top edge, or another named point? |
| Location relative to the water closet | Identified dispenser feature to an identified fixture reference | Does the diagram show the intended side and direction rather than an ambiguous “in front”? |
| Finished product envelope | Overall top, bottom, projection, and width as applicable | Could the housing, shelf, or roll obstruct adjacent bars, walls, or other fixtures? |
| Installation hardware | Fastener and bracket references for the approved mounting system | Does the instruction match the hardware in the package and the intended substrate notes? |
The values in this table are fields for the product team to fill in from the approved model and project. They are not suggested mounting dimensions. A package designer should never use a visually plausible number from a reference image as a substitute for the controlled drawing.
Keep at least three categories visibly separate. First, show the product’s mounting pattern: where the bracket or fixing points sit in relation to a named edge or centerline. Second, show the general placement suggestion, if the manufacturer has approved one for that model and market. Third, show any project accessibility reference supplied or approved by the responsible design professional. A note that merges all three into “standard height” conceals which party owns the decision.
For unit conversion, state the unit used for manufacturing dimensions and the units shown in the buyer’s market. If both millimetres and inches appear, use a controlled conversion and round only at the level approved for the drawing. Avoid converting each figure independently in artwork after technical approval: rounding can produce a visible difference between an illustration and the text. Have the reviewer verify the displayed values against one controlled source.

Illustrative diagram only. It deliberately contains no mounting dimensions; use the approved model drawing and applicable project documents for actual values.
What does the U.S. ADA example actually measure?
For projects subject to the applicable 2010 U.S. ADA Standards provision, §604.7 describes both a horizontal position and a vertical outlet range. It says the dispenser is to be 7 to 9 inches in front of the water closet, measured to the dispenser centerline; the dispenser outlet is 15 to 48 inches above the finished floor; the dispenser must not be behind grab bars; and it must permit continuous paper flow. These values describe named reference points and conditions, not the height of the holder’s top edge or the centerline of every mounting bracket. See the 2010 ADA Standards for Accessible Design, §604.7 y el U.S. Access Board guide to toilet rooms.
This example is useful precisely because it shows why a buyer should not compress requirements into a single number. The horizontal dimension is measured to the dispenser centerline. The vertical dimension is measured to the paper outlet from the finished floor. Grab-bar location is another relationship, and continuous paper flow is a functional condition. A drawing that marks only “holder height” has not communicated all of those points.
Applicability matters. The 2010 Standards include an exception under §604.1 allowing water closets and toilet compartments for children’s use to follow §604.9. For those installations, §604.9.6 gives a different outlet-height range of 14 to 19 inches above the finished floor and a minimum clearance below the grab bar. That is not a general alternative to use at will; it is a separate provision for the stated child-use context. Buyers should check which fixture and user group the project covers.
The official U.S. Access Board toilet-room guide provides explanatory context alongside the Standards. Neither a supplier’s product sheet nor a marketing description substitutes for confirming the adopted requirements for a project. Building type, jurisdiction, project scope, local code, and the selected edition or applicable amendments can matter. The article is a sourcing-documentation guide, not legal advice or a determination that a particular installation is compliant. The project’s responsible professional or authority having jurisdiction should resolve that question.
A buyer can still use the standard as a clear example of how to document references. Request that the installation sheet distinguish “dispenser centerline” from “paper outlet,” identify the finished floor, and show the relation to the water closet and grab bar where applicable. If a drawing must show a proposed model location, label it as a product recommendation or project-specific layout only when its source and approval are known. Do not place the ADA name beside a manufacturer’s preferred location in a way that implies certification or universal approval.
What should a model-specific instruction sheet include?
A concise instruction sheet can be easy to use while still controlling the details needed for a repeatable installation. Importers should ask the supplier or product team to prepare the sheet from the exact model drawing and the approved sample, and then check the final artwork against that source.
At minimum, request the following information where it applies to the model:
- SKU and revision: identify the product model, drawing revision, and instruction revision. If a family includes different widths, roll formats, shelves, covers, or spare-roll features, make clear which version the diagram represents.
- Mounting-system view: show the actual mounting bracket, plate, keyhole, or other attachment points. If the project uses a screw-mounted product, the hole pattern and supplied mounting parts should match the approved package. Do not reuse a template from a suction-mounted or adhesive-mounted product.
- Named datums: label the finished-floor reference, fixture reference, and product feature used for each dimension. Use a leader or centerline that terminates at the measured feature rather than leaving the reader to infer it.
- Approved values and units: transfer dimensions from the controlled drawing or project-approved layout. Keep millimetres and inches consistent, and reconcile any rounded conversions before release.
- Product envelope and clearances: where the design has a cover, shelf, projecting arm, or spare-roll post, show enough of its installed envelope to review nearby surfaces and fixtures. Ask the project reviewer to resolve any required accessibility clearance.
- Included parts: list or depict the hardware actually supplied with the SKU. If an anchor or fastener depends on the wall substrate or is not included, the instruction should say that accurately rather than implying one attachment method works for every wall.
- Surface and installation notes: state only preparation or installation steps that have been approved for that specific mounting system. Do not copy adhesive curing, drilling, or load instructions from another model.
- User operation: if the holder has a cover, pivoting arm, brake, or controlled-dispensing feature, explain how a user changes a roll and draws paper. This also helps buyers identify whether an operating detail conflicts with a project requirement.
- Language and market: define the languages, symbols, and market versions required for the product. Accessibility references and legal notes should be reviewed for the intended jurisdiction, not copied across all versions.
- Approval source: record who approved the technical dimensions, project placement, and final artwork. A product drawing approval does not automatically approve a site layout or a legal interpretation.
A good diagram does not need to show every possible wall condition. It does need to prevent a reader from confusing product assembly with site placement. If the installation depends on a wall surface, included fastener, or substrate-specific anchor, the sheet should state the boundary and point to the appropriate project or installation guidance. Avoid claims such as “fits all walls” or “ADA compliant” unless the exact product and claim have been substantiated and approved through the appropriate process.
The buyer should also ask whether the installation template is full-size, reduced, or merely illustrative. A printed template that is not full-size must not be used as a drill template. If a full-size template is supplied, its scale, page orientation, print settings, and reference edge need to be clear. A printable file can be distorted when a document is scaled to fit the page, so the artwork should indicate whether scale matters and provide a way to confirm it using dimensions on the controlled drawing.

Use the exact SKU sample and included mounting parts during review. The scene is illustrative and does not show a verified Koitor model or supplied hardware.
How should buyers approve the sample and package together?
Review the physical product and its installation instructions as one approval set. A drawing can be dimensionally correct while the printed diagram shows an earlier bracket, and an instruction sheet can name the right model while depicting a different roll orientation. The purpose of the review is to catch those document-to-product mismatches before the packaging revision is released.
Begin with identity. Put the SKU, model variant, product drawing revision, mounting-kit revision, and instruction-sheet revision on the review record. If one carton artwork serves several products, list the included variants and make the differences visible. A family name alone is not enough when the mounting pattern or overall envelope changes between variants.
Next, compare the drawing with the actual sample. Confirm that the shown bracket or plate has the same hole pattern, that the illustrated holder opens or pivots in the correct direction, and that the named outlet corresponds to the real paper exit. If the package includes hardware, compare the pictured or listed parts with the sample kit. Do not infer fastener size, material, anchor suitability, or wall compatibility from a marketing photograph.
Then inspect every measurement arrow. Ask the reviewer to point to the physical feature from which each dimension starts and ends. This simple check exposes ambiguous labels such as “center,” “top,” or “distance from toilet.” Replace them with exact references: for example, the centerline between fixing holes, the dispenser outlet, or a clearly identified fixture point. The values themselves should come from the approved drawing or project layout, not from an unverified sample photograph.
Finally, review the package as it will be received. Check that the instruction sheet is associated with the correct SKU, the language version matches the market, and the artwork revision is the one approved for the order. If instructions are folded or printed on a carton, confirm that the relevant datum and caution are legible at final size. A correct technical note is not useful if it disappears in a fold, sits beneath a product image, or is too small for the intended reader.
Keep an approval record that captures the physical sample, drawing, mounting components, instruction artwork, and packaging version together. If a change is made after approval—such as a new bracket, fixing-hole distance, cover, or paper outlet—review the affected diagram and placement notes again. A change that seems cosmetic to one team can alter a reference point or the installed envelope for another.
For custom OEM projects, buyers can send the holder drawing or sample, mounting kit, target market, and instruction requirements to a manufacturer for review. Koitor’s custom tissue holder manufacturing page describes the relevant product family and OEM context. The link is a starting point for discussing a project; it does not establish that a particular commercial model, mount, or accessibility claim is already available.
Quick answers for importer teams
Does commercial toilet paper holder height have one standard value? No. State the product feature being measured, the reference surface or fixture, and whether the value is a model suggestion or a project requirement. Applicable codes may specify more than one relationship.
Is the vertical dimension measured to the top of the holder? Not automatically. The referenced requirement may use a paper outlet, while a product drawing may use a bracket or mounting-hole datum. Name the feature on the drawing and do not transfer a value between them without review.
Does the 2010 ADA provision apply to every bathroom and market? No. It is a U.S. standard with a defined scope, and project applicability must be confirmed. Other jurisdictions and adopted rules may differ. The responsible design professional or authority having jurisdiction should approve the project layout.
Can a sample approval prove the installation sheet is correct? It can support the review, but only when the sample matches the stated SKU and revision and the drawing, hardware, template, and final artwork are checked together. A sample alone does not approve a site’s compliance.
What should the importer request before approving artwork? Request the controlled model drawing, identified mounting parts, named measurement datums, target market and language, approved site requirements if applicable, and a revision-matched sample. Keep the resulting approval record with the SKU and packaging version.
Trabaja con Koitor Hardware
Need help reviewing a tissue-holder installation sheet?
Share the drawing or sample, mounting kit, target market, and instruction-sheet requirements. Koitor Hardware can review the stated scope and discuss relevant OEM options; a specific model and project accessibility approval must be confirmed separately.
OEM / MARCA BLANCA
Convierte esta guía de abastecimiento en un resumen del producto
Indícanos el producto que deseas, el tamaño, el acabado, la cantidad del pedido y los requisitos de embalaje. Tu equipo recibirá un análisis práctico de la viabilidad de fabricación antes de recibir el presupuesto.


 English
 Español
 Português
 Français
 Deutsch
 العربية