
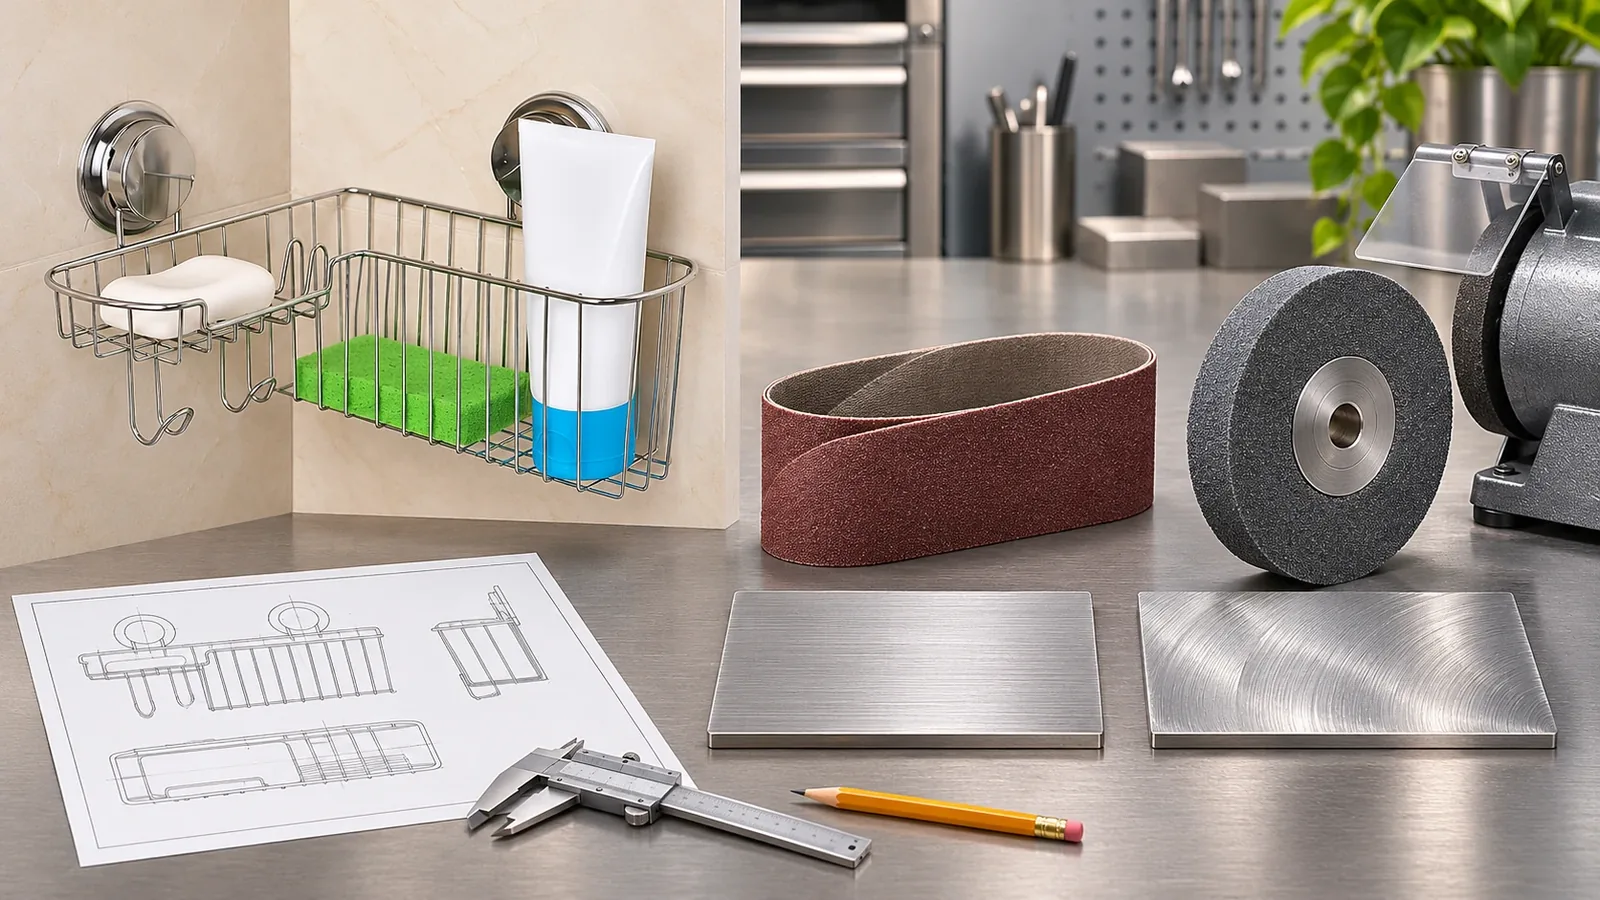
Sanding vs grinding is best compared by the task and required result, because both use abrasives to remove material and the terminology can overlap. Sanding often emphasizes surface refinement or preparation, while grinding often emphasizes stock removal, shaping or removal of unwanted material; these are typical descriptions, not a universal boundary. A belt system may be called a grinder or sander depending on its design and use. Specify what must be removed, what geometry must remain and how the finished surface will be accepted.
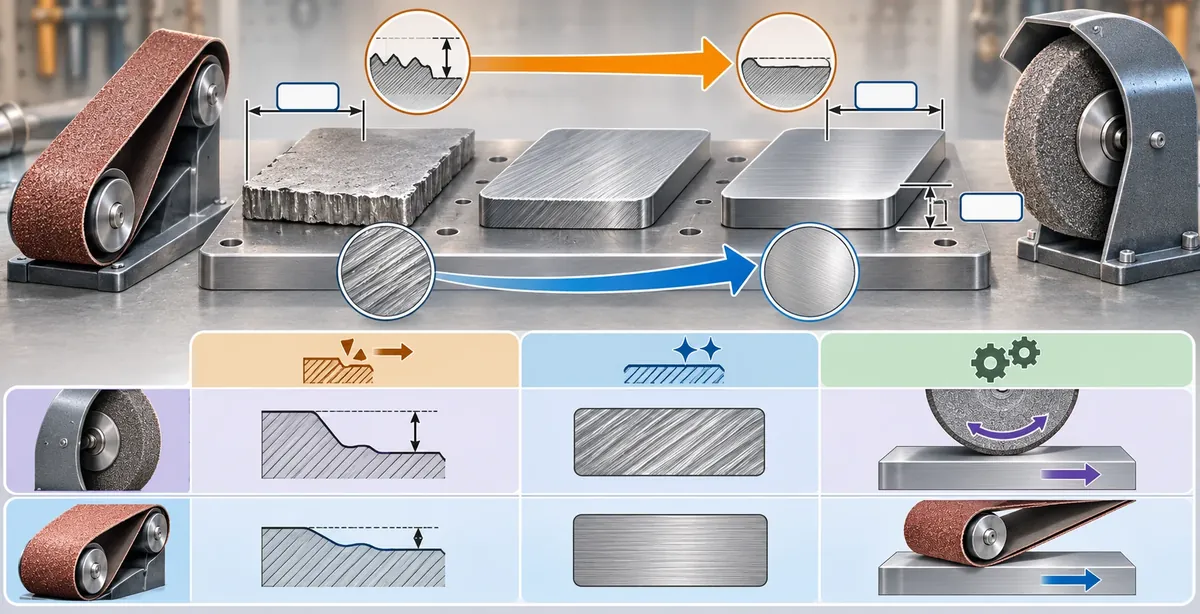
What decision does this comparison answer?
For a buyer, a process name is not the finish specification. A supplier may say a part will be “ground” or “sanded,” but the buyer still needs to know which feature is affected, how much material may be removed, what dimensions must remain and what surface state is acceptable. These details matter on metal hardware where a visible face, weld, edge, bend or mating interface can have different requirements.
The comparison can also prevent a manufacturing note from approving unintended work. A drawing that calls for “grind flush” near a weld may address a local protrusion. A separate note for “surface sanding” may refer to preparation or refinement on a broader face. If those tasks are not distinguished, a fabricator may interpret a general term differently from the product designer. The buyer should map the operation to the part feature and acceptance evidence.
This article does not prescribe a grit sequence, machine speed, contact-wheel specification, safety procedure or numerical surface roughness. Those depend on the actual tool, material, process and controlled product requirement. It is a sourcing guide for clarifying the task and the result with the supplier. Existing guides on Surface dust tape test for coating preparation, TIG tungsten grinding direction and electrode preparation and grinding methods cover narrower process details.
What do sanding and grinding typically describe?
Sanding often refers to abrasive work that refines or prepares a surface. It may be used to address a surface condition, blend marks or prepare for another finishing step. The actual abrasive format can include a sheet, disc, belt or another product, depending on the equipment and task. The word “sanding” alone does not say which abrasive was used, what material was removed or what texture resulted.
Grinding often refers to abrasive work focused on removal, shaping or correcting a feature. It may be used to reduce a local protrusion, establish a surface relationship or remove unwanted material. Yet the term is not limited to one machine, abrasive form or result. A belt grinder uses an abrasive belt, and some suppliers may use overlapping language for belt-based finishing. The machine label is not enough to understand the process.
The difference is therefore a matter of common usage and task emphasis, not a universal definition that every supplier uses identically. The Burr King explanation of belt sanders and belt grinders discusses overlap in belt-based equipment. The Red Label Abrasives comparison emphasizes task and abrasive format. Treat both as manufacturer-authored explanations of common terminology, not as a controlled manufacturing specification for your part.
| Buyer requirement | Typical sanding emphasis | Typical grinding emphasis | Qué hay que especificar |
|---|---|---|---|
| Primary task | Surface refinement or preparation | Stock removal, shaping or feature correction | Which feature and material are affected |
| Tool or abrasive | Sheet, disc, belt or another abrasive format | Wheel, belt or another abrasive format | Actual process proposed by the supplier |
| Geometry control | Keep edges, holes and profiles within drawing requirements | Preserve dimensions while removing material | Critical dimensions, boundaries and protected areas |
| Surface result | Defined visual or process-preparation endpoint | Defined profile, flushness or removal endpoint | How the result will be inspected |
| Process change | Different abrasive or sequence may alter the surface | Different tool or sequence may alter geometry | Who approves a changed method or result |
Compare the task before comparing the machine
Start with the feature that needs work. Is the supplier removing a weld bead, blending an edge, preparing a broad visible surface, cleaning a local area or correcting a protrusion? The answer determines what the operation should accomplish. A phrase such as “finish the part” is too broad if the buyer has a specific dimensional or appearance requirement.
Then define the starting condition. A raw cut edge, formed surface, weld area, previous coating or cosmetic face will present different constraints. State which part revision and incoming condition are being discussed. If the supplier’s process depends on a sequence—such as removing a local feature before refining a surrounding face—write the order down. Otherwise, two parties may use the same process name while picturing different starting states.
Identify geometry that must remain. Edges, holes, slots, bends, weld boundaries and mating faces can be affected by abrasive removal. Mark the critical features and any areas that must not be altered. If the design has a minimum thickness or a fit dimension, the responsible engineer should specify limits and inspection. Do not infer those limits from the word “grinding” or assume that sanding removes no meaningful material.
Next, define the endpoint. A buyer may need a protrusion reduced to a defined relationship, a surface prepared for a subsequent finish, or a visual texture consistent with an approved sample. Those are distinct acceptance questions. A smooth-looking surface does not automatically prove the geometry is correct; a dimensionally correct feature does not automatically establish the desired appearance. Keep functional and cosmetic acceptance separate where both matter.
How do abrasive format and process sequence matter?
The abrasive format—belt, disc, wheel or sheet—can influence contact area, access and process control. A belt can contact a flat or contoured surface depending on the support and part. A wheel may address a different feature or use a different contact geometry. The exact machine design and consumable determine the operation; the general format does not guarantee a particular result.
Contact conditions also matter. The part’s stiffness, shape, access and fixturing can affect how an operation is performed. A thin formed part may behave differently from a rigid block; a narrow edge may not be treated like a broad face. This article does not specify pressure, speed, wheel hardness or setup. The manufacturer and process owner should review the actual geometry and choose a suitable method within the approved drawing and quality requirements.
The sequence can change the final surface. A part may be ground to remove or shape material and then sanded or otherwise finished. Alternatively, a surface might be prepared before coating or assembly. If the sequence changes, inspect the interfaces that the operation can affect. A finish applied before abrasive work may be removed or altered; a finish applied afterward may cover a different surface condition. Confirm which operations occur before or after joining and coating.
The buyer should ask what evidence demonstrates each endpoint. A dimensional check may verify a retained feature or profile. A visual sample may help define appearance. A drawing callout can control geometry, and an agreed process record may document sequence. No single evidence type proves every attribute. If the desired surface is critical, specify how it will be reviewed and under what reference conditions.
A worked process specification example
Suppose a formed wire basket has a joined support tab with a visible weld area. The design team wants to remove a local protrusion and improve the surrounding visible surface before the final finish. The buyer should identify the exact tab, show the adjacent faces and state which dimensions or interfaces must remain. The supplier can then explain whether it proposes a localized grinding operation followed by surface refinement or another sequence. The words “grind and sand” alone do not show the boundary or accepted endpoint.
The drawing should indicate whether the weld is intended to remain as a joint, which surfaces are cosmetic and which dimensions are controlled. If the operation could affect material thickness or joint appearance, the responsible engineer should review the proposed removal. A sample can show whether the appearance is acceptable, but it does not prove the weld’s structural integrity. A separate inspection plan is necessary if joint integrity is a requirement.
The supplier and buyer can record the operation by feature and acceptance: the local area to be worked, the surface relationship to retain, the reference sample for visual review and the dimension or inspection method that confirms the result. If the coating is applied later, the finishing sequence and responsible party should also be recorded. The approved requirement should be carried into the production drawing or process instruction so that different operators do not interpret a short note differently.
This example does not set a universal weld-grinding practice or an allowable material-removal limit. The proper process depends on the part, metal, joint design and supplier equipment. The value lies in separating the task from the desired outcome and assigning the technical approval to the people who own the design.
What should a buyer inspect after the process?
Inspection should be tied to the attribute that matters. If the concern is a dimension, use the specified measurement method and drawing tolerance. If the concern is visible texture or appearance, use the approved sample or defined visual criteria. If the concern is a weld or joint, use the engineering and quality requirements for that joint rather than relying on a polished surface. Record the process stage being inspected so that upstream and finished conditions are not confused.
Check that adjacent features remain intact. Abrasive work near holes, bends, edges, threads or mating faces can change how the part assembles. A cosmetic surface that looks acceptable may still require a fit check. Likewise, a part that fits may not meet the approved appearance. Keep separate acceptance lines for geometry, finish and functional assembly when all three matter.
For sampling, identify which units or locations are reviewed and how a defect is classified. The specific sampling plan and acceptance criteria depend on the product agreement. This article does not prescribe an AQL or inspection frequency. The buyer, manufacturer and quality owner should agree on a process that reflects the risk and production controls. If a nonconformity is found, preserve the part and record its drawing revision, process stage and observed condition before deciding on rework.
If a supplier proposes an alternate abrasive or machine, decide whether the agreement controls the method or the result. A validated outcome specification may allow process flexibility; a customer-controlled process may require approval before a change. In either case, verify that the finished component still meets the drawing and approved visual target. Do not rely on a verbal assurance that two processes are equivalent.
For an RFQ, a buyer can attach one annotated image that circles the feature and one drawing view that marks the retained dimension. Add a short acceptance note for the surface sample and identify who will approve the first article. This makes the request easier to quote and gives production a shared reference without prescribing an unsupported machine setting.
Keep process and acceptance terms consistent across the drawing, sample record and purchase order. If the drawing says “grind” but the acceptance note requires only a visual appearance, clarify whether dimensional removal is intended. If the process instruction specifies a machine but the product requirement specifies a different endpoint, resolve the conflict before release. That simple document check prevents the operator from having to infer the design intent from mixed notes.
For a repeat order, retain the accepted process note and sample identifier. If the manufacturer changes the tool or sequence, route it through the change-control path and confirm that the required product outcome remains intact.
If there are several visible faces, identify the viewing side or approved sample orientation. Otherwise, inspectors may compare a different area than the designer intended and disagree about whether the same surface is acceptable.
How should buyers specify weld grinding and surface refinement?
Weld-related work is a common place where “grind” becomes ambiguous. The design may require a weld to be reduced, blended or left with a particular appearance. The phrase “flush” should be tied to the relevant adjacent surface and tolerance; it does not mean removing unlimited material or erasing every visible sign of a joint. The substrate, wall thickness, weld design and cosmetic requirement need engineering review.
A supplier should know whether the weld is structural, cosmetic or both. The buyer should not ask for a weld to be ground away without understanding whether it changes the joint or part thickness. A visual surface treatment does not establish weld integrity. If the joint carries a specified load or has a safety role, the responsible engineering and quality teams must define the approved process and inspection criteria.
For general surface preparation, identify the target face and what follows the operation. If the surface will be coated, polished, plated or assembled, the process owner should confirm that the proposed sequence is compatible with the next step. A preparatory abrasive operation is not a standalone promise about adhesion, corrosion resistance or final appearance. Each of those properties has its own requirements and evidence.
Common mistakes when comparing sanding and grinding
One mistake is treating the words as rigid machine categories. A belt process may be described differently by two suppliers even when the task is similar. Ask for the tool format and outcome. Another mistake is assuming sanding always creates a smoother surface or grinding always creates a rougher one. Abrasive type, condition, process and substrate affect the result; the name alone is not enough.
A third mistake is describing only the process but not the dimension or surface to retain. A fourth is calling a weld “flush” without identifying the reference surface and acceptable variation. A fifth is using a generic grit number or machine setting copied from another product. A sixth is treating a surface photo as proof of dimensional conformity or joint integrity. A seventh is accepting a process substitution without checking the finished part.
Another issue is failing to state the change-control path. A supplier may use a different abrasive format or sequence to achieve the same specified endpoint. The buyer should decide which process details are mandatory and which outcome criteria control acceptance. If the process is customer-approved or otherwise controlled, obtain permission before changing it. If the method is supplier-selected, keep the required product outcome and evidence clear.
Define acceptance before authorizing rework
If a finished part is found with a protrusion, scratch or uneven surface, first identify the nonconformity and the affected drawing feature. Rework should not be authorized through a vague instruction such as “sand it smooth.” The supplier and design owner need to know which material can be removed, what dimensions must remain and how the result will be assessed. If the joint or wall thickness is critical, engineering must define the allowed action.
The disposition should state whether rework is permitted, who approves the method and what inspection follows. For appearance, use an approved reference and consistent viewing conditions. For geometry, identify the measurement or drawing characteristic. For a weld, keep surface appearance separate from evidence about joint integrity. Record the part or lot, process stage and approved rework instruction so the same defect is not handled differently across shifts.
Rework can change downstream operations. If the part is polished or coated after sanding or grinding, confirm the revised sequence and which supplier performs each step. If the finish has already been applied, an abrasive operation may alter it; the responsible finishing owner should decide whether the part needs another process or must be rejected. This article does not recommend a universal repair method or promise that rework restores the original condition.
Before repeating the order, determine whether the issue reflects a drawing ambiguity, process capability question, handling problem or isolated occurrence. Use actual inspection evidence to guide a corrective action. Do not convert one event into a claim about a supplier’s general process without data. A clear acceptance plan helps prevent subjective rework and keeps the buyer, manufacturer and quality reviewer aligned.
Buyer checklist before approving an abrasive process
If the endpoint is subjective, agree on a reference sample before production and identify the person authorized to accept it.
- Identify the part revision, material and starting surface condition.
- Mark the exact feature or face to be worked.
- State the removal, shaping, preparation or refinement task.
- Define dimensions, edges and interfaces that must remain unchanged.
- Specify the required surface endpoint or approved visual reference.
- Ask which abrasive format and sequence the supplier proposes.
- Identify downstream coating, polishing, joining or assembly steps.
- Separate appearance inspection from dimensional or joint acceptance.
- Define who approves a process substitution or changed result.
- Do not infer roughness, accuracy or strength from a machine name.
- Escalate load-bearing or safety-relevant weld requirements to engineering.
- Keep process and inspection records linked to the controlled drawing.
Preguntas frecuentes
Is sanding the same as grinding?
Not always, but both use abrasives and terminology can overlap. Sanding often emphasizes surface refinement or preparation; grinding often emphasizes removal or shaping. Specify the task and endpoint.
Is grinding always rougher than sanding?
No universal result follows from the label. Abrasive format, process, material and sequence influence the finish. Define the desired surface and how it will be accepted.
Can a supplier use a belt grinder for sanding work?
Possibly. Belt systems can be used for different tasks, and supplier terminology varies. Confirm the actual tool, part feature and required result rather than relying on the machine name.
Does grinding a weld flush prove the weld is sound?
No. Surface appearance and joint integrity are separate questions. Any structural or safety requirement needs engineering-defined process and inspection evidence.
Work with Koitor Hardware
When a metal hardware drawing includes grinding or sanding notes, share the part geometry, material, weld or edge location, visible surfaces and desired endpoint. Koitor Hardware is a family-owned custom metal hardware factory and can discuss forming, joining, polishing and process coordination within confirmed project scope. The specific process, product dimensions and acceptance evidence must be agreed for each design. Begin a customized product discussion through the OEM home storage hardware page.
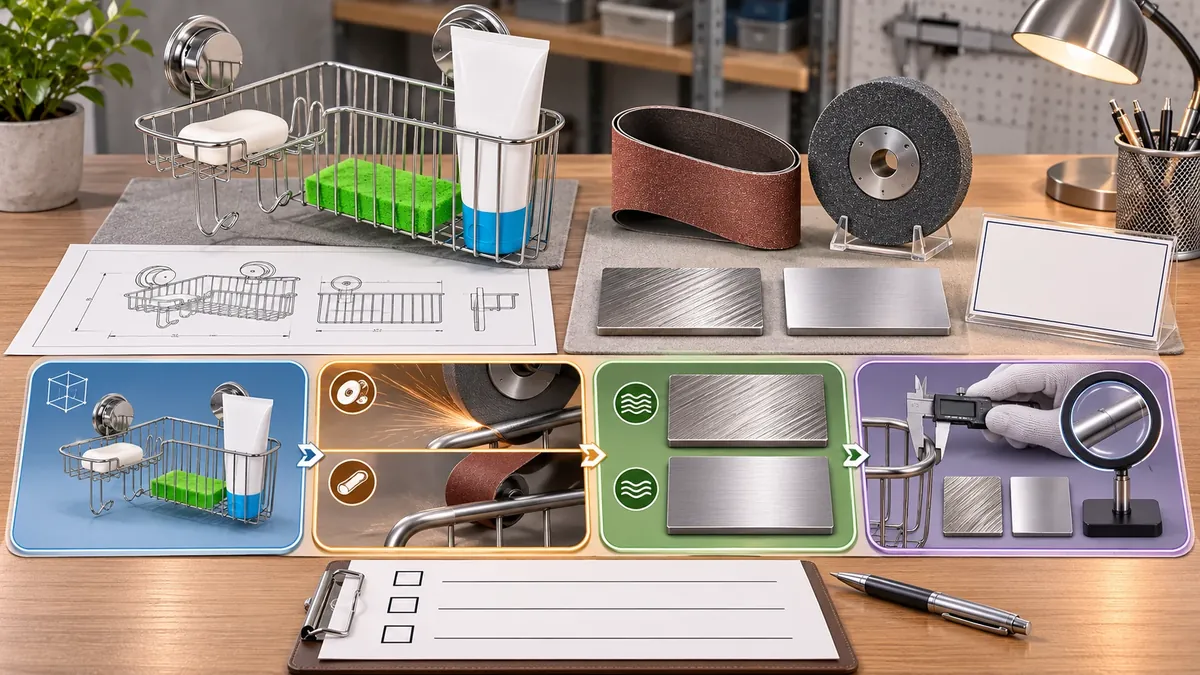
In practical sourcing, sanding vs grinding should frame a defined comparison; the purchase specification still needs the exact material or process, acceptance criteria, and evidence required for the actual part.
Sources
- Burr King: Belt sanders vs. belt grinders
- Red Label Abrasives: Sanders vs. grinders
- Surface dust tape test for coating preparation
Discuss Your sanding vs grinding Requirements
Share the controlled drawing or sample, intended use and the specific question you are resolving. Koitor can discuss relevant metal hardware manufacturing scope and identify details that need confirmation for your project.
OEM / MARCA BLANCA
Convierte esta guía de abastecimiento en un resumen del producto
Indícanos el producto que deseas, el tamaño, el acabado, la cantidad del pedido y los requisitos de embalaje. Tu equipo recibirá un análisis práctico de la viabilidad de fabricación antes de recibir el presupuesto.


 English
 Español
 Português
 Français
 Deutsch
 العربية