
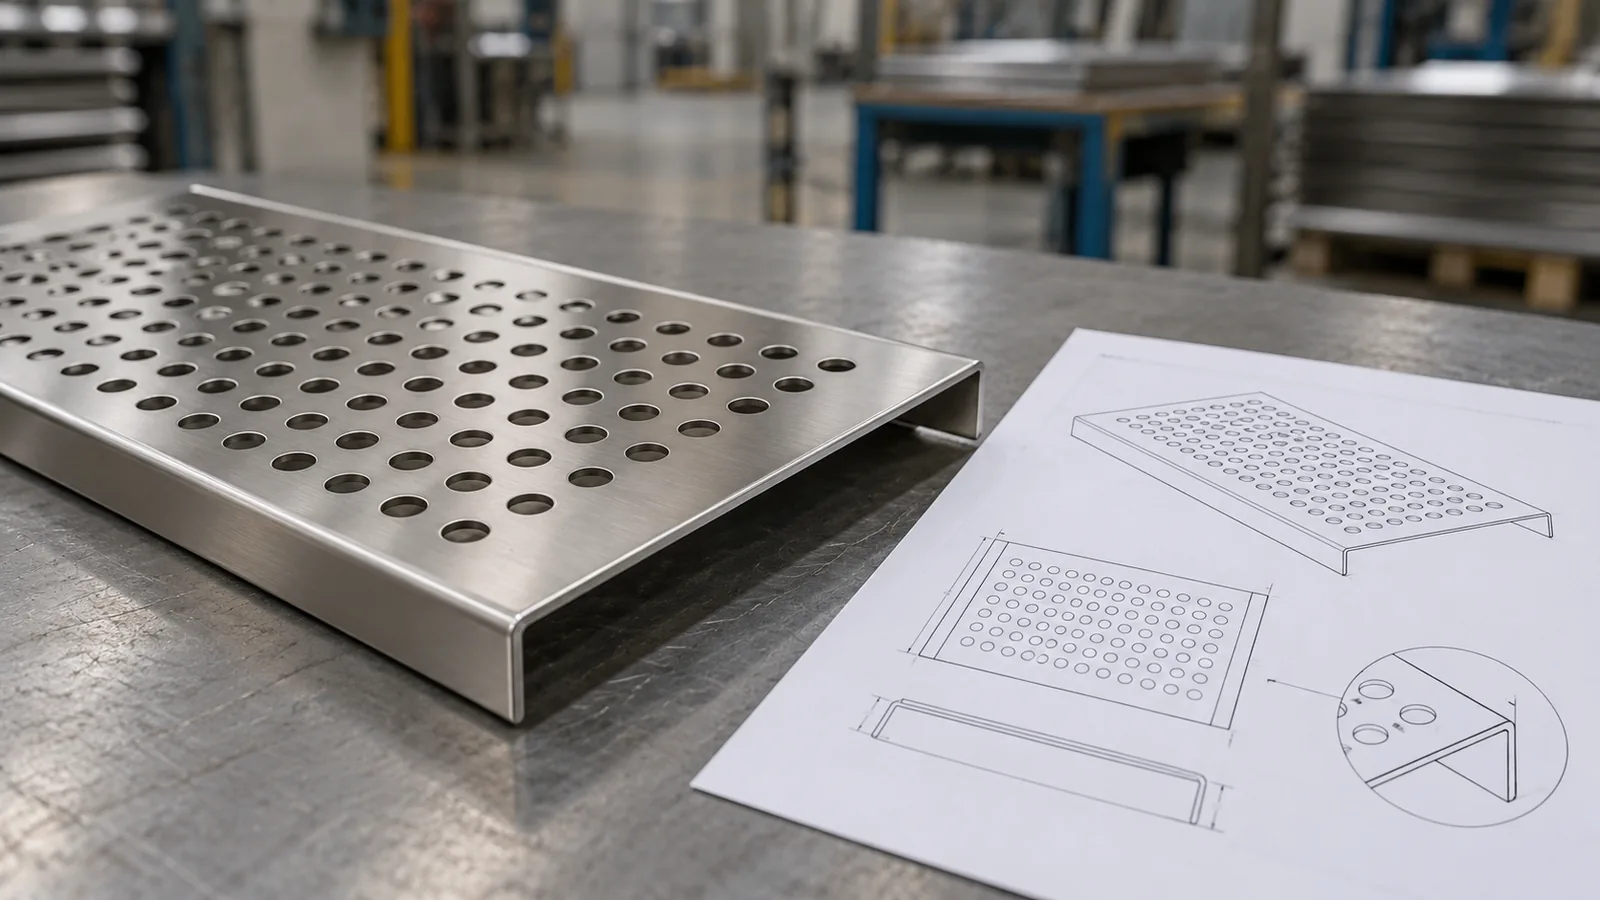
For a perforated metal shelf, buyers should specify perforated metal hole pitch open area requirements in addition to the hole shape and size, center-to-center spacing, pattern orientation, solid edge margins, material and thickness, then review those details on a production-intent sample. The relationship between openings and the metal left between them affects usable support, drainage, appearance and forming choices. A supplier quote is comparable only when the drawing and acceptance method describe the same pattern and finished part.
Why does hole pitch matter beyond appearance?
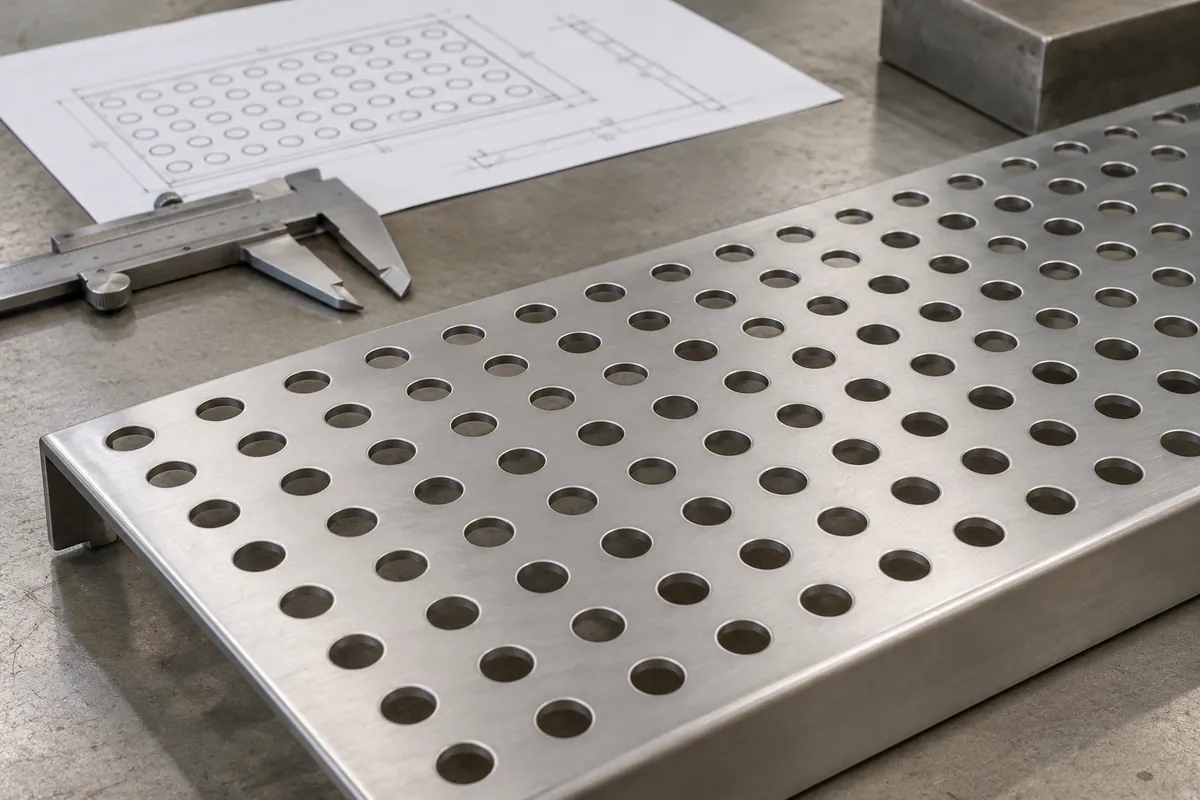
Hole pitch is the distance between corresponding points—usually centers—of neighboring holes. A drawing should say how it is measured, identify the pattern direction and show where the pattern starts relative to the shelf edges. Hole diameter without pitch does not fully describe a perforated panel: two sheets can use the same nominal hole size but leave different amounts of material between openings.
The remaining strip between adjacent openings is often called a ligament. Its width is linked to the hole geometry and spacing, but the drawing must also account for the boundary: a partial row at the edge, a solid border, or a formed flange can change the usable pattern. For a shelf, those boundary details affect how the panel sits in its frame, how the edge is finished and whether the visible pattern appears centered.
Open area is the fraction of the sheet face occupied by openings, expressed as a percentage. It is useful for comparing patterns, but it is not a complete performance rating. A single percentage does not tell a buyer where the openings sit, whether a bottle base spans several holes, how the edge is supported, or how the formed shelf behaves in its final assembly. Nor does open area alone establish a load capacity or drainage outcome.
The buyer question is therefore not “What is the best open-area percentage?” It is “Which pattern meets the product’s use and appearance requirements while remaining manufacturable in the specified material and finished geometry?” Answer that using the actual shelf footprint, supporting structure, use conditions and sample acceptance plan—not a catalog number in isolation. For a perforated metal hole pitch open area review, treat the percentage as one descriptor inside a larger controlled drawing, not as the acceptance plan itself.
What should a buyer put on the RFQ drawing?
Start with the finished shelf dimensions and identify the perforated region separately from any solid borders, mounting flanges or frame interfaces. State the hole shape, nominal size, pitch in both directions if relevant, pattern arrangement, orientation and edge condition. If the visual centerline matters, dimension the pattern from a defined datum rather than relying on a verbal instruction such as “centered.”
The drawing should identify material form and thickness, finish requirements and the surfaces that are cosmetic or functional. If the hole pattern will be punched before bending, agree how the supplier will manage the relationship between the pattern and bend lines. A change in blank size, flange width or datum can shift the pattern even when the hole tooling has not changed. If the shelf uses a separate wire frame, show the assembly interface and identify which dimensions control alignment. Include the inspection state and any changes that require written approval, such as a revised pattern, blank size or finished edge condition.
| RFQ item | What to define | Pourquoi est-ce important ? |
|---|---|---|
| Hole geometry | Shape, nominal size and arrangement | Makes samples and quotes comparable |
| Pitch and orientation | Center spacing and pattern direction | Controls visual rhythm and material remaining |
| Edge margin | Solid border and partial-hole rule | Affects edge appearance and formed boundaries |
| Base material | Grade/form and thickness, as approved for the project | Influences forming and finishing decisions |
| Finished geometry | Flanges, frame interface, datums and critical dimensions | Keeps the pattern aligned in the assembled shelf |
| Acceptance evidence | Sample, measurement locations and visual criteria | Separates a drawing requirement from an assumed result |
Avoid copying a supplier’s standard perforation schedule into a custom drawing without checking its edge margins and sheet size. Supplier catalogs may use different conventions for pitch, pattern direction, margins and stock dimensions. Ask the supplier to mark the convention on a sample drawing and resolve the difference before tooling or production approval.
How do pitch, open area and shelf structure interact?
When holes move closer together while hole size remains constant, the amount of material between openings generally decreases. That can change the stiffness and appearance of the perforated region, but the finished shelf response also depends on sheet thickness, unsupported span, edge restraint, flange geometry, frame attachment and loading position. Do not infer a safe load from a hole pattern or from a photo.
A denser pattern may suit a visual or drainage preference, yet it can make the remaining ligaments and edge transitions more important to inspect. A wider pitch leaves a different visual rhythm and more uninterrupted material, but it may not match the product concept or the buyer’s opening requirement. These are trade-offs to review with the supplier against the specific shelf construction.
The pattern must also fit the items intended to sit on the shelf. Small containers may rock if their bases bridge openings unevenly; a narrow soap package may align with a row in a way the buyer did not expect. These observations should be checked using representative product footprints or neutral gauges, not assumed from the nominal hole diameter. If the use case includes liquid, confirm drainage on a representative finished sample in the intended orientation. The hole area alone does not prove drainage performance because surface condition, slope, surrounding walls and installation angle can matter. Record the container base, sample orientation and test conditions so suppliers are not compared using different setups.
Solid borders and formed edges are part of the decision. They can give the designer a controlled zone for a bend or frame connection, but they reduce the perforated region and may create a visible transition. The sample should be checked for pattern alignment, burrs or sharp edges, distortion near bends, and any mismatch between the perforated panel and its mating components. Agree the inspection state: before finishing, after finishing, or on the assembled product.
How should the sample be reviewed?
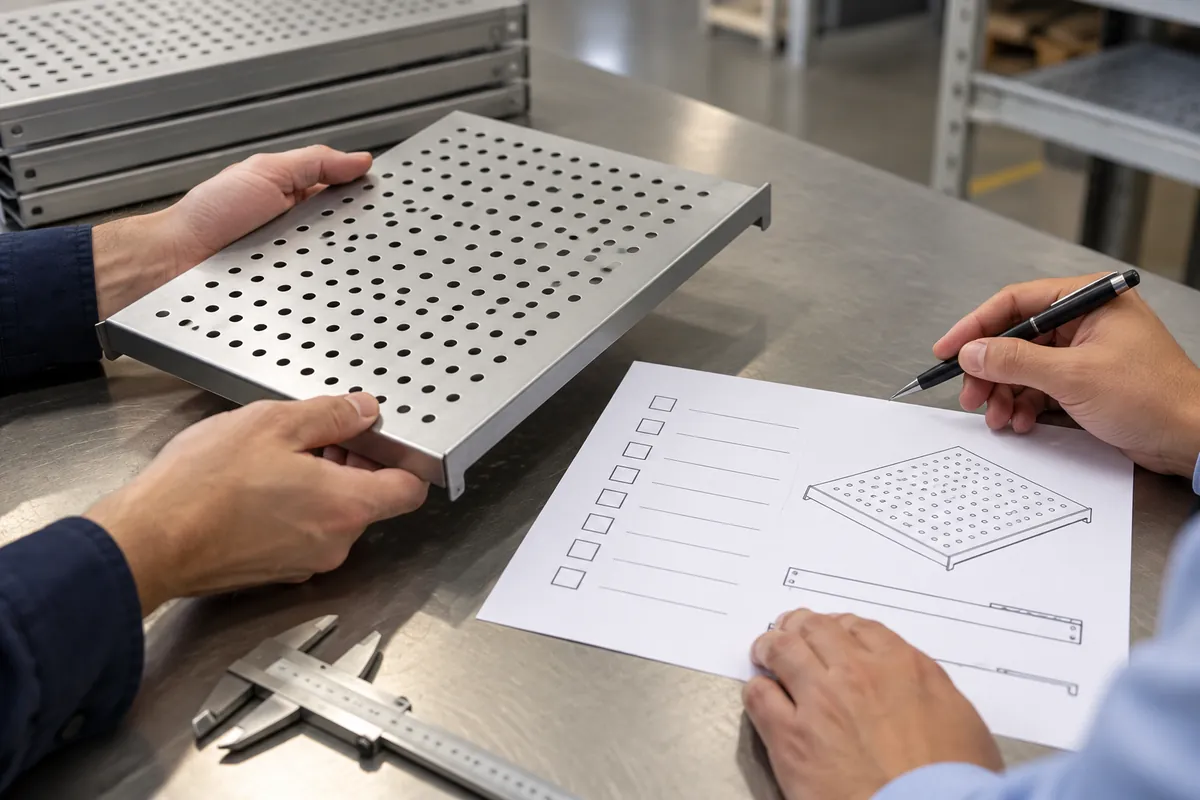
A sample review should use the same drawing revision and material/finish scope that the supplier is being asked to quote. Record the revision, sample date, material identification available, pattern orientation and any proposed process assumptions. If the panel is a concept sample rather than production-intent, label it that way; a visually useful mock-up is not proof of repeatability at order scale. A perforated metal hole pitch open area approval should also identify who accepted the sample and which drawing revision governs future production.
First compare the actual hole size and pitch at agreed locations. Choose locations that reveal the pattern center, edge margins, corners and any transition near a flange. The measurement method should be suitable for the geometry and agreed by the buyer and supplier. For a visual feature, define acceptable pattern shift, burr condition and finish appearance with a marked-up drawing or signed sample. Do not use vague terms such as “clean” or “even” without a reference.
Next fit the panel into the intended frame or assembly. Check whether the holes remain aligned with the visible perimeter and whether assembly introduces twist, bow or gaps. Where the shelf has formed edges, inspect the bend region for pattern distortion and compare both sides of the part. If an assembly or finish operation can obscure a feature, inspect it before that step and retain traceable evidence.
Finally, evaluate function using an agreed method. Place representative container bases on the sample to assess support and rocking. If drainage is a requirement, use a repeatable orientation and record the conditions that matter to the buyer. If load capacity is part of the product claim, define the assembled test configuration, support points, applied load and acceptance criterion separately. This article does not establish a universal value; the buyer and qualified supplier must define the project test. A single sample result is not a statistical capability study or a lifetime durability guarantee.
Which mistakes create avoidable sourcing delays?
One common mistake is specifying only open area. A supplier may return a pattern with a similar percentage but a different hole size, pitch, margin or orientation. Put the controlling geometry on the drawing and state which features may vary only with written approval.
Another is approving a flat blank without checking the finished shelf. Bending, joining, frame fit and coating can affect alignment or appearance. Review a representative formed and finished sample whenever those steps are part of the delivered product. If the supplier proposes a different manufacturing route, ask what changes in the pattern, edge or inspection plan and review the affected feature again.
A third mistake is relying on a photo or an unreferenced catalog image. Perspective, lighting and image scale make it difficult to confirm geometry. A photo can document a visual concern, but it does not replace a dimensioned drawing or a physical sample. Likewise, a supplier’s standard pattern is not automatically suitable for the buyer’s product footprint. When an image is used for review, mark the view direction and identify which edge is the datum so comments can be translated into a controlled revision.
Finally, avoid treating the sample as approval of unspecified production. The approved sample should be linked to a revision, material/finish description and acceptance record. If the hole pattern, sheet thickness, tooling, supplier or finish changes, define which changes require buyer notification and reapproval. That prevents a later debate about whether “same appearance” means the same specification.
How can an OEM partner support a small-batch development?
A specialized bathroom and home-storage hardware manufacturer can help translate a concept into a drawing and sample discussion: what dimensions control the shelf-to-frame interface, which edge is visible, whether the pattern crosses a bend region, and what finish must be reviewed. Koitor’s approved manufacturing context includes metal forming, punching, welding, grinding, polishing, powder coating, assembly and packaging preparation; actual process and material availability should be confirmed for each project.
For a small-batch OEM program, the buyer can reduce ambiguity by sending a 2D drawing, a 3D model if available, a physical sample or annotated images, the expected order quantity and target-market requirements. Ask for any proposed deviations or manufacturability questions to be returned against the same revision. Separate sample-development cost, any dedicated tooling, production pricing and inspection scope in the quotation so the commercial comparison is clear.
Do not assume that the factory owns every specialized perforating tool or can meet an unstated tolerance. Ask the supplier to identify which operations it performs directly, which are subcontracted, and what sample or inspection evidence is available. The decision should be based on the demonstrated route for the specific design, not a generic statement of capability.
Buyer checklist before requesting a quotation
- – Show finished shelf dimensions, datums, mounting interfaces and the perforated region.
- – Define hole shape, size, pitch, pattern direction and orientation.
- – Dimension solid borders and specify the rule for partial holes at edges.
- – Identify material form, grade and thickness as project requirements, not assumptions.
- – Mark bend lines, flange geometry, frame joints and cosmetic surfaces.
- – State finish, edge-condition and visual acceptance requirements.
- – Provide representative bottle or container footprints where support matters.
- – Define sample type, revision, inspection locations and approval record.
- – Separate drainage or load testing from visual inspection and specify the method if required.
- – Identify change-notification and reapproval triggers for tooling, material, pattern or process.
- – Ask the supplier to document assumptions, exceptions and unconfirmed capabilities in the quote.
Foire aux questions
Is open area enough to specify a perforated shelf?
Does a higher open-area percentage always improve drainage?
Can buyers compare two suppliers using only hole diameter?
Should the pattern cross a bend line?
What proves that production will match the approved sample?
For a related manufacturing context, review Koitor’s custom metal storage basket manufacturing page et OEM home-storage hardware information. For project-specific drawings and sample requirements, contacter Koitor.
Review a Perforated Shelf Concept
Share the drawing or sample, target quantities, material and finish requirements, and the sample questions that matter to your sourcing decision.
Fabrication pour compte de tiers / Marque de distributeur
Transformez ce guide d'approvisionnement en cahier des charges
Indiquez-nous le produit souhaité, ses dimensions, sa finition, la quantité commandée et vos exigences en matière d'emballage. Votre équipe recevra une analyse pratique de la faisabilité de la fabrication avant l'établissement du devis.
 English
  Español
  Português
  Français
  Deutsch
  العربية