Suction cup bathroom accessory failure analysis should separate four possible cause groups before a buyer asks for corrective action: the wall surface, the installation method, the suction components, and the metal accessory structure. A complaint such as “the basket fell” is an event description, not a root cause. Importers need the exact product revision, both mount conditions, wall information, installation history, photographs, and a retained sample before deciding whether the problem belongs to product design, production control, instructions, packaging, or use conditions.
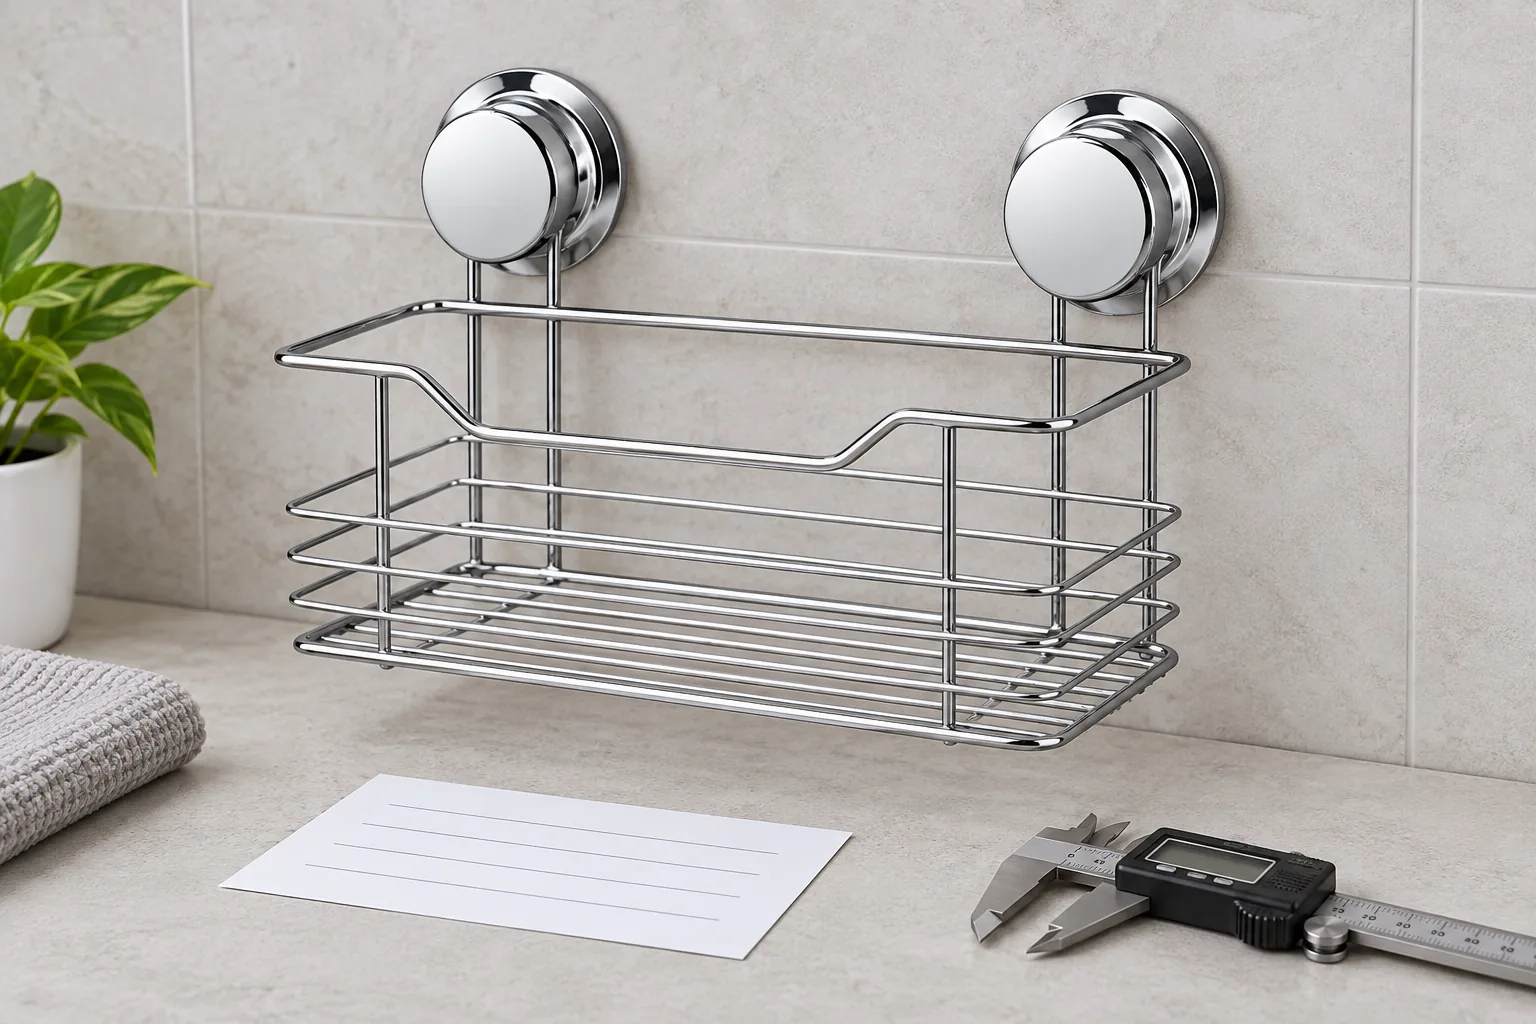
This guide uses a chrome wire basket with two circular suction mounts as the working example. Each mount connects to the basket through two descending support wires. The left and right interfaces share one metal frame, so they must be inspected separately and as a system. A single-mount image, an adhesive accessory, or a different basket revision would represent a different product and should not be mixed into the same investigation.
What Information Should a Buyer Collect Before Investigating?
Collect evidence before disassembling, cleaning, repairing, or reinstalling the returned unit. The first record should identify what happened, where it happened, and which exact product was involved. If the evidence changes during handling, note the change instead of treating the later condition as the original state.
Start with the purchase order, SKU, drawing revision, approved sample, packing specification, production date or available lot reference, and shipment information. Record whether the returned accessory matches the approved structure. For the dual-suction basket, verify two circular mounts, two support wires under each mount, the agreed mount spacing, the continuous rear rail, basket dimensions, and visible finish. A similar-looking product with one support wire per mount must not be compared as if it were the same revision.
Ask the reporter for wall photographs showing both contact areas, not only a close-up of the fallen basket. Useful details include the wall material, texture, joints, curvature, cleaning products, moisture condition, installation position, time from installation to the reported event, items placed in the basket, and whether the unit had been removed or repositioned. This information does not prove a cause, but it lets the review team sort plausible paths.
Preserve the packaging when available. A distorted rubber cup, scratched cover, bent rear rail, or displaced component may originate before installation. Photograph the inner pack and the orientation of loose parts. The objective is to create a traceable evidence set, not to assign blame quickly.
Customer-service records should preserve the reporter’s original wording as well as the buyer team’s later classification. Note whether the report concerns detachment, gradual movement, visible deformation, missing components, cosmetic damage, or difficulty following the instruction. These are different starting points. Record dates and file names consistently so photographs, returned parts, and correspondence remain connected. When several reports exist, compare them only after each case has a minimum evidence set; otherwise a well-documented case may appear more serious simply because it contains more detail.
- Record the exact SKU, drawing revision and order reference.
- Photograph the complete accessory from front, side and rear.
- Photograph left and right wall contact areas at useful scale.
- Keep the original cups, covers, bases and packaging together.
- Write down installation, cleaning, removal and loading history.
- Separate observed facts from assumptions made after the event.
How Can Buyers Separate the Main Failure Cause Groups?
Use a cause matrix so the team does not jump from one symptom to one conclusion. The same symptom can come from several paths. For example, one cup losing contact could relate to local wall texture, contamination, component condition, uneven seating, or frame alignment.
| Cause group | Evidence to review | Question for the buyer team |
|---|---|---|
| Wall surface | Texture, porosity, joints, curvature, cleanliness and moisture | Was the named surface inside the approved use scope? |
| Installation | Cleaning, drying, spacing, seating, cover engagement and waiting steps | Did the actual method match the buyer-approved instruction? |
| Suction components | Cup face, base, cover, thread or locking interface, contamination and deformation | Does either mount differ from the approved retained sample? |
| Metal frame | Mount spacing, rear-rail straightness, wire seating, weld condition and basket twist | Could frame geometry prevent both cups from seating together? |
| Packaging and handling | Cup protection, loose parts, pressure points, carton condition and assembly state | Was the component condition changed before installation? |
Do not treat these groups as mutually exclusive. A slightly twisted frame may become visible only on a mildly uneven wall. An unclear instruction may cause a good component to be seated inconsistently. The practical question is which combination best fits the available facts and can be checked against samples.
The no-drill bathroom accessories page provides product-development context for defining the full mount, metal frame, installation surface, and instruction as one system.
How Should a Dual-Suction Basket Be Inspected?
Inspect the left mount, right mount, and metal basket in a fixed order. Mark the parts as left and right before removal. This avoids swapping components and losing the relationship between a local wall condition and a specific mount.
- Photograph the installed or returned state without changing it.
- Identify the left mount, right mount, rear rail, basket and wall contact areas.
- Check whether both covers and bases appear fully seated.
- Compare the vertical and horizontal position of both mount centers.
- Inspect each rubber cup face for folds, particles, pressure marks or visible damage.
- Compare bases, covers and connection details with the retained approved sample.
- Check the two support wires under each mount and their seating in the basket structure.
- Compare rear-rail straightness, basket level, side symmetry and visible twist.
- Record every difference before attempting reinstallation.
A dimension outside the drawing is important only after the measurement method and drawing revision are confirmed. Likewise, a visual difference in a rubber component should be compared with an approved part, not judged from memory. Use calibrated tools where the project requires measurement, but avoid inventing tolerances after a complaint.
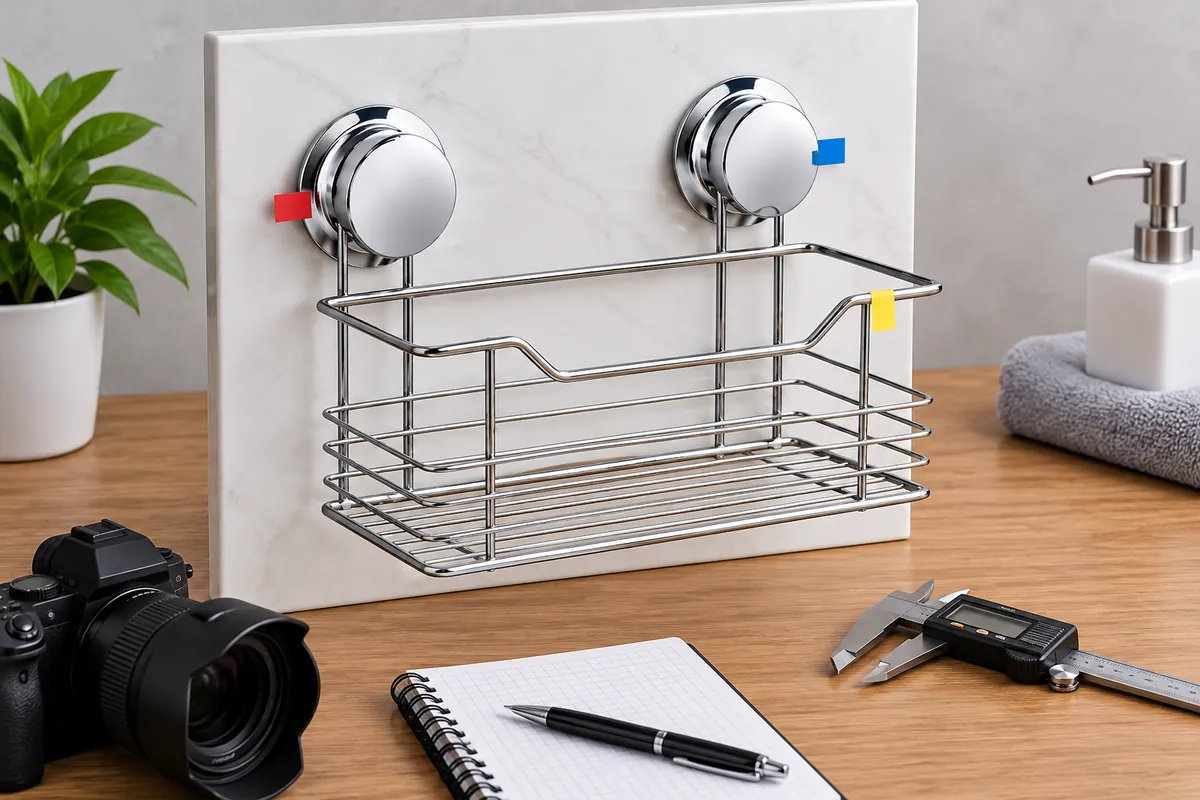
When a second sample is installed for comparison, use one identified wall panel and one written procedure. Do not silently improve the cleaning method or add installation aids. A comparison is useful only when the relevant conditions are recorded. If the complaint surface cannot be reproduced, state that limitation clearly.
What Common Investigation Mistakes Lead to the Wrong Action?
The most common mistake is replacing a part before preserving evidence. Cleaning a cup, straightening a rail, tightening a cover, or swapping left and right components may make the product easier to examine, but it also changes the original condition. Photograph first, label parts, and keep changed-state notes.
Another mistake is grouping all reports under “suction failure.” One complaint may involve a textured wall; another may involve packaging pressure; a third may involve incorrect mount spacing. Combining them can create a misleading trend. Classify reports using consistent fields while retaining the individual facts.
Buyers should also avoid using a successful reinstall as proof that no issue existed. Reinstallation may use a cleaner surface, different pressure, another position, or a better-understood method. Record the reinstall as a new observation. It may help narrow the cause, but it does not erase the first event.
Do not begin with a universal corrective action. A thicker cup, stronger instruction warning, tighter pack, changed frame, or extra inspection step affects different parts of the product and supply chain. Each action should link to evidence, an owner, a sample revision, and a verification plan. Unrelated design changes create cost without solving the recorded cause.
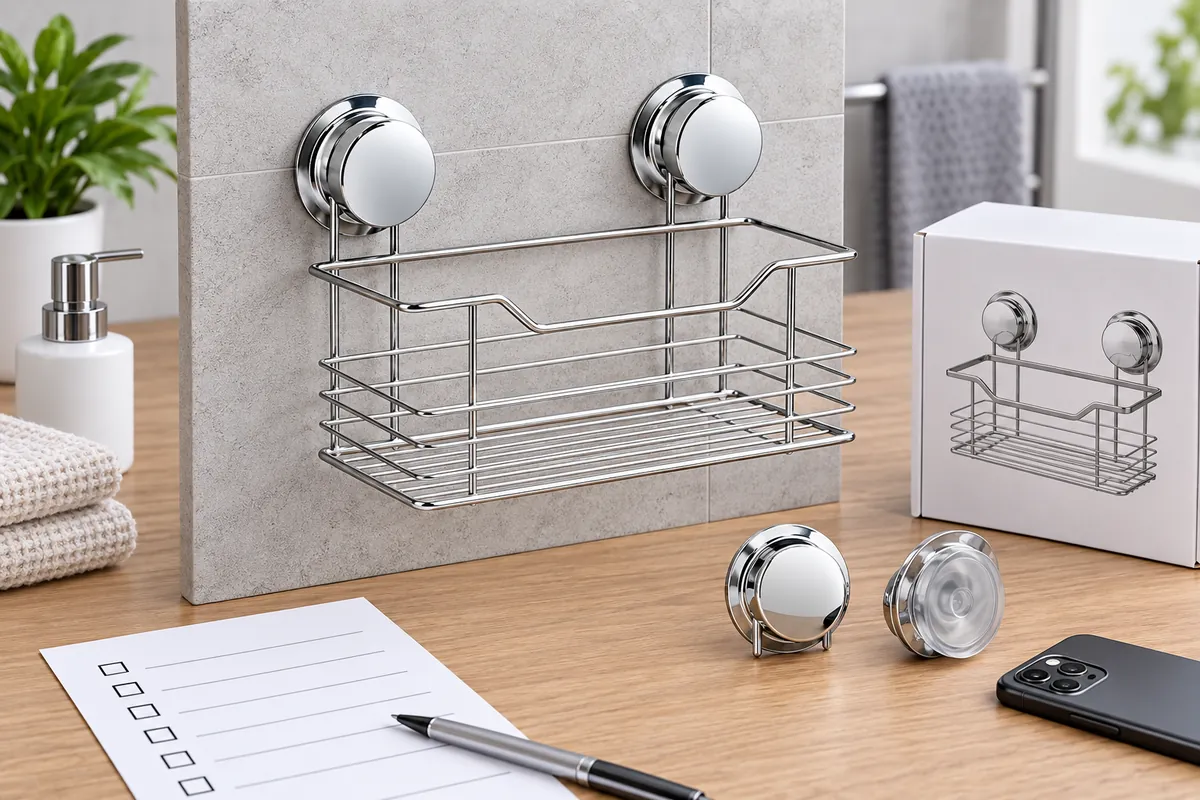
Finally, do not use generated product images as failure evidence. Article illustrations can explain the correct dual-mount structure, but the investigation must rely on photographs and retained parts from the actual order. This distinction protects both the buyer and the supplier from decisions based on an attractive but unrelated image.
How Should Corrective Action Be Chosen and Verified?
A corrective action should address the supported cause path, not merely the visible symptom. Write a short problem statement that names the product revision, event, affected area, evidence, and current uncertainty. Then assign containment, root-cause review, correction, and verification as separate tasks.
Containment may mean holding matching stock for review, checking a defined feature, protecting a component, or clarifying instructions for a specific surface. It is a temporary risk-control step, not proof of the final cause. Avoid broad statements that every unit is defective when the evidence does not support that conclusion.
For a component issue, compare the returned part, retained production sample, and approved master sample. For a frame issue, compare mount spacing, support-wire position, rear-rail geometry, and basket alignment against the current drawing. For an instruction issue, compare the actual user steps with the approved leaflet and listing. For a wall-scope issue, revise the named compatible and excluded surfaces only after the buyer approves the evidence basis.
Koitor Hardware can review the manufacturability of metal basket geometry, wire connections, welding points, finish, basic assembly, and protective packaging for a custom project. As a family-owned custom metal hardware factory, Koitor can work from buyer drawings or physical samples and discuss a small-batch sample route. The buyer remains responsible for defining market claims, use conditions, and any project-specific validation required.
Use the fabricante de acessórios personalizados para casas de banho page when planning a revised metal structure or retained sample. A changed component or drawing should receive a new revision identity so later orders do not mix old and new evidence.
What Should Be in the Buyer Evidence Pack?
A concise evidence pack helps purchasing, quality, product, marketing, and the factory work from the same facts. It should be complete enough to support a decision without turning into an unsearchable folder of photographs.
- ☐ SKU, order, drawing revision and approved sample are identified.
- ☐ Product photographs show front, rear, left mount and right mount.
- ☐ Wall type, texture, joint position, cleanliness and moisture are recorded.
- ☐ Installation and any removal or repositioning steps are documented.
- ☐ Left and right suction components remain separately labeled.
- ☐ Two support wires under each mount are visible and checked.
- ☐ Basket alignment, rear rail, welds and finish are reviewed.
- ☐ Packaging condition and component protection are photographed.
- ☐ Facts, hypotheses, open questions and decisions are separated.
- ☐ Corrective action names an owner, revision and verification method.
- ☐ Retail wording is reviewed if the approved use scope changes.
A disciplined suction cup bathroom accessory failure analysis ends with a bounded conclusion. State what the evidence supports, what remains unverified, and which next action is proportionate. If evidence is incomplete, request the missing item or run a controlled comparison rather than filling the gap with assumptions.
Perguntas frequentes
Is a fallen suction basket automatically a product defect?
No. The event may involve wall texture, installation, component condition, frame geometry, packaging, use conditions, or a combination. Evidence is needed before classification.
Should both suction mounts be inspected if only one lost contact?
Yes. Record each mount separately, then examine the shared frame. The second mount provides useful comparison evidence, but it should not be treated as a perfect control without checking its condition.
Can a buyer rely on customer photographs alone?
Photographs are useful, especially when they show both contact areas and installation context, but a retained unit, approved sample, drawing revision, and installation record usually make the review more reliable.
When should packaging be included in the investigation?
Include it whenever cup deformation, scratches, loose parts, bent structure, or assembly condition could have changed during storage and transport.
What should happen after a design or component change?
Create a new revision, make and review a production-intent sample, define the affected checks, and keep the earlier evidence separate. Do not mix changed and unchanged units under one conclusion.
A repeatable suction cup bathroom accessory failure analysis gives an OEM buyer a better basis for containment, supplier communication, product revision, and retail wording than a general request to “improve quality.”
Review a Suction Accessory Issue With Clear Evidence
Send Koitor your drawing or sample, product revision, photographs, mount spacing, wall information, finish and packaging details. The team can discuss the metal structure and a practical OEM sample route.
OEM / MARCA PRÓPRIA
Transforme este guia de fornecimento num resumo do produto
Indique o produto pretendido, as dimensões, o acabamento, a quantidade a encomendar e os requisitos de embalagem. A sua equipa receberá uma análise prática da viabilidade de fabrico antes da apresentação do orçamento.
 English
  Español
  Português
  Français
  Deutsch
  العربية