

Thread pitch describes the axial distance between corresponding points on adjacent threads in many thread systems; inch-based specifications commonly use threads per inch (TPI), a related count rather than the same unit. Pitch alone does not identify a fastener or prove that two parts will mate. A buyer should also specify nominal diameter, thread form and series, length, direction where relevant, material or finish, and the applicable standard or drawing. For custom bathroom and home-storage hardware, matching the actual mating components and sample is more reliable than ordering from a single number or an informal label.
What problem does thread pitch solve for buyers?
Threaded connections often look alike until a screw is assembled into a bracket, insert, nut, or mounting plate. A fastener can have the right general diameter and still fail to engage correctly because the pitch, form, series, or tolerance differs. If a product developer writes only “M5 screw” or “small machine screw,” the supplier may need to infer missing details or propose a standard. Different suppliers can make different assumptions, and the resulting parts may not be interchangeable.
The buyer’s task is not simply to identify how close the ridges appear. It is to define the thread that mates with a specific component and the evidence needed to approve it. That matters when sourcing replacement screws, changing a mounting plate, transferring a design between suppliers, or adding a private-label fastener pack. An apparently minor thread difference can create assembly difficulty, looseness, cross-threading, damaged inserts, or customer complaints. Those outcomes depend on the complete joint and use conditions; no single pitch value predicts joint performance.
Thread terminology can also be confusing because metric and inch systems express spacing differently. In a metric callout, pitch is commonly the distance between adjacent thread crests expressed in millimeters. TPI counts the number of threads in a one-inch length, so a greater TPI number means smaller spacing within that system. Conversion may help compare spacing numerically, but it does not establish interchangeability: thread angle, diameter, series, form, tolerance, and standard also matter.
This guide shows how to specify and check thread spacing without turning a measurement into a complete fastener specification. It is a buyer’s practical overview, not a replacement for a current engineering standard or a design calculation. Use the fastener and mating-component documentation for the exact product and avoid inferring load, torque, or strength from pitch alone.
What does pitch mean, and how does it relate to TPI?
For a single-start thread, pitch is the axial distance from a point on one thread to the corresponding point on the next. Imagine measuring along the screw axis from one crest to the next. A thread pitch gauge compares the profile and spacing of a blade against the thread. It is a convenient identification aid, but it does not by itself resolve every dimension or confirm a complete standard designation.
Threads per inch is a count: the number of thread intervals within a one-inch length. Because it counts threads rather than directly stating a metric distance, its direction feels reversed at first. More threads per inch generally indicate less spacing between adjacent threads for the relevant thread form and nominal size. Conversion references can express approximate spacing relationships, but the selected table must match the unit system and the intended type of thread.
Do not compare a metric pitch and a TPI value as if they were identical numbers. They are different quantities and units. A conversion may show that two spacing values are numerically close, but the screw can still be incompatible with a mating component. Bolt Science’s explanation of screw threads and Newman Tools’ pitch conversion reference help clarify the measurement concept; the actual purchase callout must still identify the relevant thread series and standard.
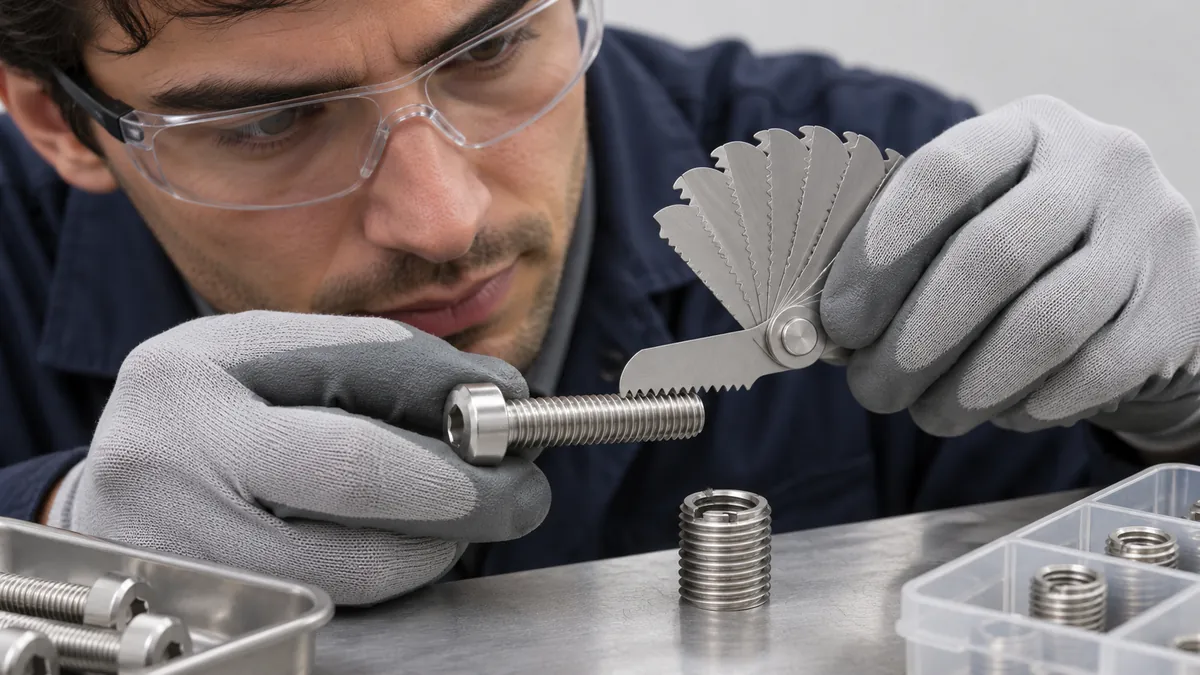
The thread pitch gauge should sit against the threads without forced rocking or a misleading gap. Compare more than one blade when needed. If a fit appears close but uncertain, record the sample identity and ask a fastener supplier or qualified engineer to identify it with appropriate gauges and references. A visual estimate from a photograph is not a dependable measurement because camera angle, scale, wear, and perspective distort spacing.
Which details belong in a complete thread callout?
Start by identifying the thread family and the standard or drawing that governs it. State whether the callout is metric or inch-based and include the nominal diameter and pitch or TPI as appropriate. Add the thread form or series where required, the fastener type, length and measurement convention, head style, drive, material, finish, and quantity. For an assembly, identify the mating part and whether the thread is internal or external.
The exact callout depends on the product and applicable standard. Do not copy a generic chart into a product drawing and assume it covers all fasteners. A chart may show a subset of common sizes; specialty threads, different forms, and current standards require their own documentation. If the buyer uses an existing screw sample, tag it with the item and revision and request a supplier readback of the proposed specification before order placement.
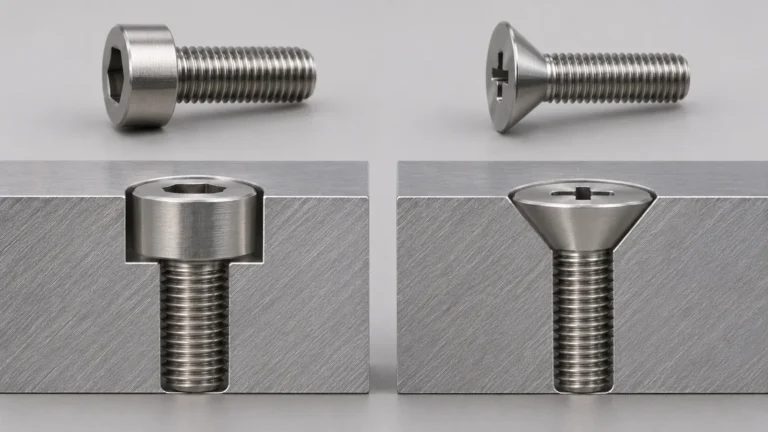
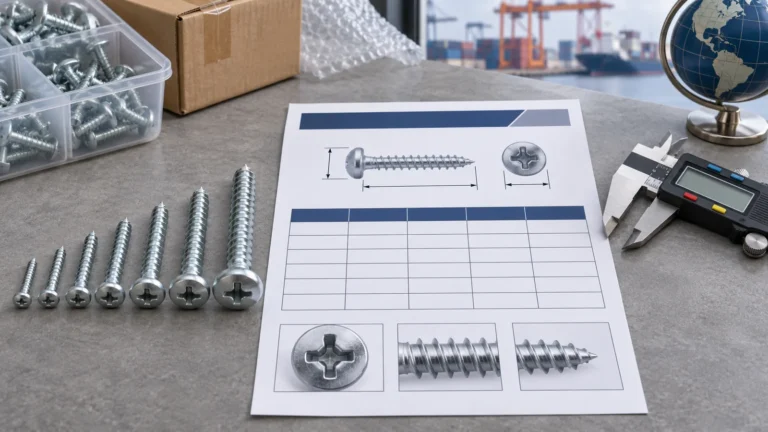
Also identify how the length is measured for the selected head style. A flat-head fastener is commonly dimensioned differently from a pan or round head, so two packages listing the same nominal length may not produce the same installed reach. The drawing or referenced standard should control that convention. Record head diameter, drive type, and any under-head feature when these affect clearance or assembly access. A buyer should not expect the word “threaded screw” to imply a particular head, length convention, or drive.
Where a design uses a threaded insert, rivet nut, or thin-wall mounting plate, specify that mating component explicitly. The thread may be standard, but the surrounding construction can set the actual installation constraint. A bracket may need clearance for a tool; the screw may need to avoid projecting into another component; or the fastener may be included in a product kit with installation instructions. These are assembly decisions beyond the thread-spacing value, so the supplier needs the drawing or sample context to confirm a complete offer.
| Specification field | What to record | Why pitch alone is insufficient |
|---|---|---|
| Thread system | Metric or named inch-based system | Units and convention must be clear |
| Nominal diameter | Specified major/nominal size | Spacing does not identify diameter |
| Pitch or TPI | Value and unit/convention | Defines spacing, not full thread identity |
| Thread form/series | Applicable profile and series | Different forms may not mate |
| Length | Defined from the correct reference face | Fastener length conventions can vary by head type |
| Mating part | Nut, insert, plate, or component identifier | The joint must be matched to the real counterpart |
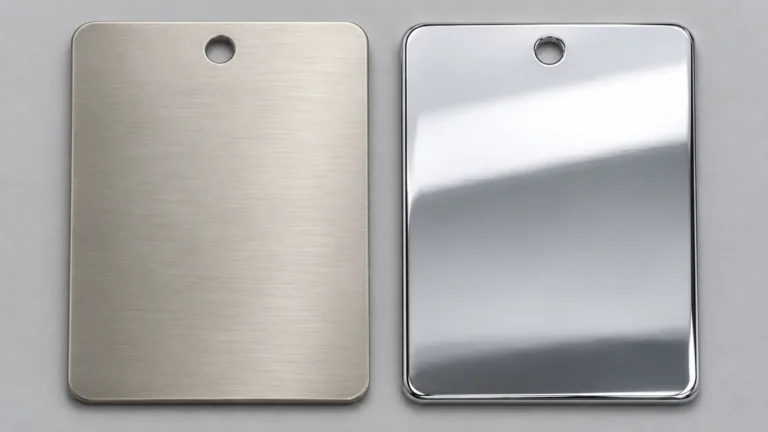
| Material and finish | Required substrate and surface condition | Coating or material affects the supplied item and fit |
For a screw that engages a thin sheet, insert, or threaded plate, the design should define engagement and any functional requirements through the responsible engineer. This article does not prescribe engagement length, torque, or load capacity. Those values depend on the joint, materials, geometry, and relevant design standard. A supplier can quote a fastener to a callout, but the design owner remains responsible for establishing the joint requirement.
Keep units consistent through the drawing, quotation, inspection record, and packaging label. If a purchasing system converts measurements automatically, verify that the displayed value has not rounded away a required distinction. Never convert a close metric value into an inch thread designation without checking the associated form and standard. When a supplier’s catalog uses a different naming convention, request a cross-reference that explains the exact item and applicable limits, then approve it in writing before production.
Store the cross-reference with the revision-controlled fastener specification for later reorder checks.
How can buyers check a sample thread accurately?
First inspect the fastener and mating part for damage, contamination, plating buildup, burrs, or deformation. A damaged sample can create a false impression of pitch or fit. Identify the reference sample, part number, and revision before measuring. If the thread is on a finished part, account for the finish condition and do not assume a measurement on raw stock represents the final mating condition.
A thread pitch gauge can help compare candidate spacing blades. Select a blade that seats consistently along the thread without forcing it; check multiple positions if the thread is long enough. Record the selected gauge marking and unit. This is a screening step and should be reconciled with the drawing or supplier specification. For critical or disputed dimensions, use suitable calibrated measurement equipment and qualified inspection personnel.
Before gauging, clean the threads using a method that will not alter the surface or damage the part. Look for flattened crests, burrs, dents, rust, debris, and coating buildup. A damaged lead thread can make a correct part appear incompatible, while excessive force can create damage during the inspection itself. If more than one thread family remains plausible, compare against authoritative thread references and use a dedicated gauge. Do not guess from the apparent number of ridges in a short photograph; perspective and lighting can hide the interval between crests.
For repeatable inspection, decide who checks the feature, which gauge or method is used, and what record is retained. A buyer receiving a large lot may define incoming sampling under a quality plan, but should avoid inventing an arbitrary sample percentage without considering the risk and supplier agreement. A first-article check can confirm the drawing interpretation before the purchase scales; it does not guarantee every later production unit. If the product design makes thread fit safety-critical, consult the responsible engineer about appropriate controls and traceability.
Check nominal diameter separately using a suitable measuring method. Diameter, pitch, and thread length are separate observations. A caliper measurement over thread crests can be affected by thread form, wear, burrs, and measurement technique, so it should not override the specified system or a proper thread gauge. For internal threads, use an appropriate plug gauge or other defined method rather than trying to infer the size from the mating screw alone.
Then conduct a controlled fit check with the correct mating component. The fastener should be started by hand as appropriate and should not be forced into a questionable thread. Confirm that it engages as expected under the approved assembly method and that the completed joint meets the design requirement. A fit check can reveal incompatibility, but it does not prove a specific pitch, standard, load capacity, or torque value.

Keep an evidence record: photograph or label the sample, note the gauge or inspection method, record the result, and link it to the drawing revision. If there is a mismatch between the supplier’s callout and the existing component, stop the substitution and request clarification. Do not adjust the mating part or force the fastener merely to make the sample fit; changes should be reviewed and approved by the design owner.
What mistakes cause thread and assembly problems?
Specifying only the nominal diameter. Diameter does not define pitch or thread form. A callout such as “M6” may leave out required details for the intended application. Use the complete designation specified by the relevant drawing or standard.
Confusing pitch with TPI. Metric spacing and an inch-based count are different expressions. A numerical conversion is not proof that two threads are interchangeable. Keep units explicit and name the thread system.
Treating a pitch gauge as a complete inspection. The gauge is useful for identifying spacing, but it does not verify every dimension, tolerance, material, finish, or performance requirement. Combine measurement with the correct specification and inspection plan.
Ordering from a photo or online chart. Images rarely preserve scale, and charts may cover only a particular family. Verify the current source, thread system, and application. Do not infer standard compliance from a product listing.
Ignoring the mating component. A replacement screw must suit the existing insert, nut, or plate. Check the counterpart and revision, particularly when parts are sourced separately or purchased from different vendors.
Using force to overcome a mismatch. Forcing a screw can damage the thread and conceal the original issue. Stop, inspect the parts, and resolve the callout before assembly or production.
Assuming pitch determines joint strength. Capacity depends on the complete joint, materials, engagement, geometry, and loading. Pitch alone does not establish strength or appropriate torque.
Allowing unrecorded substitutions. A supplier may propose a readily available alternative, but approval should identify its complete thread designation and compatibility evidence. Keep the change linked to the drawing, BOM, sample, and purchase order.
How should a buyer manage threaded parts in an OEM project?
Treat threaded hardware as a controlled component, even when the screw is inexpensive or purchased as part of a kit. Add a unique line to the bill of materials and state whether the supplier is producing it, sourcing it, or receiving it from the buyer. If multiple suppliers contribute the fastener and the mating part, assign responsibility for confirming the interface and communicating any change.
Set a clear boundary for substitutions. A supplier may offer a different standard, locally available screw, or finish, but should state the complete alternative designation and identify the mating part it was checked against. The buyer should compare more than nominal diameter: length, head, drive, material, finish, thread system, and package quantity can all change. If a substitution changes the drawing, update the BOM and the approved sample record. If it does not change the drawing but does change a controlled source or finish, document the approval decision anyway.
The procurement record should also clarify whether fasteners are loose in the carton, attached to the product, or packed into a labeled installation kit. That affects inventory, picking, and customer instructions. Confirm the quantity per retail unit and whether left/right or product-size variants share the same screw. A correctly specified screw can still be delivered to the wrong item if pack identification is ambiguous. For reorder programs, connect carton labels and kit codes to the same revision as the assembly drawing.
For a drawing-based project, mark threaded features with the complete callout and identify the mating part. Include the applicable standard and revision when necessary. If the buyer does not know the thread, provide the sample and ask for a written identification proposal. Require the supplier to state assumptions and obtain approval before using a substitute. That process is more reliable than sending a loose screw without any product or assembly context.
At sample approval, test the fit in the actual bracket, insert, or plate and record the parts used. Identify what the sample does not prove: an appearance sample may not establish material certification or production-lot conformity; a single fit check does not prove every lot will match. Define any incoming inspection, first article, or lot sampling requirements in the purchase specification if they are needed.
The supplier should report changes in thread source, standard, material, finish, or manufacturing route that could affect fit or function. A change to plating or coating can affect dimensions or assembly even if the base callout remains similar. The buyer should decide whether the change requires a new sample or revised test, rather than assuming that all suppliers control it the same way.
For custom bathroom or storage hardware, coordinate the screw with the mounting surface and installation package. Wall anchors, screws, and adhesives are distinct components with different scope and installation constraints; do not imply that a screw thread specification proves an anchor suits every wall. Confirm the intended supplied set, product instructions, and responsible party for each purchased component.
To discuss a drawing or sample with an OEM supplier, use the custom bathroom hardware manufacturing page or home-storage OEM page. These pages provide manufacturing context, not fastener engineering certification. Share the mating component, thread callout, sample identity, target quantity, finish, and any applicable inspection requirement when requesting a quotation.
Buyer checklist before requesting a fastener quotation
- Identify the product, assembly, item number, and drawing revision.
- State the thread system and complete designation, not only a diameter.
- Record pitch or TPI with explicit units and the relevant standard or series.
- Specify nominal diameter, thread form, length, head, drive, material, and finish.
- Identify the mating component and whether the thread is internal or external.
- Provide a labeled sample when the existing thread is uncertain.
- Ask the supplier to read back the proposed specification and assumptions.
- Use a suitable gauge for screening and appropriate inspection for critical features.
- Conduct a controlled fit check without forcing a questionable fastener.
- Define sampling or verification requirements if needed for the purchase.
- Require written approval for thread, source, material, or finish substitutions.
- Keep sample, drawing, BOM, and purchase order linked to one revision.
Frequently asked questions
Is thread pitch the same as threads per inch?
No. Metric pitch is a distance between adjacent threads, while TPI is a count of threads over an inch. They are related measures of spacing but use different units and conventions.
Does the same pitch mean two screws are interchangeable?
No. Diameter, thread form, series, tolerance, material, and the mating feature also matter. A close spacing value alone does not establish compatibility.
Can I use a pitch gauge to identify a screw completely?
A pitch gauge helps compare spacing. It does not verify every thread dimension, standard, material, finish, or performance characteristic. Confirm the complete callout against the correct reference.
Does finer pitch always make a stronger joint?
No universal conclusion follows from pitch alone. Joint performance depends on the whole design and materials. Use the applicable engineering requirements rather than selecting from a broad rule.
What should I do if a screw starts but binds?
Stop rather than force it. Check the parts for damage or debris, confirm the callouts and mating component, and ask the design owner or supplier to resolve any mismatch before assembly.
Clarify a Threaded Hardware Specification
Share the drawing, mating component, sample, finish, and target order scope. Koitor can discuss the information needed to review a custom metal hardware RFQ.
OEM / PRIVATE LABEL
Turn this sourcing guide into a product brief
Share your target product, size, finish, order quantity and packaging requirements. Your team receives a practical manufacturability review before quotation.
 English
 Español
 Português
 Français
 Deutsch
 العربية