
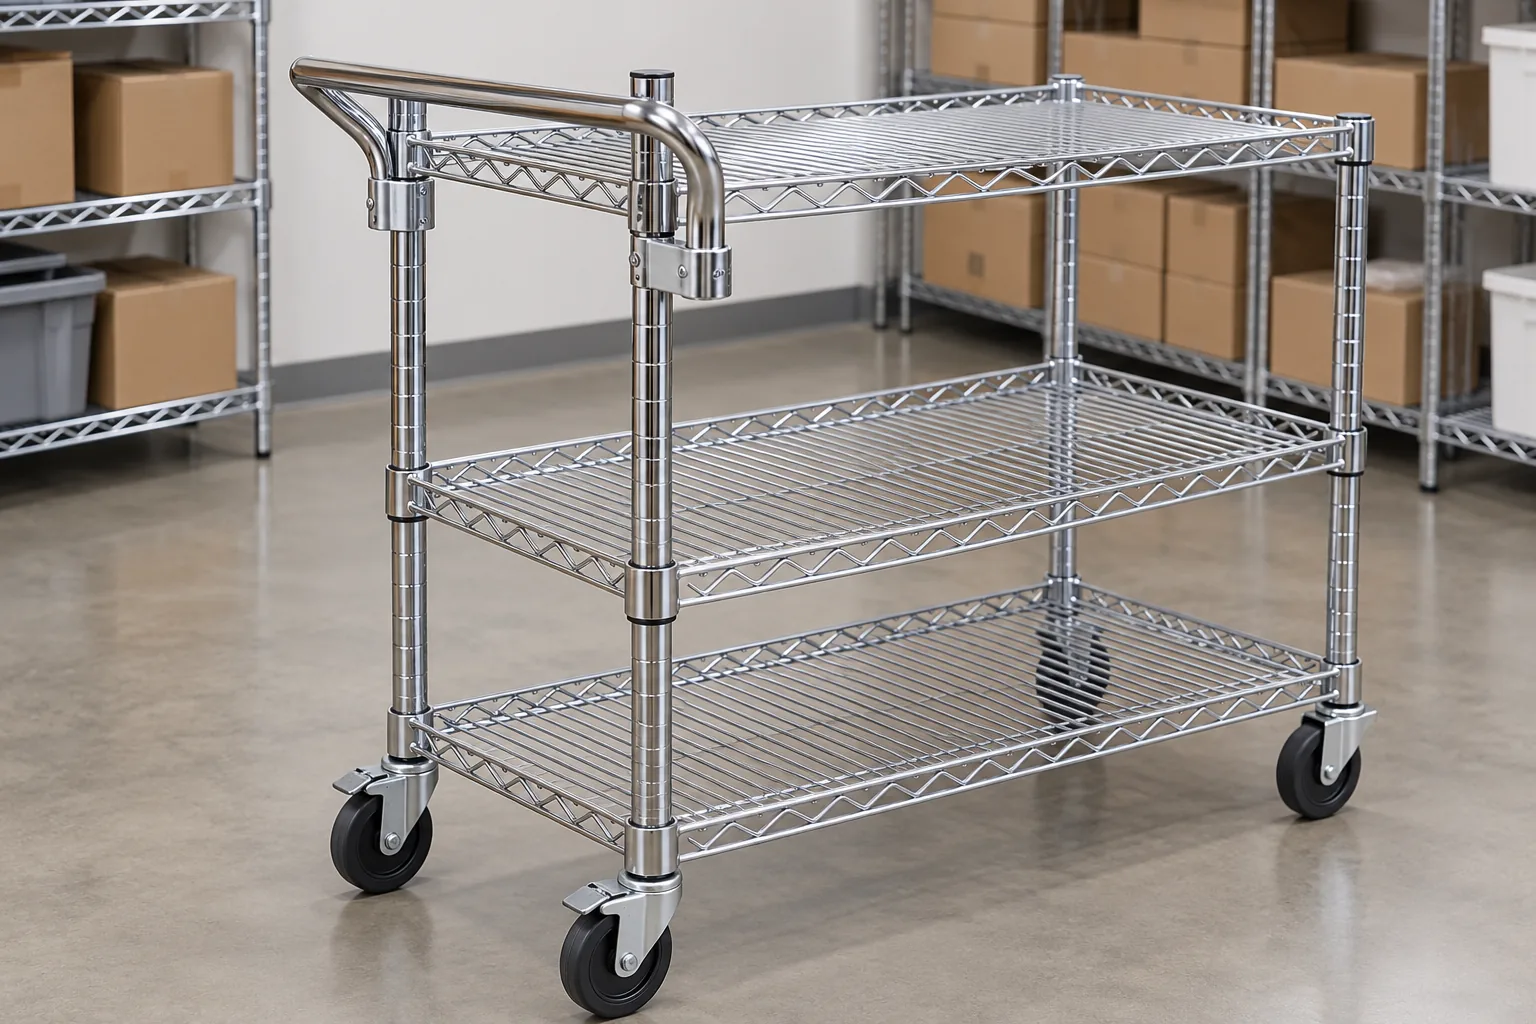
For wire shelving push handle attachment, match the handle to the specified rack width, upright or frame interface, and intended cart configuration. A handle that appears to fit a wire shelf may be designed for a particular cart system or mounting point. Buyers should confirm the supplier’s model information, how the handle attaches, how far it projects, and whether the finished assembly offers the intended hand clearance before approving a sample.
What does the attachment decision control?
A push handle changes how a wire shelving unit is moved and where the user’s hands contact the cart. The attachment determines the relationship between the handle, the rack frame, the posts or uprights, and the shelves. Its projection can affect clearance around the cart and its location can affect access to shelves or other components. The exact interface varies by supplier and model.
The manufacturer reference for a wire-shelving push handle identifies a corresponding rack width and attachment. This is useful evidence that the handle should be selected as part of a system. It is not a universal dimension table or proof that one handle fits every rack of a similar width. The buyer needs to identify the system and ask the supplier to confirm the actual matching model and installation conditions.
For wire shelving push handle attachment, the buyer should define the finished cart, not merely request a handle accessory. The relevant question is whether the proposed handle attaches to the intended rack, occupies a suitable position, and allows users to interact with the finished cart as planned. If a cart includes casters, shelves, end stops, or accessories, show those elements in the layout because they may affect the complete configuration.
What should the buyer specify in the RFQ?
Identify the rack system by supplier, product family, model, and revision. State the nominal rack width as the system supplier defines it and provide the relevant frame or upright view. If the requested handle spans the width of the rack, show where its attachment points land and how the handle relates to the shelves. Ask the supplier to name the compatible handle and its installation procedure.
Do not assume the advertised shelf width is the same as the dimension used to select the handle. A cart may include uprights or frame components outside the shelf edges. Request the drawing’s dimension datums and have the supplier mark the attachment points. If the rack has multiple widths or configurations, specify each separately rather than listing a range without identifying which handle models apply.
| RFQ input | What to identify | Why it matters |
|---|---|---|
| Rack identity | Supplier, family, model, revision, and width definition | Links the handle to the correct system |
| Attachment interface | Uprights, frame members, mounting locations, and orientation | Shows where the handle connects |
| Finished layout | Shelf positions, cart ends, and other accessories | Reveals possible interference around the handle |
| Handle identity | Supplier part number, revision, and included hardware | Keeps quote, sample, order, and package aligned |
| Projection and access | Supplier drawing showing handle position and user approach | Helps review clearance and intended use |
| Assembly instructions | Installation order and any system-specific conditions | Prevents unsupported adaptation at assembly |
If the rack has not been selected, ask for a complete rack-and-handle proposal and a compatibility statement. If the buyer is sourcing the handle from another supplier, provide both parties’ drawings and ask who confirms the combined interface. Do not declare a cross-brand combination compatible based only on a similar diameter, width, or photograph.
How should alternative handle proposals be compared?
Compare the named models and attachment methods against the same rack drawing. A system-listed handle may have a documented connection to the chosen rack family. An alternate handle could use a different attachment point or require an adapter. A generic cart handle may be intended for a different frame. Those proposals are not equivalent until the supplier demonstrates how each matches the rack and what installation conditions apply.
| Proposal | Buyer question | Evidence to retain |
|---|---|---|
| Rack-listed handle | Does the supplier list the exact rack width and model? | Current compatibility reference and installation instructions |
| Alternate handle in the same range | What attachment or projection changes? | Marked drawing and sample assembly |
| Handle from another system | Have both suppliers reviewed the mating interface? | Part identities, interface drawings, and written scope |
| Handle with an adapter | Who supplies the adapter and controls its revision? | Assembly drawing and complete kit identification |
Compare the complete assembly, not the handle in isolation. Confirm whether the proposed product includes mounting hardware, whether the handle is installed before or after shelves, and whether any components must be removed for assembly. Ask the supplier to identify what is included in the quoted price and package. This reduces the risk that buyers compare a complete kit with an accessory-only offer.
Do not assume that a handle inherits the rack’s stated capacity or performance. The handle, attachment, rack, and cart form a combination, and any applicable claims must be specific to the responsible supplier’s tested configuration and conditions. This buyer guide provides no load rating or safety certification. If a performance value is needed, obtain the supplier’s supporting documentation and confirm it applies to the exact handle and rack.
How should protrusion and hand clearance be reviewed?
The handle should be reviewed in the context of the finished cart and the aisle or work area where it will be used. Look at how far it projects beyond the rack, where the hands approach, and whether nearby shelves, walls, doors, equipment, or other carts affect access. These observations help determine whether the selected location works for the intended layout; they do not establish a regulatory clearance requirement.
Use the supplier’s assembly drawing to identify the handle’s position relative to the rack. Confirm that the shown orientation is the one the buyer intends. If the handle can be mounted in more than one position, ask the supplier which options are approved and whether the mounting hardware changes. Do not infer that a reversible appearance means every orientation is supported.

Review potential contact with shelves, accessories, or packaging. A handle may be positioned where a shelf lip or add-on product blocks a hand, or where the projection changes how units are stored. If the cart ships disassembled, consider how the handle is protected and identified in the package, but do not assume packaging configuration without supplier confirmation.
What should a representative sample demonstrate?
Confirm the handle and rack identities against the quote and drawing before assembly. Check the model, revision, width, mounting parts, and instructions. Assemble the components in the specified order and record whether the attachment points align without unapproved changes. If the sample uses a different rack width or frame, it cannot by itself approve the intended configuration.
Observe the installed position from the front and side. Confirm the handle’s projection and relation to adjacent shelves or cart features. Have the product team review how users approach and grip it in the intended context. Note any interference, access concern, or adjustment that occurs. If a modification is required, stop and request supplier approval and an updated drawing rather than bending or drilling the part informally.

Record the sample’s component identities, assembly instructions, observed interface, photos, and any accepted deviation. Define what the sample did not test. A fit review does not establish a load value or long-term durability. If those claims matter, agree on a suitable method and acceptance criteria with the supplier responsible for the assembly before making the claim.
The approved sample should be tied to the correct rack width and layout. If a distributor offers several cart sizes, separate the records or maintain a compatibility table that identifies the approved handle for each. Do not reuse one sample approval across widths unless the supplier confirms that the proposed configuration is covered.
What should buyers control for repeat orders?
Record the rack and handle part numbers, revisions, rack width definition, attachment points, mounting hardware, instructions, and package contents. Link that record to the product SKU, quotation, purchase order, and receiving inspection reference. If the handle is an optional accessory, make sure the product listing and carton content describe it accurately.
Changes to rack width, upright geometry, handle design, mounting hardware, shelf placement, or accessory layout may affect the interface. Ask the supplier to compare the revised configuration with the approved drawing. If the supplier states that a change does not affect the fit, preserve that confirmation. If there is any uncertainty, request a representative updated sample before repeat production.
For a private-label cart, align the handle’s product image with the actual shipped configuration. If a photograph shows an optional handle, disclose that it is optional. If the handle is installed by the end user, include the correct model-specific instructions. Good packaging identification can help warehouses and installers match a separate handle kit to the intended rack, but it should reflect the supplier’s actual packaging plan.
At receiving, check the delivered model and package contents against the approved records. That check confirms identity and completeness; it does not establish the compatibility of a new revision. Keep receiving, sample approval, and performance testing as separate control records with clear objectives.
Which sourcing assumptions should be avoided?
Do not select a push handle solely by a nominal width. Do not assume a shelf edge and frame width mean the same thing. Do not assume a handle from one rack family transfers to another. Do not approve a sample from a different model because the attachment looks similar. These assumptions remove the product identity needed to verify the interface.
Avoid specifying only “push handle included” without stating the compatible rack and package contents. Avoid claiming that a handle is compatible across a width range unless the supplier’s documentation supports each model. Avoid transferring rack load or cart performance claims to the handle attachment. Avoid field modifications without written supplier approval and drawing control.
When the buyer proposes a third-party handle, define the review task for the rack supplier and handle supplier. One may confirm the support profile while the other confirms its product dimensions; the buyer approves the combined configuration. If no party can confirm compatibility, keep the issue open or choose a system-listed accessory rather than assuming interchangeability.
How does this fit Koitor’s product scope?
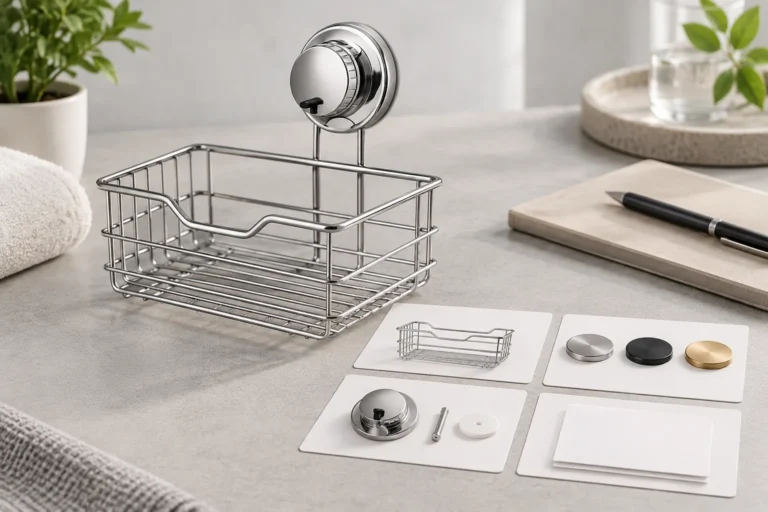
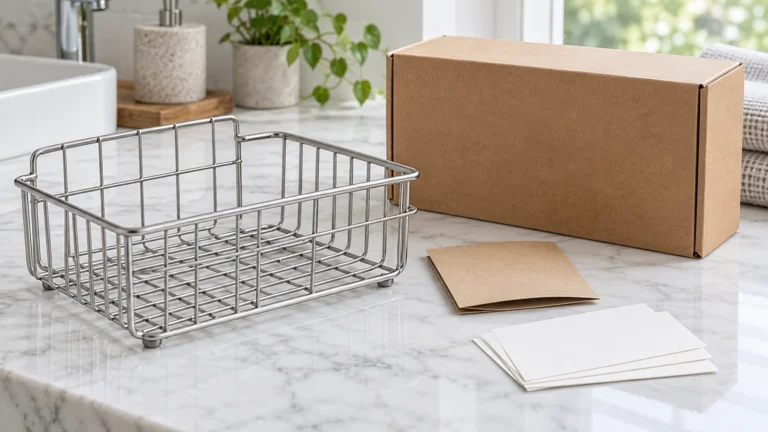
Utility carts and push handles are adjacent storage-system topics. This article does not claim that Koitor manufactures the cited cart handle or a specialist wire-shelving system. Koitor’s verified expertise relates to metal storage hardware within its approved product scope. A buyer should distinguish a purchased cart fitting from any separate metal storage basket or component developed with an OEM manufacturer.
Buyers can review Koitor’s OEM home-storage hardware and custom metal storage rack manufacturing pages for related metal-product sourcing information. For a combined project, provide the drawing or physical sample and identify the specific metal part under review. The cart-system supplier remains responsible for its push handle model, attachment instructions, and any system-level claims.
When requesting a supplier comparison, state the cart width, rack model, proposed handle, desired position, and any known clearance issue. Ask suppliers to identify the applicable model and list remaining unknowns. A precise interface brief creates a more useful sourcing conversation than an unqualified request for a “universal handle.”
Frequently asked questions
Does a push handle fit every wire shelf width?
No. Confirm the exact rack system, width definition, handle model, and attachment points with the responsible supplier.
What does wire shelving push handle attachment mean?
It describes how a specified handle connects to a matching rack or cart structure. Buyers should verify the interface and model rather than rely on the broad accessory name.
Can I use a similar handle from another brand?
Do not assume compatibility. Compare the interface drawings and ask the rack and handle suppliers to review the combination.
Should the handle be quoted with mounting hardware?
Clarify whether hardware is included, which part numbers apply, and how the complete kit is packaged or installed.
What should the sample review check?
Verify identities, attachment alignment, installation sequence, handle position, protrusion, and interference with the intended cart layout.
Does a fit sample establish a load rating?
No. A fit review documents the observed interface. Any load or performance claim needs separate supplier evidence for the applicable configuration and conditions.
Can one approval cover several cart widths?
Only if the supplier identifies those models as covered. Otherwise, record and review each width or configuration separately.
What if the handle needs a field modification?
Do not modify it without approval. Ask the supplier for an accepted alternative and an updated drawing or instruction.
Should optional handles appear in product images?
They may be shown if the image or listing clearly identifies them as optional. The depicted configuration should not misstate package contents.
What records should be linked to a repeat order?
Keep the rack and handle model, revisions, drawings, instructions, sample approval, package contents, and any accepted deviations with the order reference.
Clarify a cart-handle interface
Share the rack model, width, proposed handle, and assembly drawing so the suppliers can confirm their respective parts of the configuration.
Clarify the cart interface
Send the wire rack profile and handle drawing, identifying which metal component is part of the project.
OEM / PRIVATE LABEL
Turn this sourcing guide into a product brief
Share your target product, size, finish, order quantity and packaging requirements. Your team receives a practical manufacturability review before quotation.

 English
 Español
 Português
 Français
 Deutsch
 العربية