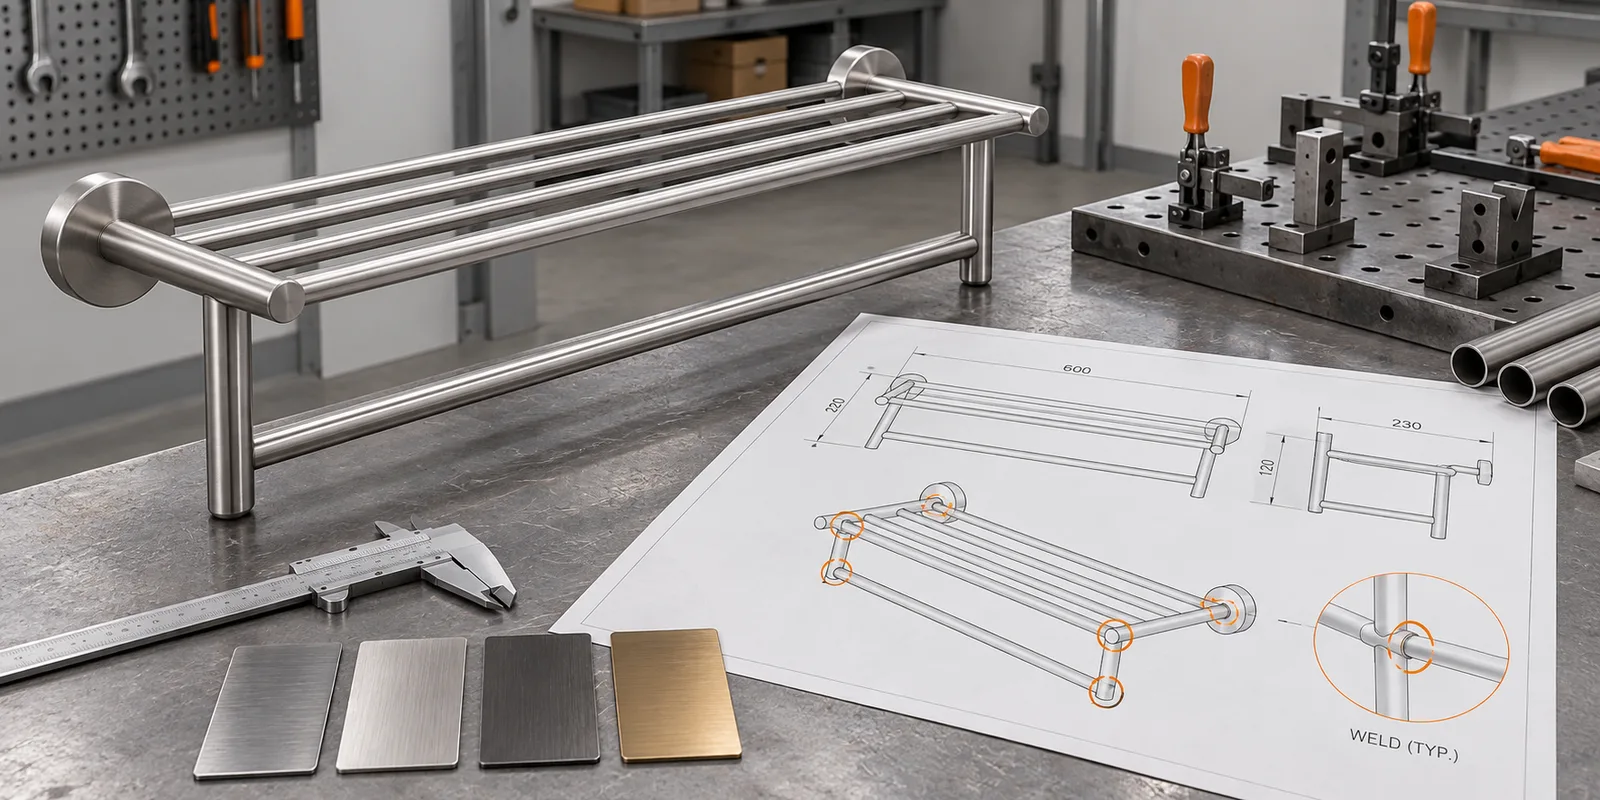
Towel rack weld seam placement should be decided from the product load path, component geometry, visible surfaces, welding access, heat distortion, finishing method, fixture design, and inspection plan. OEM buyers should not place joints only where they disappear in a rendering. A hidden seam may be difficult to weld or inspect, while a convenient seam may create an unacceptable mark on the front of the finished rack.
Why Does Weld Seam Placement Matter in a Towel Rack?
Weld seam placement determines how components are joined, how force moves through the rack, where heat enters the assembly, which surfaces need cleanup, and what the customer sees after finishing. It also affects fixture access, cycle consistency, polishing, coating coverage, packaging contact, and repair options.
A wall-mounted towel rack may include wall plates, brackets, horizontal rails, shelf bars, hooks, cross members, and decorative covers. Each joint has a different job. A rail-to-bracket joint can transfer bending force. A shelf-bar joint controls spacing and appearance. A hook joint may be small but highly visible and frequently touched.
The buyer should identify critical interfaces and cosmetic zones on the drawing. Front and upper surfaces may require stricter appearance control than a protected rear face, but hidden areas still need suitable joining and finish coverage. Do not label every surface equally without considering how the installed product is viewed.
Provide:
- Assembly drawing with component names.
- Material and component dimensions.
- Mounting method and wall projection.
- Intended towel or storage use.
- Proposed weld or joint locations.
- Cosmetic surface map.
- Finish system and cleanup expectations.
- Critical dimensions after welding.
- Sample and inspection requirements.
- Packaging contact and support points.
Koitor Hardware can review towel rack drawings or samples for flexible OEM development. Buyers can use the custom bathroom towel rack manufacturing page when preparing a project brief.
How Should Load Path and Product Geometry Guide Joint Locations?
Load path and geometry should guide joint locations because a seam must connect the parts that carry and transfer the intended force. The full structure, mounting interface, wall substrate, fasteners, and loading distribution determine performance. A visually large weld is not automatically a well-designed joint.
Map how the rack is used. Towels may create distributed weight along a bar. A shelf may hold folded products near its front edge. Hooks create localized forces. Installation and handling can introduce forces different from normal use. The joint design should respond to the actual product condition.
Component fit-up matters. A tube meeting a flat bracket, a wire meeting a perimeter frame, and a sheet tab entering a slot need different joint geometry. Good fit-up supports repeatable placement and reduces the need for excessive weld metal or cleanup. The drawing should show the contact relationship rather than only two overlapping outlines.
Compare joint positions with adjacent bends, holes, and edges. A seam too close to a bend may be difficult to access or may affect appearance. A weld near a mounting hole can interfere with fastener seating or cover fit. A joint at the end of a polished rail needs a controlled transition.
| Joint area | Main design question | Manufacturing concern | Buyer verification |
|---|---|---|---|
| Rail to wall bracket | How is bending force transferred? | Access and heat near visible rail | Alignment and intended-use test |
| Shelf wire to frame | Is spacing maintained across the shelf? | Many repeated welds and distortion | Gap, level, and appearance |
| Hook to lower rail | Does the hook rotate or lean? | Small visible joint and cleanup | Position, touch surface, stability |
| Bracket to wall plate | Does it remain square to the wall? | Fixture control and cover clearance | Projection and mounting fit |
| Tube end or corner | Is the joint visible after finishing? | End closure and polishing access | Seam appearance and edge feel |
| Cross member to frame | Does it control span or assembly? | Sequence and dimensional movement | Location, flatness, and function |
If exact performance is important, agree on a project-specific verification method. Do not transfer an unsupported load number from another towel rack with different material, projection, mounting, or joint geometry.
Which Welding and Mechanical Joint Options Should Buyers Compare?
Buyers should compare spot or projection welding, resistance welding, arc-based welding processes, brazed or soldered arrangements where appropriate, and mechanical joints according to the actual materials and product structure. The article should not prescribe one process without the supplier’s process review.
Welded construction can provide an integrated assembly and reduce customer assembly. It may also increase finished carton size and require careful heat and appearance control. Mechanical joints can support knock-down packing or replaceable components, but they add fasteners, tolerances, instructions, and potential movement.
| Joining approach | Practical strength | Main limitation | Suitable buyer question |
|---|---|---|---|
| Repeated resistance welds on wire | Fast repeated grid joining | Electrode access and visible marks | Are all wire intersections required? |
| Localized arc weld at bracket | Flexible for tube or bracket assemblies | Heat, cleanup, and operator access | Can the joint be reached consistently? |
| Tab-and-slot plus weld | Supports positioning before welding | Tooling and visible slot details | Does the tab control alignment? |
| Mechanical screw joint | Supports replacement or KD packing | Part count and loosening control | Is user assembly acceptable? |
| Riveted joint | Controlled assembly without welding heat | Rivet visibility and access | Does the appearance fit the range? |
| Press-fit or formed lock | Clean in suitable geometry | Tight tolerance and material behavior | How is retention verified? |
The buyer should ask the manufacturer to explain the proposed process, fixture, weld sequence, cleanup, and critical checks. Avoid specifying a fashionable process name without confirming it fits the component thickness and access.
Where a joint is hidden by a decorative cover, verify that the cover still fits after welding and finishing. A cover should not be used to conceal uncontrolled spatter, sharp projections, or dimensional error.
How Can Fixtures and Weld Sequence Limit Distortion?
Fixtures and weld sequence limit distortion by holding components in controlled positions and distributing heat in a repeatable order. The fixture cannot correct an incomplete drawing, but it can help maintain spacing, squareness, projection, and bracket orientation across production.
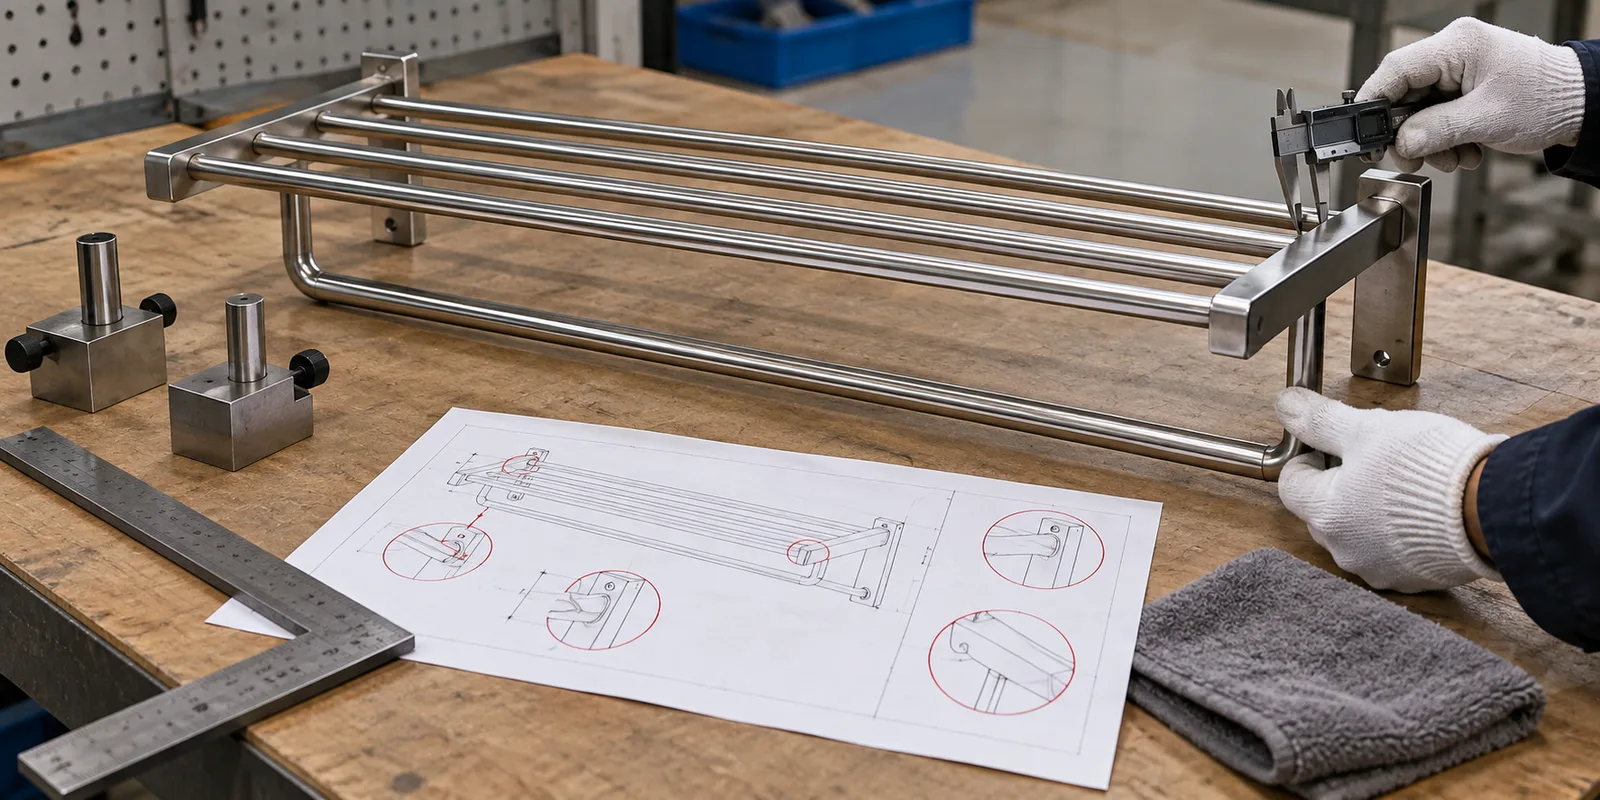
Identify fixture reference surfaces on stable product features. A cosmetic rounded surface may be a poor reference if it varies or can be marked. Locators should position wall plates, rails, shelves, and hooks without blocking welding access. Clamps should hold parts securely without deforming thin material.
The weld sequence should avoid concentrating heat in one area. Alternating or balanced sequences may reduce movement for some structures, but the supplier should confirm the practical method. Buyers need the resulting dimensions and appearance, not an unsupported promise about a universal sequence.
Measure the product after it leaves the fixture. Important checks can include:
- Overall width and wall projection.
- Distance between mounting centers.
- Parallelism of towel bars or shelf rails.
- Shelf level and bracket squareness.
- Hook spacing and orientation.
- Diagonals of rectangular frames.
- Cover and fastener clearance.
- Wall contact on a representative mounting plate.
For a new design, examine unfinished first pieces before final surface processing. Correcting fixture or joint issues is easier before a full finish and packaging batch is prepared. After changes, issue a new drawing revision and keep the approved sample aligned.
The fixture review should include removal as well as clamping. A rack that can only be forced out of the fixture may be bent after welding, hiding the benefit of accurate location. Operators also need a clear method for loading components in the correct orientation. Where left- and right-hand parts look similar, use controlled identifiers or error-proof locating features rather than relying only on memory.
Record the critical fixture-controlled dimensions in the inspection plan. The buyer does not need every fixture detail, but both parties should know which product relationships are controlled during assembly and which are measured after welding. This makes later design changes easier to assess.
How Should Visible Welds and Finish Cleanup Be Specified?
Visible welds and finish cleanup should be specified through a combination of drawing notes, cosmetic-zone definitions, physical samples, and realistic manufacturing expectations. “No weld marks” is usually too vague because every joining process has a physical result.
For a powder-coated towel rack, check whether welds are smooth enough for the intended appearance, whether coating covers recessed areas, and whether excessive grinding changes the component profile. For stainless or polished products, define surface direction, transition quality, and the visual standard around joints.
Do not demand aggressive cleanup that thins a component or removes necessary joint material. The supplier should balance structural intent and appearance. If the buyer requires an invisible-looking transition on a front surface, the product geometry and process may need to be redesigned rather than simply polished more.
Touch zones deserve special attention. Hooks, bar ends, lower rails, and mounting covers should not present unacceptable sharpness, spatter, or burrs. Inspect under normal lighting and at the installed viewing distance, then perform a close hand review.
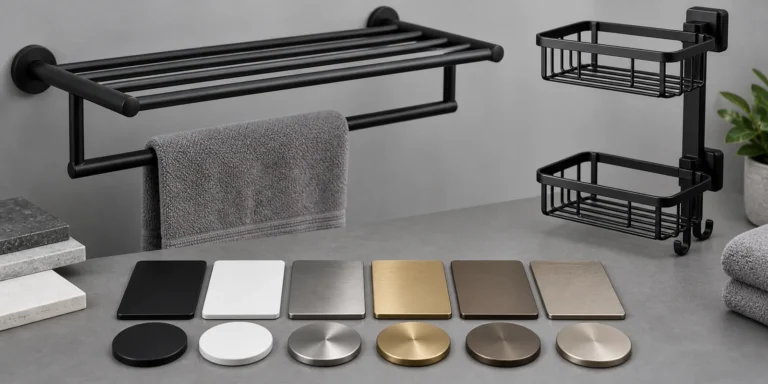
Color and gloss can make seams more or less visible. Approve a complete finished sample in the selected finish. A bare welded sample cannot establish the final cosmetic result, while a flat finish coupon cannot show joint transitions.
How Should Buyers Approve Samples, Inspection, and Packaging?
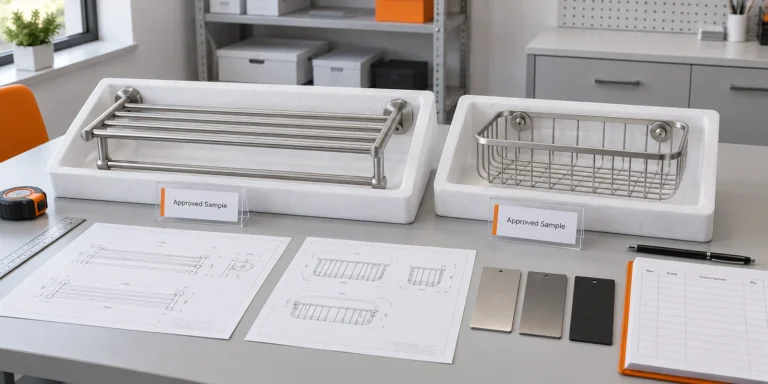
Buyers should approve the released drawing, unfinished structure where useful, complete finished sample, mounting kit, inspection points, and final packed sample. Each sample should carry the product code and drawing revision used to make it.
Review the unfinished structure for fit-up, seam location, access, distortion, rail alignment, bracket geometry, and mounting centers. Review the finished sample for cleanup, color or surface direction, cover fit, touch points, and packaging contact. Install it on a representative wall plate or mock-up.
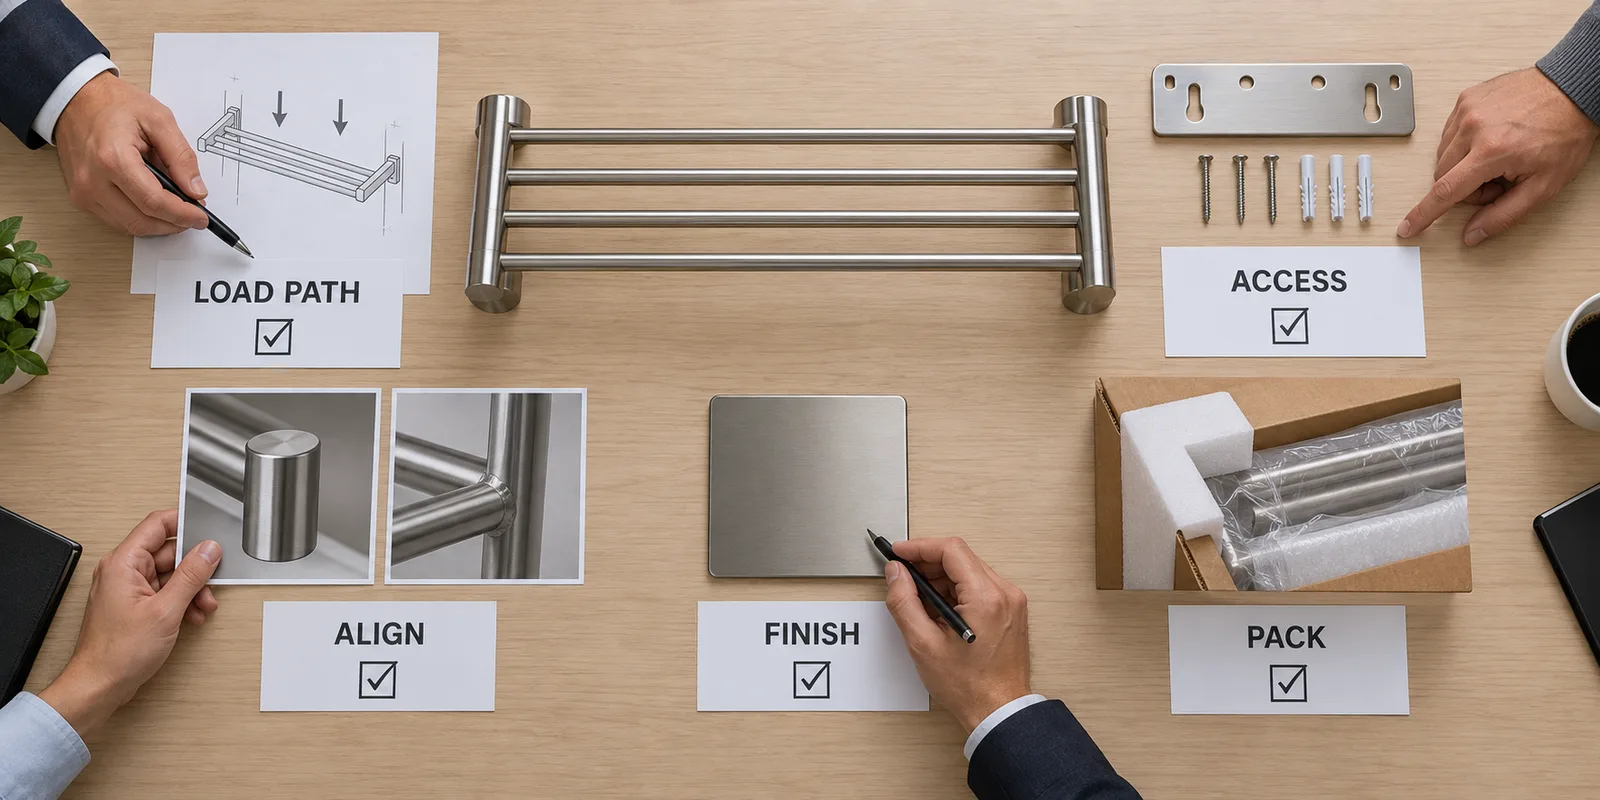
Use this buyer checklist:
- ☐ Every joint location matches the released drawing or approved sample.
- ☐ Components seat consistently before welding.
- ☐ Mounting centers and wall projection remain controlled.
- ☐ Rails and shelf bars are parallel and level.
- ☐ Hooks and brackets keep their intended orientation.
- ☐ Visible welds match the approved appearance reference.
- ☐ Touch areas have no unacceptable spatter or sharp projections.
- ☐ Finish coverage is complete around accessible joint areas.
- ☐ Decorative covers and fasteners fit after finishing.
- ☐ Packaging supports the rack without pressing on vulnerable joints.
Packaging should protect projecting brackets, rails, hooks, and cosmetic surfaces. Keep loose screws away from the finished rack. Support strong frame locations and prevent movement. If the design is changed to knock-down construction for carton efficiency, reassess the joint design, assembly instructions, and user experience.
Common mistakes include moving seams only to hide them, ignoring welding access, approving a polished sample without checking dimensions, and changing bracket geometry without updating fixtures or inserts. Another mistake is treating weld size as the only indicator of performance while overlooking fit-up and load path.
Buyers should also avoid comparing supplier samples solely by how smooth one visible seam appears. A heavily polished sample may look clean but still have incorrect mounting centers, uneven shelf rails, poor cover fit, or a joint design that is difficult to repeat. Evaluate appearance together with dimensions, installation, intended use, and the proposed production controls.
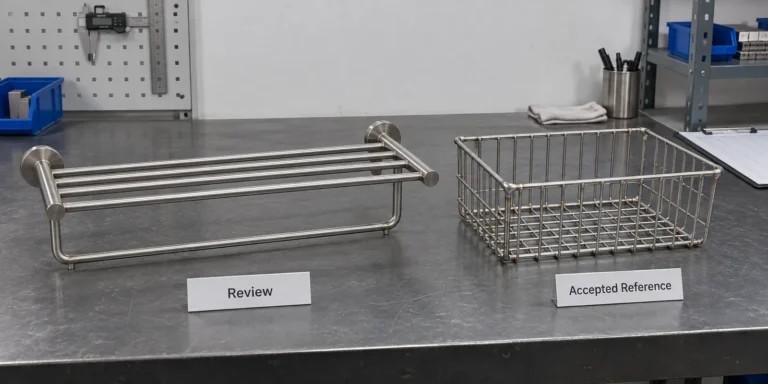
For repeat orders, compare the new first-off sample with the retained approved reference and current drawing. If a material, fixture, purchased bracket, or finish route changes, review whether the established seam location and cleanup method remain suitable before releasing the order.
Koitor’s Bezugsquellen für Badbeschläge provide additional buyer guidance on welding, samples, finishes, and inspection.
Häufig gestellte Fragen
Where should a towel rack weld seam be placed?
Place it where the joint supports the intended load path, can be accessed and controlled in production, permits suitable finishing, and meets the agreed cosmetic standard. The best position depends on the full design.
Is a hidden weld always better?
No. A hidden area may be hard to weld, inspect, clean, or coat. Compare structural function, process access, finish, and visibility together.
Can weld placement reduce distortion?
Joint position, fit-up, fixture design, welding sequence, and heat input all affect distortion. The supplier should develop and verify the process on production-like samples.
Should buyers approve an unfinished welded sample?
It is useful for new structures because fit-up, joint location, and distortion are easier to see. The buyer should also approve a finished and packed sample before production release.
Can a mechanical joint replace welding?
Sometimes. It may support knock-down packing or replacement, but it adds components, tolerances, assembly, and inspection points. Evaluate the complete product and customer experience.
What records should be kept for repeat orders?
Keep the released drawing, joint notes, approved sample identity, finish reference, fixture or gauge references, inspection plan, packaging specification, and any approved changes.
Arbeiten Sie mit Koitor Hardware zusammen
Review Your Towel Rack Joint Layout Before Sampling
Send Koitor your towel rack drawing or sample, material, finish target, mounting system, packaging idea and expected quantity. Our team can review component fit, welding access, visible seams and flexible small-batch OEM development options.
OEM / EIGENE MARKE
Verwandeln Sie diesen Beschaffungsleitfaden in ein Produktdossier
Teilen Sie uns Ihr Zielprodukt, die Größe, die Oberflächenausführung, die Bestellmenge und Ihre Verpackungsanforderungen mit. Ihr Team erhält vor der Angebotserstellung eine praxisorientierte Prüfung der Herstellbarkeit.
 English
  Español
  Português
  Français
  Deutsch
  العربية