
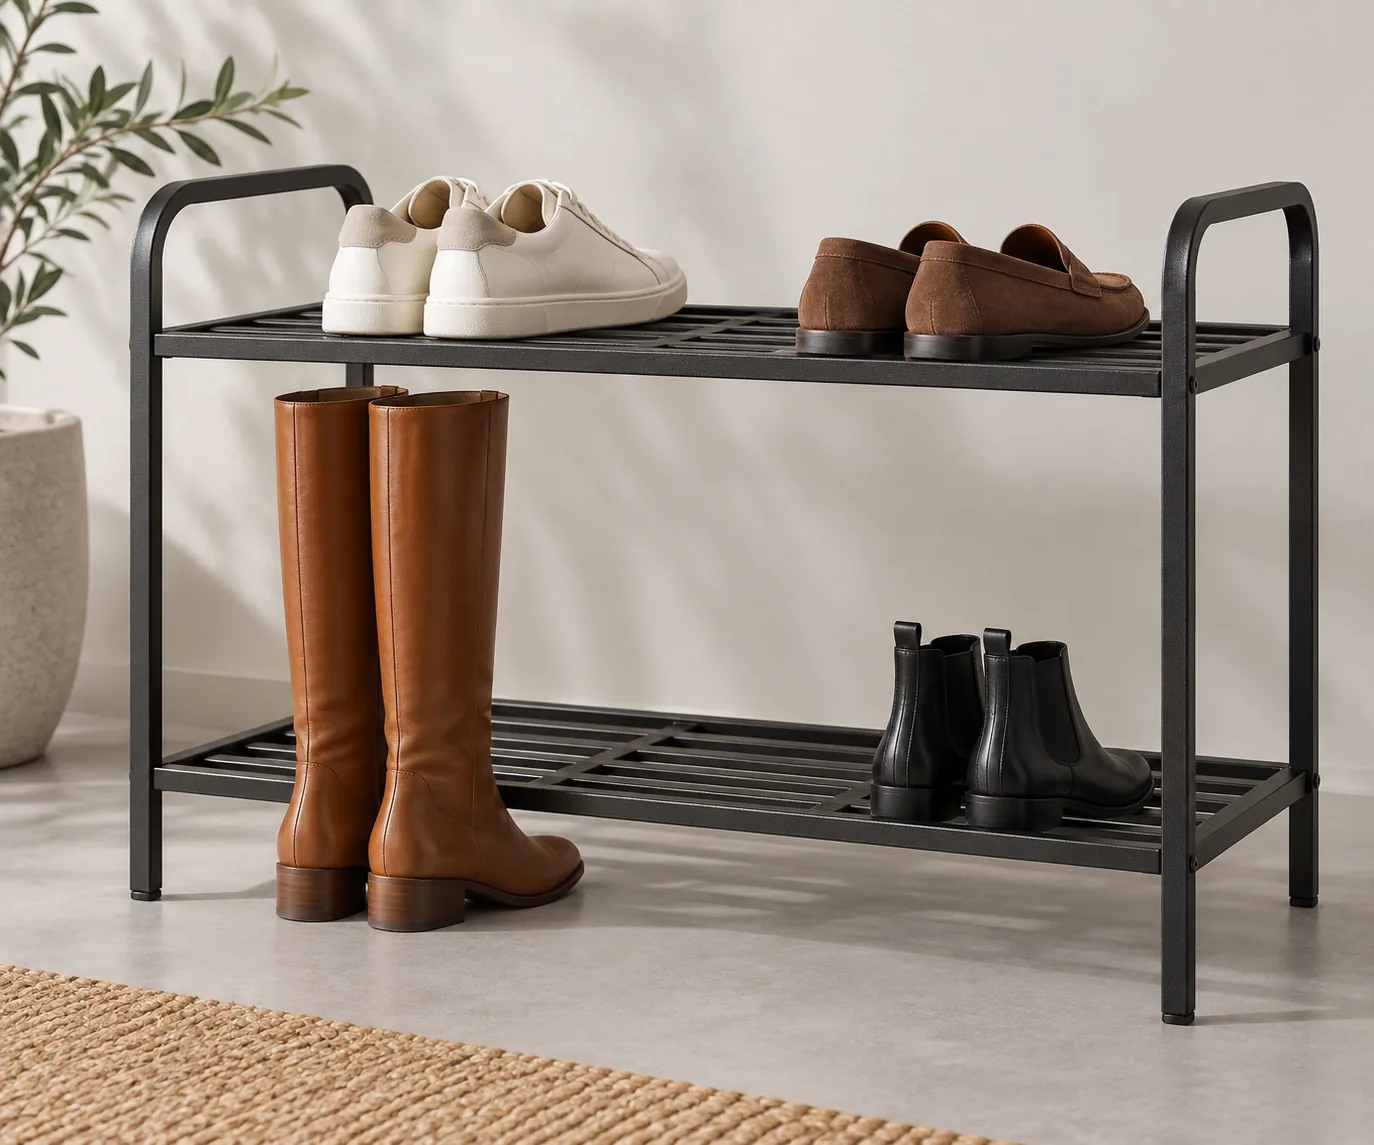
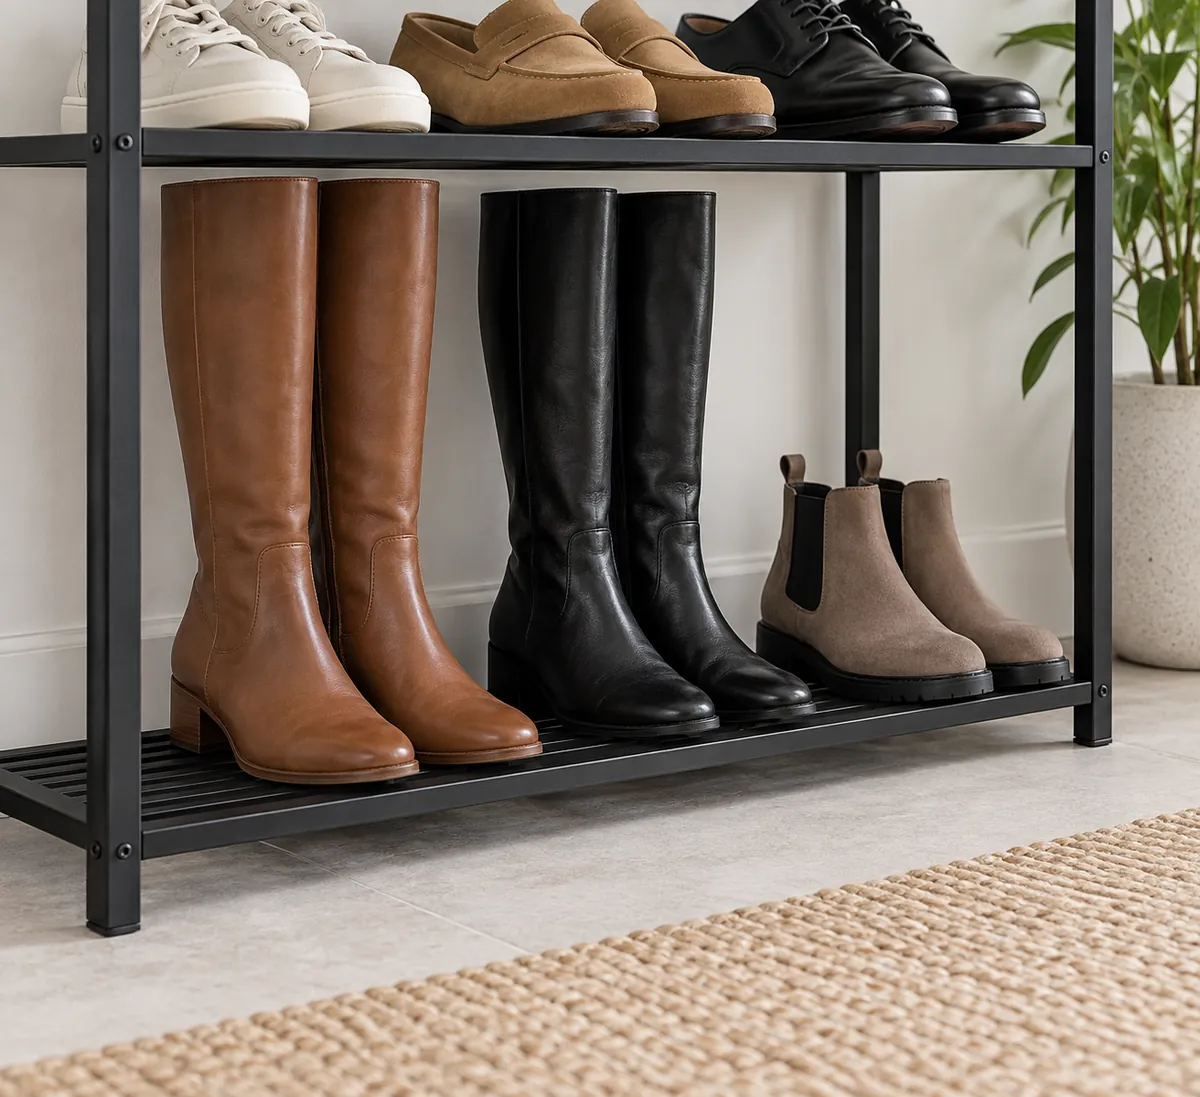
For metal shoe rack shelf spacing boot clearance, buyers should define the footwear envelope the rack must hold, the clear opening after the frame and shelf are assembled, and the path needed to place and remove each item. Nominal distance between shelf centerlines is not the same as usable clearance. A production-intent sample should be reviewed with representative footwear, including tall boots, before the specification is frozen.
This article reframes a familiar fit complaint as a B2B product-development decision. Tall boots can exceed the vertical space that works for ordinary shoes, while a rack that makes every tier tall may waste useful capacity. The goal is to convert the target assortment into drawing inputs and a repeatable sample review. This is adjacent category guidance, not a statement that Koitor currently manufactures shoe racks.
Why does nominal shelf pitch fail to guarantee boot fit?
Shelf pitch usually describes a repeated structural spacing. Usable clearance is the opening that remains after accounting for wire or tube thickness, cross-members, lips, bends, connectors, feet, and any upper shelf features. A drawing may show a generous pitch while the actual opening is reduced by a front rail or by the way a shelf sits in its frame.
Footwear also occupies a three-dimensional envelope. A tall boot is not a simple rectangular block: shaft height, shaft stiffness, top opening, toe shape, heel, and whether the pair is stored upright or angled all affect fit. Some boots collapse; others need support to remain upright. If a design assumes the shaft will fold naturally, the product may fail the buyer’s intended use even if the boot can technically be forced into the opening.
Real buyer discussions illustrate this gap between ordinary shoe storage and tall footwear. They are useful problem signals, not engineering measurements or Koitor customer evidence. A product team should translate that signal into an explicit assortment requirement: which footwear families must fit, which are optional, and whether the rack is designed for everyday shoes, boots, or both.
When evaluating a rack concept, identify the narrowest clearance point, not only the nominal centerline spacing. Check the front and rear opening separately if rails or crossbars differ. Measure the clearance after the shelf is installed in the intended orientation. For adjustable shelves, document the available positions and the usable opening at each position.
Which dimensions should buyers put on the drawing?
Start with a representative set of footwear or controlled dimensional envelopes. Include the maximum target boot height and toe depth, plus ordinary shoes if they share the rack. The buyer does not need to supply branded footwear; a dimensioned envelope can protect confidential assortment information. State whether the size is an absolute fit requirement or a target that will be verified on a sample.
Use dimensions that relate directly to the assembled product:
- – Usable vertical opening: minimum clear height between finished surfaces, measured at the restrictive location.
- – Usable depth: space from the front edge to the rear support, including any rear stop or wall clearance.
- – Usable width: opening available for the pair, not the overall outside width of the frame.
- – Entry and removal path: space needed to tilt, lift, or pull footwear out without catching a rail.
- – Shelf angle and retention: whether shoes may slide and whether the intended footwear remains stable.
- – Loaded configuration: the position of adjacent shoes when the rack is fully arranged.
- – Adjustability: permitted positions, locking method, and whether changing levels affects stability.
- – Floor and wall interface: feet, skirting, wall gap, and any installation restriction.
State the measurement condition. Is the rack empty, assembled, or loaded? Are measurements taken before or after a coating or other finish? If the finished opening matters, say so in the drawing and request confirmation from the supplier. Do not assume an unfinished sample gives the same usable space as the production-finished version.
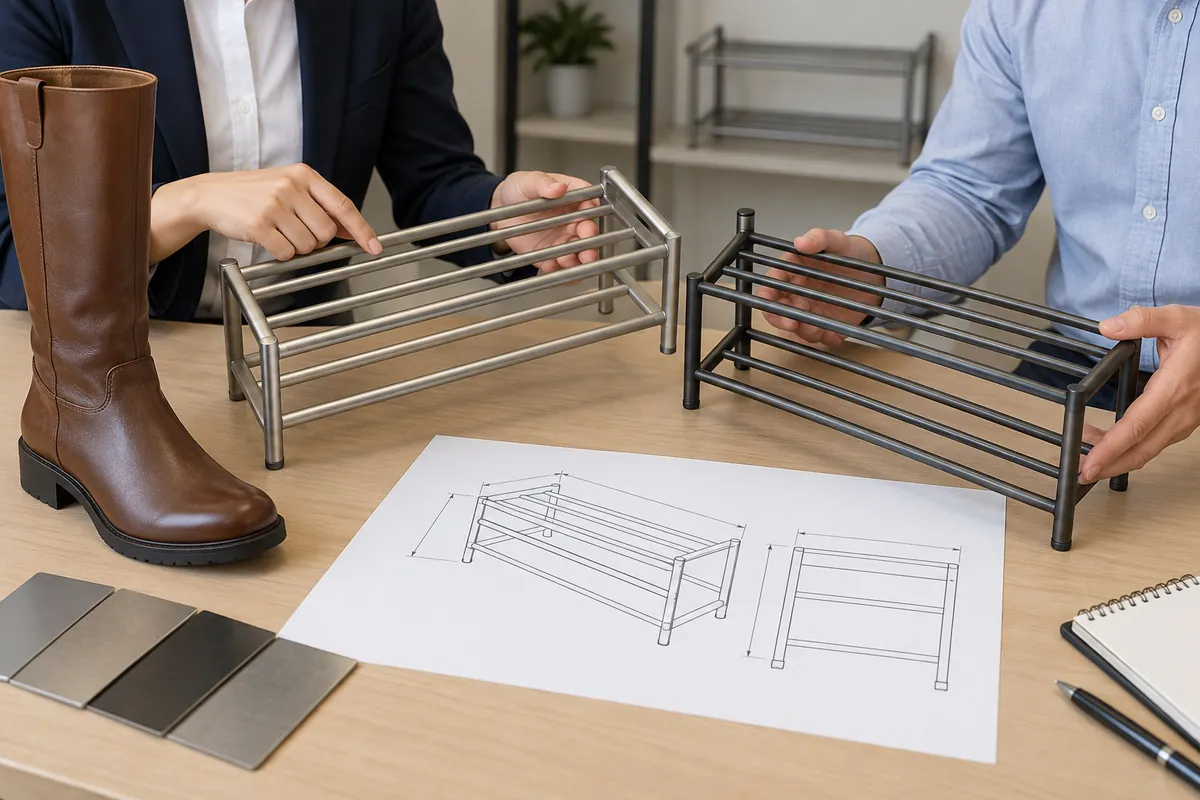
A clear drawing should distinguish the product’s outside dimensions from usable storage dimensions. A small dimension diagram with arrows at the narrowest passage can prevent a supplier from measuring a different location. If one shelf is intentionally higher for boots, identify which level and the expected load arrangement. If all shelves are adjustable, show the adjustment range and how the buyer will verify each position.
How can buyers balance boot clearance and storage capacity?
Increasing the height of every opening is one possible response, but it can reduce total tier count or leave unused space above low-profile shoes. Alternatives include one dedicated tall bay, an adjustable shelf, staggered openings, or a modular arrangement. Each option changes the product’s footprint, part count, assembly, packaging, and user operation.
| Configuration | Potential advantage | Trade-off to review | Sample question |
|---|---|---|---|
| Uniform shelf spacing | Simple family appearance and repeated construction | May waste vertical space for low shoes or still miss tall boots | Does the target assortment fit on every tier? |
| One taller boot bay | Preserves compact spacing on other levels | Capacity is concentrated; pair orientation may matter | Can the largest target boot enter and be removed? |
| Adjustable shelf | One design can serve more than one layout | Adds adjustment hardware or instructions; setup may vary | Can users set and lock the intended position reliably? |
| Staggered or angled shelves | Can improve access in a limited footprint | May change depth, loading direction, or visual balance | Does the loaded sample remain stable and accessible? |
These are design directions, not performance rankings. The right choice depends on the target retail assortment, the buyer’s package dimensions, expected setup, and cost priorities. Ask the supplier to quote the chosen configuration and clearly list any alternative assumptions. If the supplier suggests a different architecture, compare it against the same footwear envelope and acceptance criteria.
Capacity claims need similar care. “Holds eight pairs” is ambiguous unless the shoe sizes, orientation, and shelf spacing are defined. A rack may accommodate more small shoes than bulky boots. Buyers should describe the loading pattern used for a capacity statement and avoid promising a universal pair count without a representative sample or agreed display arrangement.
What should an RFQ include for metal shoe-rack shelf spacing?
A useful RFQ contains the target footwear envelope, overall footprint, usable openings, shelf configuration, finish, and assembly requirements. Include a sketch or CAD model when available, and mark which dimensions are critical to fit. If the design is still open, describe the use case and request a proposal with clearly stated assumptions rather than sending only a product photo.
Ask each supplier to address these points:
- – Identify the narrowest finished clearance at each level.
- – Confirm if measurements are before or after finishing and assembly.
- – Show how frame rails, crossbars, or shelf lips affect usable height and depth.
- – State whether a taller boot bay, adjustment, or staggered shelf is proposed.
- – Provide a production-intent sample plan and note which materials and finishes it represents.
- – Describe the assembly steps and whether adjustment requires tools.
- – Identify packaging orientation and the risk of parts shifting or distorting in transit.
- – List any deviations from the drawing and any dimensions the supplier cannot hold as specified.
For private-label development, keep the drawing revision, sample revision, packaging configuration, and instructions aligned. If packaging includes a partially assembled frame, verify that the user can install the shelves in the approved positions. If the item ships flat-packed, check that the assembly sequence does not reverse a shelf or create an unintended opening.
A supplier response should separate confirmed dimensions from proposed values. Do not let a preliminary estimate become an accepted specification by silence. Where a dimension depends on a selected wire diameter, tube size, connection, or finish build, the supplier should explain the relationship and confirm the resulting opening on the sample. The buyer can then decide whether a design revision is worthwhile.
How should the sample be tested for real-world fit?
A fit review should use representative footwear or dimensioned test forms for each required class. Test the largest target boot first, then ordinary shoes, and arrange adjacent items in the expected loading pattern. A single boot placed in an otherwise empty rack can conceal interference that appears when neighboring shoes are stored.
Review more than static insertion. Place the boot into the bay using the expected user motion, remove it without pulling the rack forward, and check whether adjacent items shift. Try any intended adjustable positions. Observe if the toe, heel, shaft, or pull loop catches on a rail. Record the sample condition and do not modify it informally before the supplier and buyer understand the issue.
A practical sample record can include:
- 1. Product and drawing revision.
- 2. Sample date, finish, and assembly state.
- 3. Footwear envelope or sample identity, with confidential brand details omitted if necessary.
- 4. Opening dimensions measured at the limiting points.
- 5. Loading arrangement and order of placement.
- 6. Fit, retrieval, stability, and contact observations.
- 7. Photographs from a consistent angle.
- 8. Deviations, corrective changes, and reapproval status.
If a sample fails, determine whether the issue is design intent, a dimensional deviation, assembly variation, or a mismatch between the test footwear and the original requirement. A change to shelf spacing can affect neighboring clearances, rack height, packaging size, and structural layout. Recheck all connected dimensions after a change rather than approving a local fix in isolation.
How do material, construction, finish, and packaging affect the opening?
Frame section and shelf construction take space. Increasing a rail size can reduce the opening even if the outer frame dimensions remain unchanged. A support bar added near the front may interfere with toe clearance or retrieval. These are reasons to measure finished usable space rather than infer it from a product’s outside size.
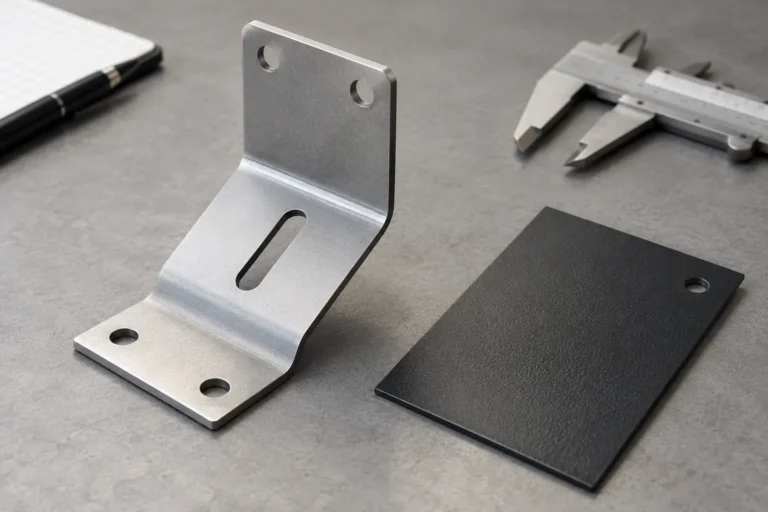
Finish and assembly also matter. A coating can add build to surfaces, and a rack that uses hooks, slots, or fasteners may sit differently depending on assembly. The specification should state whether the critical clearance is checked on the finished, assembled product. Suppliers should identify how components are oriented and what controls prevent a shelf from being installed in the wrong position.
Packaging does not change the intended geometry, but transit or compression can create an out-of-square frame, bent rail, or misaligned shelf. For a product where clearance is close, inspect a packed sample and remeasure after unpacking and assembly. Packaging validation should match the actual shipment configuration. A sample delivered loose by hand is not equivalent to a flat-packed product that travels through distribution.
For adjacent metal storage sourcing context, see Koitor’s pages on custom metal storage racks and OEM home-storage hardware. These pages provide manufacturing context but do not confirm a specific shoe-rack SKU.
Buyer checklist: what must be approved before release?
- – Assortment: name the footwear types and the largest envelope that must fit.
- – Clearance: dimension the narrowest usable opening, not only nominal shelf pitch.
- – Access: define insertion and removal path with neighboring products loaded.
- – Configuration: select uniform, tall-bay, adjustable, or staggered shelves and state why.
- – Finished condition: clarify whether measurements apply after finish and final assembly.
- – Sample: approve a production-intent unit with representative footwear or test forms.
- – Stability: check the expected load arrangement and retrieval motion without making unsupported load claims.
- – Packaging: inspect the shipped configuration for distortion risk and assembly confusion.
- – Records: retain the drawing revision, measurements, sample photos, deviations, and approval.
- – Change control: recheck fit after changes to frame, shelf, connection, finish, or package.
For this buyer task, the metal shoe rack shelf spacing boot clearance review must remain connected to the approved drawing and sample. Record the metal shoe rack shelf spacing boot clearance decision with its material, finish, process, and inspection assumptions so later changes can be assessed against the same requirement.
FAQ
Pitch is a repeated structural distance; usable clearance is the actual opening left after rails, shelf thickness, lips, connectors, finish, and assembly are considered. Buyers should dimension and verify the latter.
Should every shoe-rack shelf fit tall boots?
Only if that is the intended assortment requirement. A dedicated tall bay or adjustment may preserve capacity elsewhere, but the buyer should compare layouts on a loaded sample.
Is an adjustable shelf always a better solution?
No. It can increase flexibility but adds hardware, assembly steps, and the need to control the selected position. Review whether the buyer’s channel and end user benefit from adjustment.
Can a capacity number prove that the rack fits boots?
No. A pair count depends on shoe size, orientation, loading pattern, and shelf opening. Validate capacity with the intended footwear mix.
What should happen when the production sample has less clearance than the drawing?
Record the deviation, identify the measurement condition, and agree on a correction or disposition before release. Recheck the adjacent levels and package after design changes.
Does a shoe-rack specification prove Koitor currently manufactures shoe racks?
No. This article provides adjacent-category sourcing guidance. Confirm any product-specific capability directly during an RFQ.
Work With Koitor Hardware
Discuss a Custom Metal Hardware Project
Share your drawing, target interface, material, finish, sample needs, and buyer acceptance criteria with Koitor. Confirm exact category capability and process responsibilities for each project.
OEM / PRIVATE LABEL
Turn this sourcing guide into a product brief
Share your target product, size, finish, order quantity and packaging requirements. Your team receives a practical manufacturability review before quotation.

 English
  Español
  Português
  Français
  Deutsch
  العربية