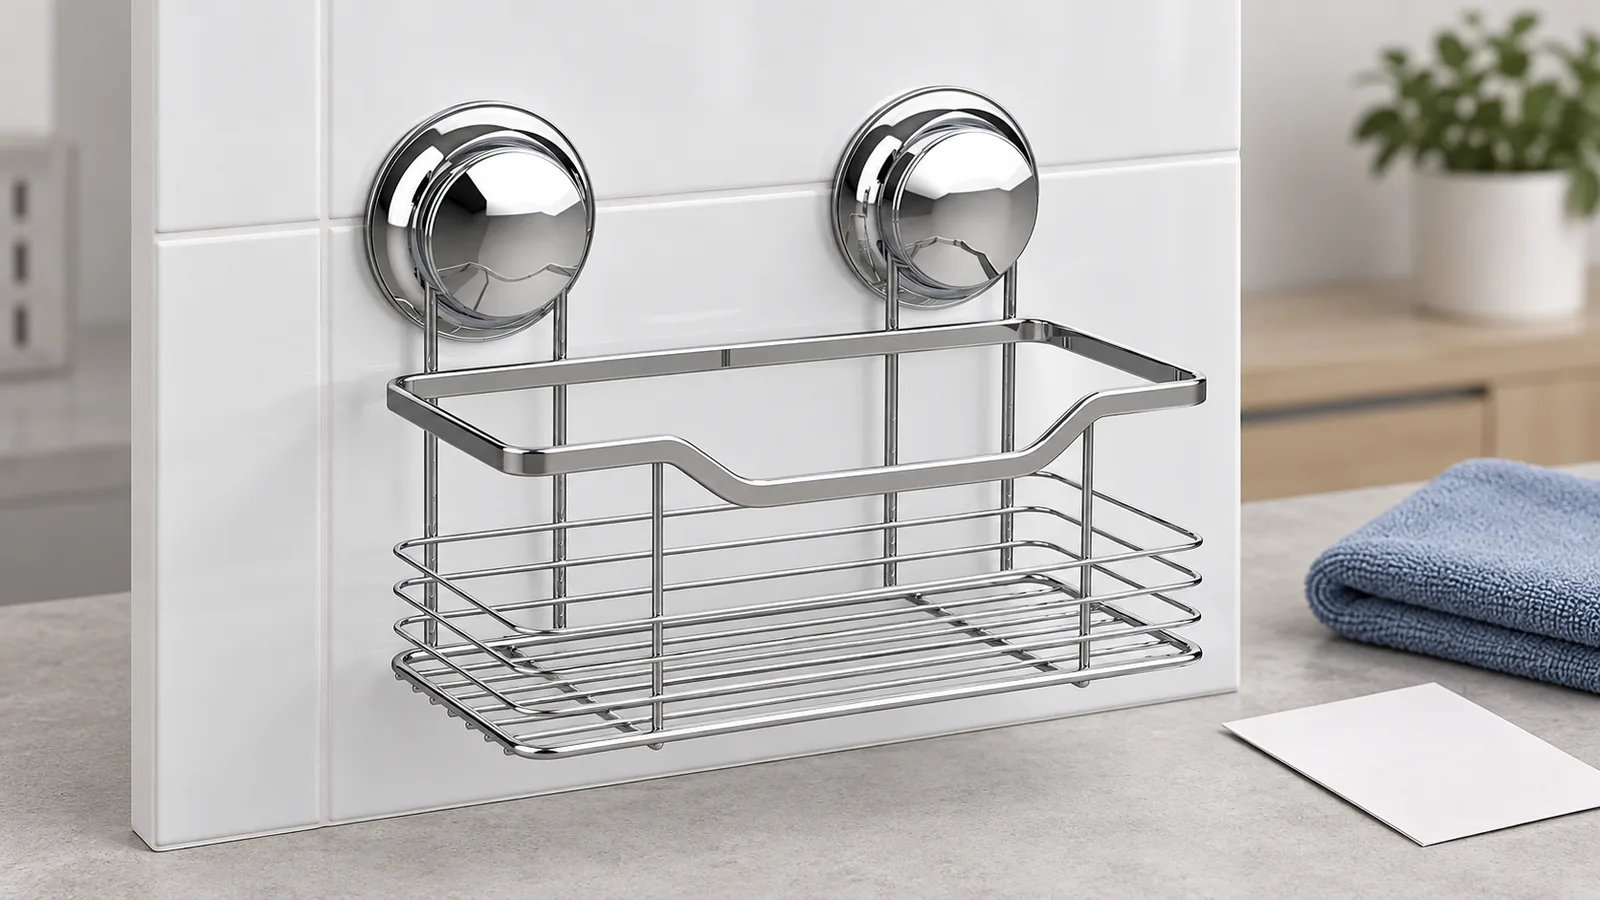
Suction cup bathroom accessory removal and repositioning should be approved as a complete sequence: unload and support the accessory, release its actual mounting mechanism, separate the seal using the product-approved method, inspect the parts, and follow the confirmed installation instructions at the new location. For importers and private-label buyers, the critical requirement is an instruction sheet that matches the supplied sample. A photograph of a round suction cover does not establish how that mechanism releases. Agree the release method, cleaning guidance and reuse limits with the manufacturer before putting repositionability claims on packaging.
How do different mounting mechanisms change the removal instructions?
Removal instructions must identify the mechanism before telling the user what to move, press or turn. Suction, a mechanically locked suction assembly and an adhesive-assisted mount can look similar from the front while requiring different release steps.
A suction seal is the contact between the cup and the mounting surface. A locking component may help establish or maintain the attachment. Adhesive-assisted designs introduce another contact layer, so advice written for a plain cup may be unsuitable. The buyer should record the mechanism in the approved product specification rather than relying on a supplier’s broad description of a no-drill accessory.
Manufacturer instructions illustrate why a universal removal diagram is insufficient. iOttie’s product-specific removal guidance starts with releasing a lever and then allowing air beneath the cup. That is an example for its identified product, not a release instruction for Koitor’s chrome bathroom mounting assembly. Buyers should use such sources to recognize mechanism differences and request the correct sequence for their own sample.
| Mounting arrangement | Information to confirm | Instruction risk |
|---|---|---|
| Plain suction cup with an accessible release feature | Where and how the approved release feature is accessed | A user may pull the accessory before releasing the seal |
| Lever or mechanically locked suction design | Which control releases the lock and what follows | A diagram may omit the unlocking step |
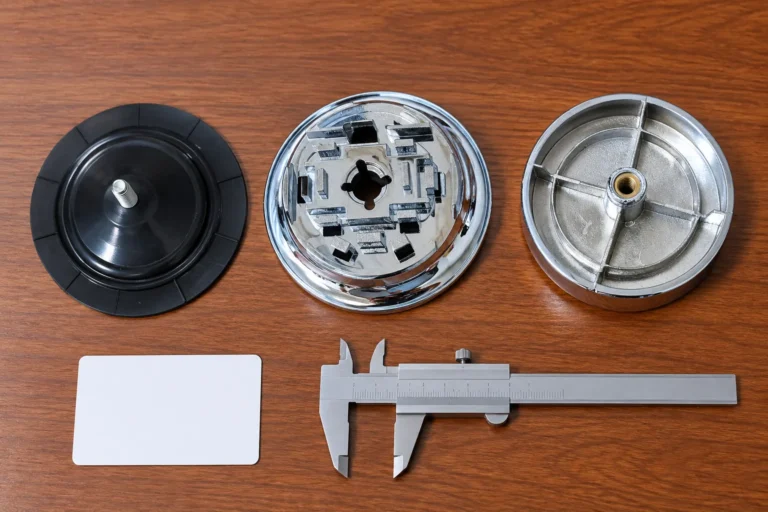
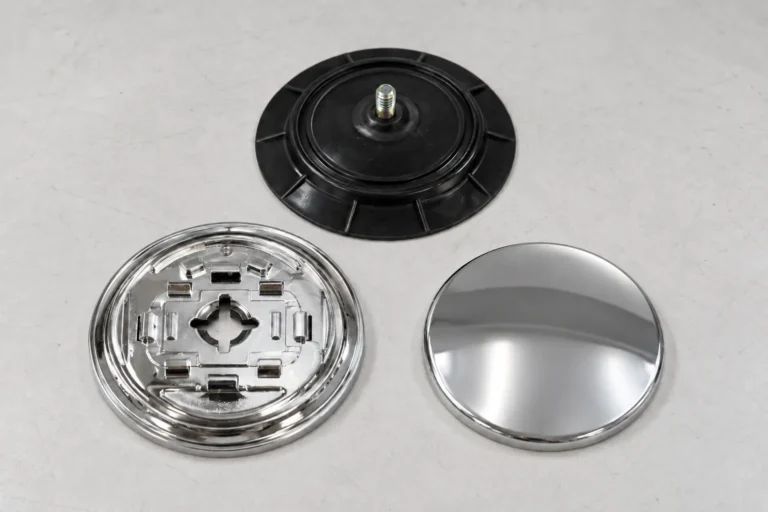
| Threaded-cover assembly | Manufacturer-confirmed cover operation and support requirements | A buyer may invent turn direction or confuse loosening with full removal |
| Adhesive-assisted accessory | Contact-layer identification and manufacturer-approved removal method | Plain suction advice may damage a pad or surface |
| Two-mount basket or rail | How the frame is supported while mounts are released | The remaining mount may be stressed as the first is released |
Keep the distinction visible in purchasing documents, replacement-part lists and instruction artwork. When several mounting systems share one retail range, give each system its own approved sequence or clearly identified section. A common package design can remain consistent without treating every accessory as mechanically identical.
For product development, Koitor’s no-drill bathroom accessories service is the commercial starting point. The article’s purpose is to help buyers approve removal guidance, while the service page explains the broader sourcing discussion.
What should an OEM removal sequence show before the seal is released?
An OEM instruction sheet should show unloading, support and mechanism identification before any seal-release action. These preparatory steps help users understand what remains attached and which parts they must control throughout removal.
Start the illustrated sequence with the actual accessory, shown empty. A shower basket containing bottles can obscure the mounting interface and encourage users to handle it while loaded. A towel bar, hook rail and tissue holder each have different frame geometry; replacing one with a generic drawing can conceal the correct hand position or attachment point.
The approved sequence should answer these questions in order: What must be removed from the accessory? What holds the frame while the first mount is released? Does the accessory detach from the mounts, or are mounts captured within its structure? Which control is operated? How is resistance handled? Which components must be retained for reinstallation?
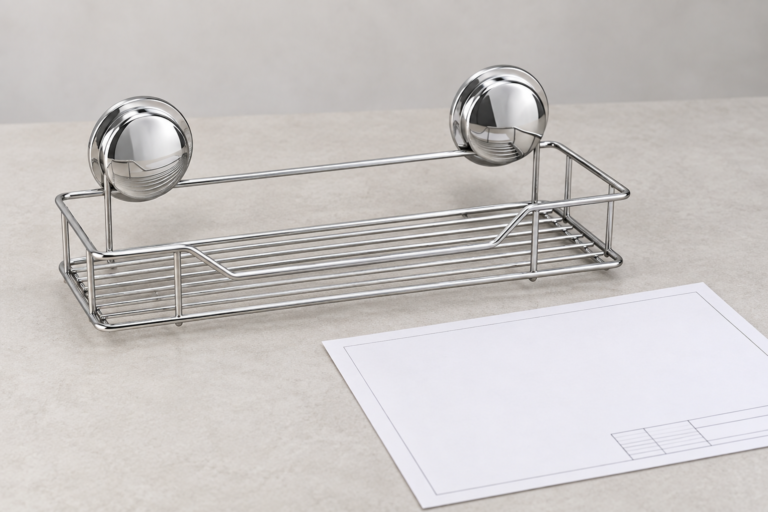
For a dual-suction wire basket, show both mounts and all structural connections. In Koitor’s selected reference, two parallel support wires descend from each circular mount. An instruction illustrator must preserve these connections rather than simplifying them into a single unsupported wire. Accurate geometry helps buyers compare the drawing with the sample even when the action itself is explained in a separate close-up.
Some manufacturer manuals specify a separate accessory-removal step before releasing the cup. The EVERLOC Solutions manual, for example, describes unloading, detaching its accessory and using a flat card to break the seal; it warns against sharp objects. Its detachable-hook arrangement is product-specific. Do not transfer its attachment sequence or cleaning conditions to a different product without approval.
For the purchased model, the supplier should demonstrate the entire operation on the retained sample. Record the demonstration and use it as the instruction-artwork reference. A buyer’s preferred wording can then be checked against an observable action. If the mechanism remains unclear, pause that instruction claim until the sample and manufacturer response establish the method.
The user-facing sequence also needs a stopping point. Describe what to do when the approved release operation does not work, such as stopping and consulting product support. Avoid telling users to increase force indefinitely. Any included removal aid needs its own specification and review for compatibility with the intended surface and cup.
What must buyers inspect before approving cleaning and reuse?
Reuse approval should begin with the condition of the cup, mounting parts and accessory frame. Buyers need a defined route for retaining, replacing or rejecting parts after removal, together with cleaning instructions compatible with the supplied design.
Inspection is different from proving service life. A visual review can identify a damaged edge or missing component; it cannot establish a guaranteed number of reuse cycles. Set any cycle-related acceptance conditions in a separate buyer-approved validation plan and retain its evidence before making a retail claim.
Check the contact edge for visible cuts, trapped debris, deformation or other changes requiring supplier review. Inspect the locking components and captured frame connections for damage or incomplete assembly. For a two-mount product, confirm that both mounting positions remain complete and match the approved parts list. A reusable frame does not automatically mean every contact component is reusable.
Cleaning guidance must name the parts being cleaned. The metal basket, circular cover and rubber contact component may need different handling. Ask the manufacturer to confirm permitted cleaners, rinsing, drying and storage conditions; avoid copying solvent or hot-water advice from an unrelated online manual. General instructions should be precise enough to follow without implying unverified material compatibility.
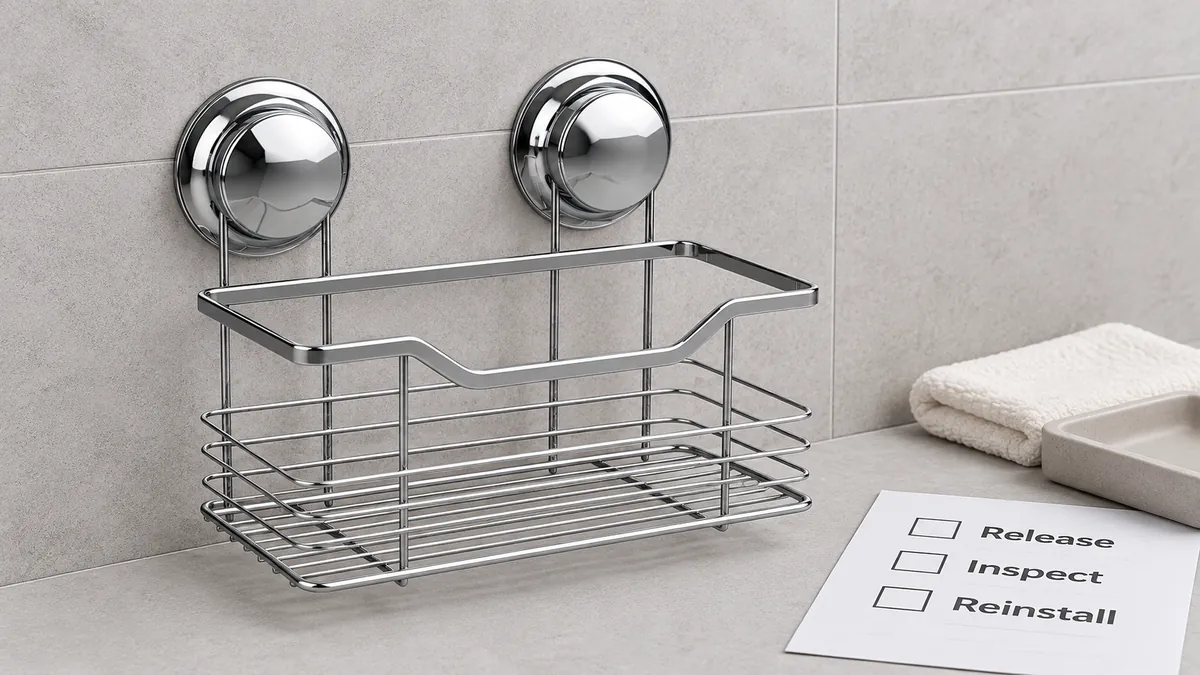
Packaging should distinguish the conditions of a new component and a removed component. If the cup must be stored with a protective cover or kept separate from abrasive surfaces, confirm that requirement and provide suitable handling guidance. Otherwise a user may put a loose contact part into a drawer where it picks up debris before the next installation.
An after-sales team also needs a simple decision record: visible condition, cleaning history, mounting surface and the point at which the problem appeared. This supports a meaningful manufacturer review without encouraging the customer to reuse a visibly damaged component. The instruction sheet can direct uncertain cases to support rather than promising restoration by a household treatment.
How should buyers approve reinstallation during sample review?
Sample review should test whether an unfamiliar reader can follow the approved instructions on the intended product and surface. Evaluate the full sequence from removal through reinstallation, while recording the product revision and the agreed conditions.
For suction cup bathroom accessory removal and repositioning, an empty accessory that looks correct after remounting is only one observation. The buyer must also check whether the user found the release control, understood the cleaning guidance, retained all parts and aligned the mounting positions correctly. The review should capture instruction mistakes as well as product concerns.
Prepare the review with a dated sample, identified surface panel and approved instruction draft. State which observations are required and who can approve changes. If the sample, surface or artwork changes during the session, record that change rather than combining the outcomes as though every observation used the same conditions.
For multi-mount hardware, examine the placement guidance before loading. The user needs a way to establish spacing and alignment consistent with the actual frame. Do not specify dimensions from a generated image. Use confirmed drawings or measurements from the approved sample, and distinguish overall product width from mounting-center spacing.
Ask the reviewer to explain each step in their own words. A drawing may appear clear to the designer while an unfamiliar reader interprets a curved arrow as pulling the whole basket. Record hesitation, hidden controls and ambiguous part names. Replace vague instructions such as “remove carefully” with an approved action and a recognizable component.
Review reinstallation in the locations actually intended for the product. A second smooth panel can demonstrate a change of location, but it does not prove compatibility with every tile, glass coating or wall finish. Keep the approved surface list and exclusions in the same instruction revision so that “reposition” is not interpreted as unrestricted relocation. Use the separate suction accessory surface compatibility review when planning that part of sample approval.
Where a project requires repeated removal or retention observations, agree the method, conditions and acceptance criteria before the exercise. No universal holding period, load or cycle count is established by this article. A repeatable project record is more useful than an impressive-looking demonstration without identified samples or documented conditions.
Which artwork and packaging mistakes create avoidable confusion?
The most avoidable mistakes occur when the illustration, product revision and package contents disagree. Buyers should approve these three items together, including the complete accessory and every component the user needs to retain.
A single shared illustration can be problematic when a range includes different mounts. A lever drawing on a threaded-cover product leaves the reader searching for a control that does not exist. An adhesive peel symbol on a suction product can suggest a different removal action. Product artwork should make mechanism identification easier at a glance.
Another mistake is hiding the only removal instruction behind a code or online page. Digital support can add demonstrations, but the supplied instructions should still communicate the essential sequence and support route. Check that packaging does not describe the accessory as reusable while the enclosed leaflet gives only first-installation steps.
Instruction review should include translations planned for the target market, even when the source article and master copy are English. Give translators approved component names and diagrams, and have the finished language reviewed through the buyer’s normal process. A correct English master cannot establish that every translated arrow, warning and part name remains correct.
Koitor Hardware is a family-owned custom metal hardware factory with flexible small-batch OEM production and direct factory communication. In a practical development discussion, buyers can bring the frame sample, mount configuration, instruction draft and packaging idea together. Koitor can review manufacturing and assembly considerations from drawings or physical samples; performance and reuse claims still need project-specific evidence.
Treat frame changes as instruction changes when they affect removal. A revised basket rail can alter access to a cover; different mount spacing can change positioning diagrams; a packaging insert can conceal a loose component during unpacking. Recheck the complete sequence after these changes instead of approving each item in isolation.
What belongs in the buyer's instruction-approval checklist?
The checklist should identify the supplied mechanism, each removal action, reuse conditions and the approved document revision. Assign an owner to unresolved points before ordering printed packaging or releasing bulk production.
- Identify the accessory model, sample revision and mounting system.
- Confirm the actual manufacturer-approved release operation.
- Show an empty accessory and an appropriate support sequence.
- Preserve mount count, frame geometry and visible support-wire connections.
- Define which parts remain together and which parts can be separated.
- Confirm permitted removal aids and prohibited handling methods.
- Approve component-specific cleaning, drying and storage guidance.
- Define visible damage conditions requiring replacement or supplier review.
- Match repositioning instructions to the approved surfaces and exclusions.
- Check the new-location alignment method against the physical sample.
- Review the leaflet, carton wording and digital support for consistency.
- Record artwork revision, sample identity, review observations and approval owner.
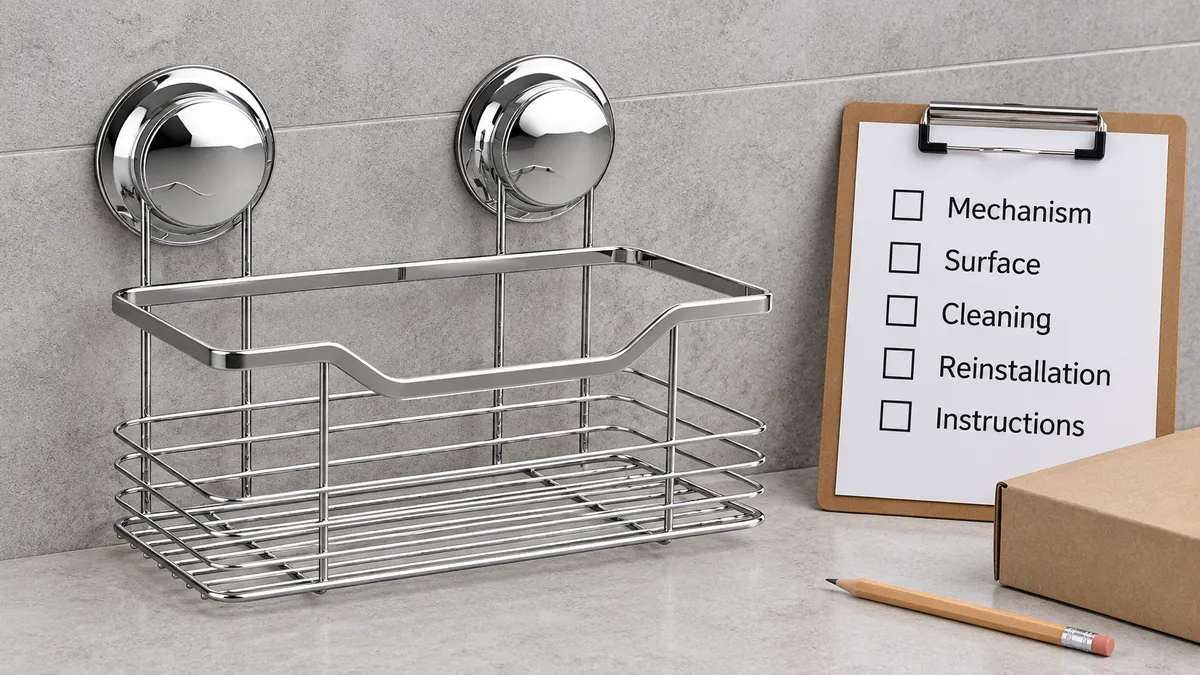
Use the checklist at quotation and sample stages, not only at final inspection. For example, a buyer launching a dual-suction basket can request the removal demonstration before commissioning artwork. That reveals whether an extra diagram, clearer part name or packaging adjustment is needed while changes are still manageable.
Keep unresolved points in an action list with a responsible person and expected evidence. “Supplier to confirm” is insufficient if nobody knows whether the confirmation requires a photograph, a demonstration or a revised component. Close each point against the retained sample and approved document, then archive the result for repeat orders.
Frequently asked questions about OEM removal and reinstallation guidance
Can all suction bathroom accessories use one removal instruction?
No. Instructions must match the supplied mounting mechanism and frame. A range may share a layout and terminology, but any differences in release controls, attachment or component handling need model-specific guidance checked against samples.
Does a chrome circular cover identify the release method?
No. Appearance alone does not establish the internal mechanism or operating direction. Ask the manufacturer to demonstrate the approved sample and use that demonstration to prepare and review the instruction artwork.
Can buyers promise unlimited repositioning?
That claim requires evidence for defined conditions and components. A removal demonstration does not prove unlimited reuse. State approved surfaces, inspection requirements and project-confirmed limitations in the instruction and retail-copy review.
Should the instruction sheet recommend a common household cleaner?
Only after compatibility is confirmed for the actual components and mounting surface. Advice from another product’s manual can involve a different cup material, finish or contact layer. Obtain component-specific guidance before naming a cleaner or treatment.
How can a buyer approve suction cup bathroom accessory removal and repositioning?
Review the actual sample, supplier demonstration and draft instructions together. Observe an unfamiliar reader following the complete sequence, record the conditions, resolve ambiguities and approve the product and artwork revisions as one documented package.
Discuss removal instructions and sample approval with Koitor
Develop Clear Instructions for Your Suction Accessory
Send Koitor your accessory sample, mounting configuration, target surfaces and instruction or packaging draft. Our team can discuss the structure, assembly, sample review and small-batch OEM requirements before quotation.
OEM / PRIVATE LABEL
Turn this sourcing guide into a product brief
Share your target product, size, finish, order quantity and packaging requirements. Your team receives a practical manufacturability review before quotation.
 English
  Español
  Português
  Français
  Deutsch
  العربية